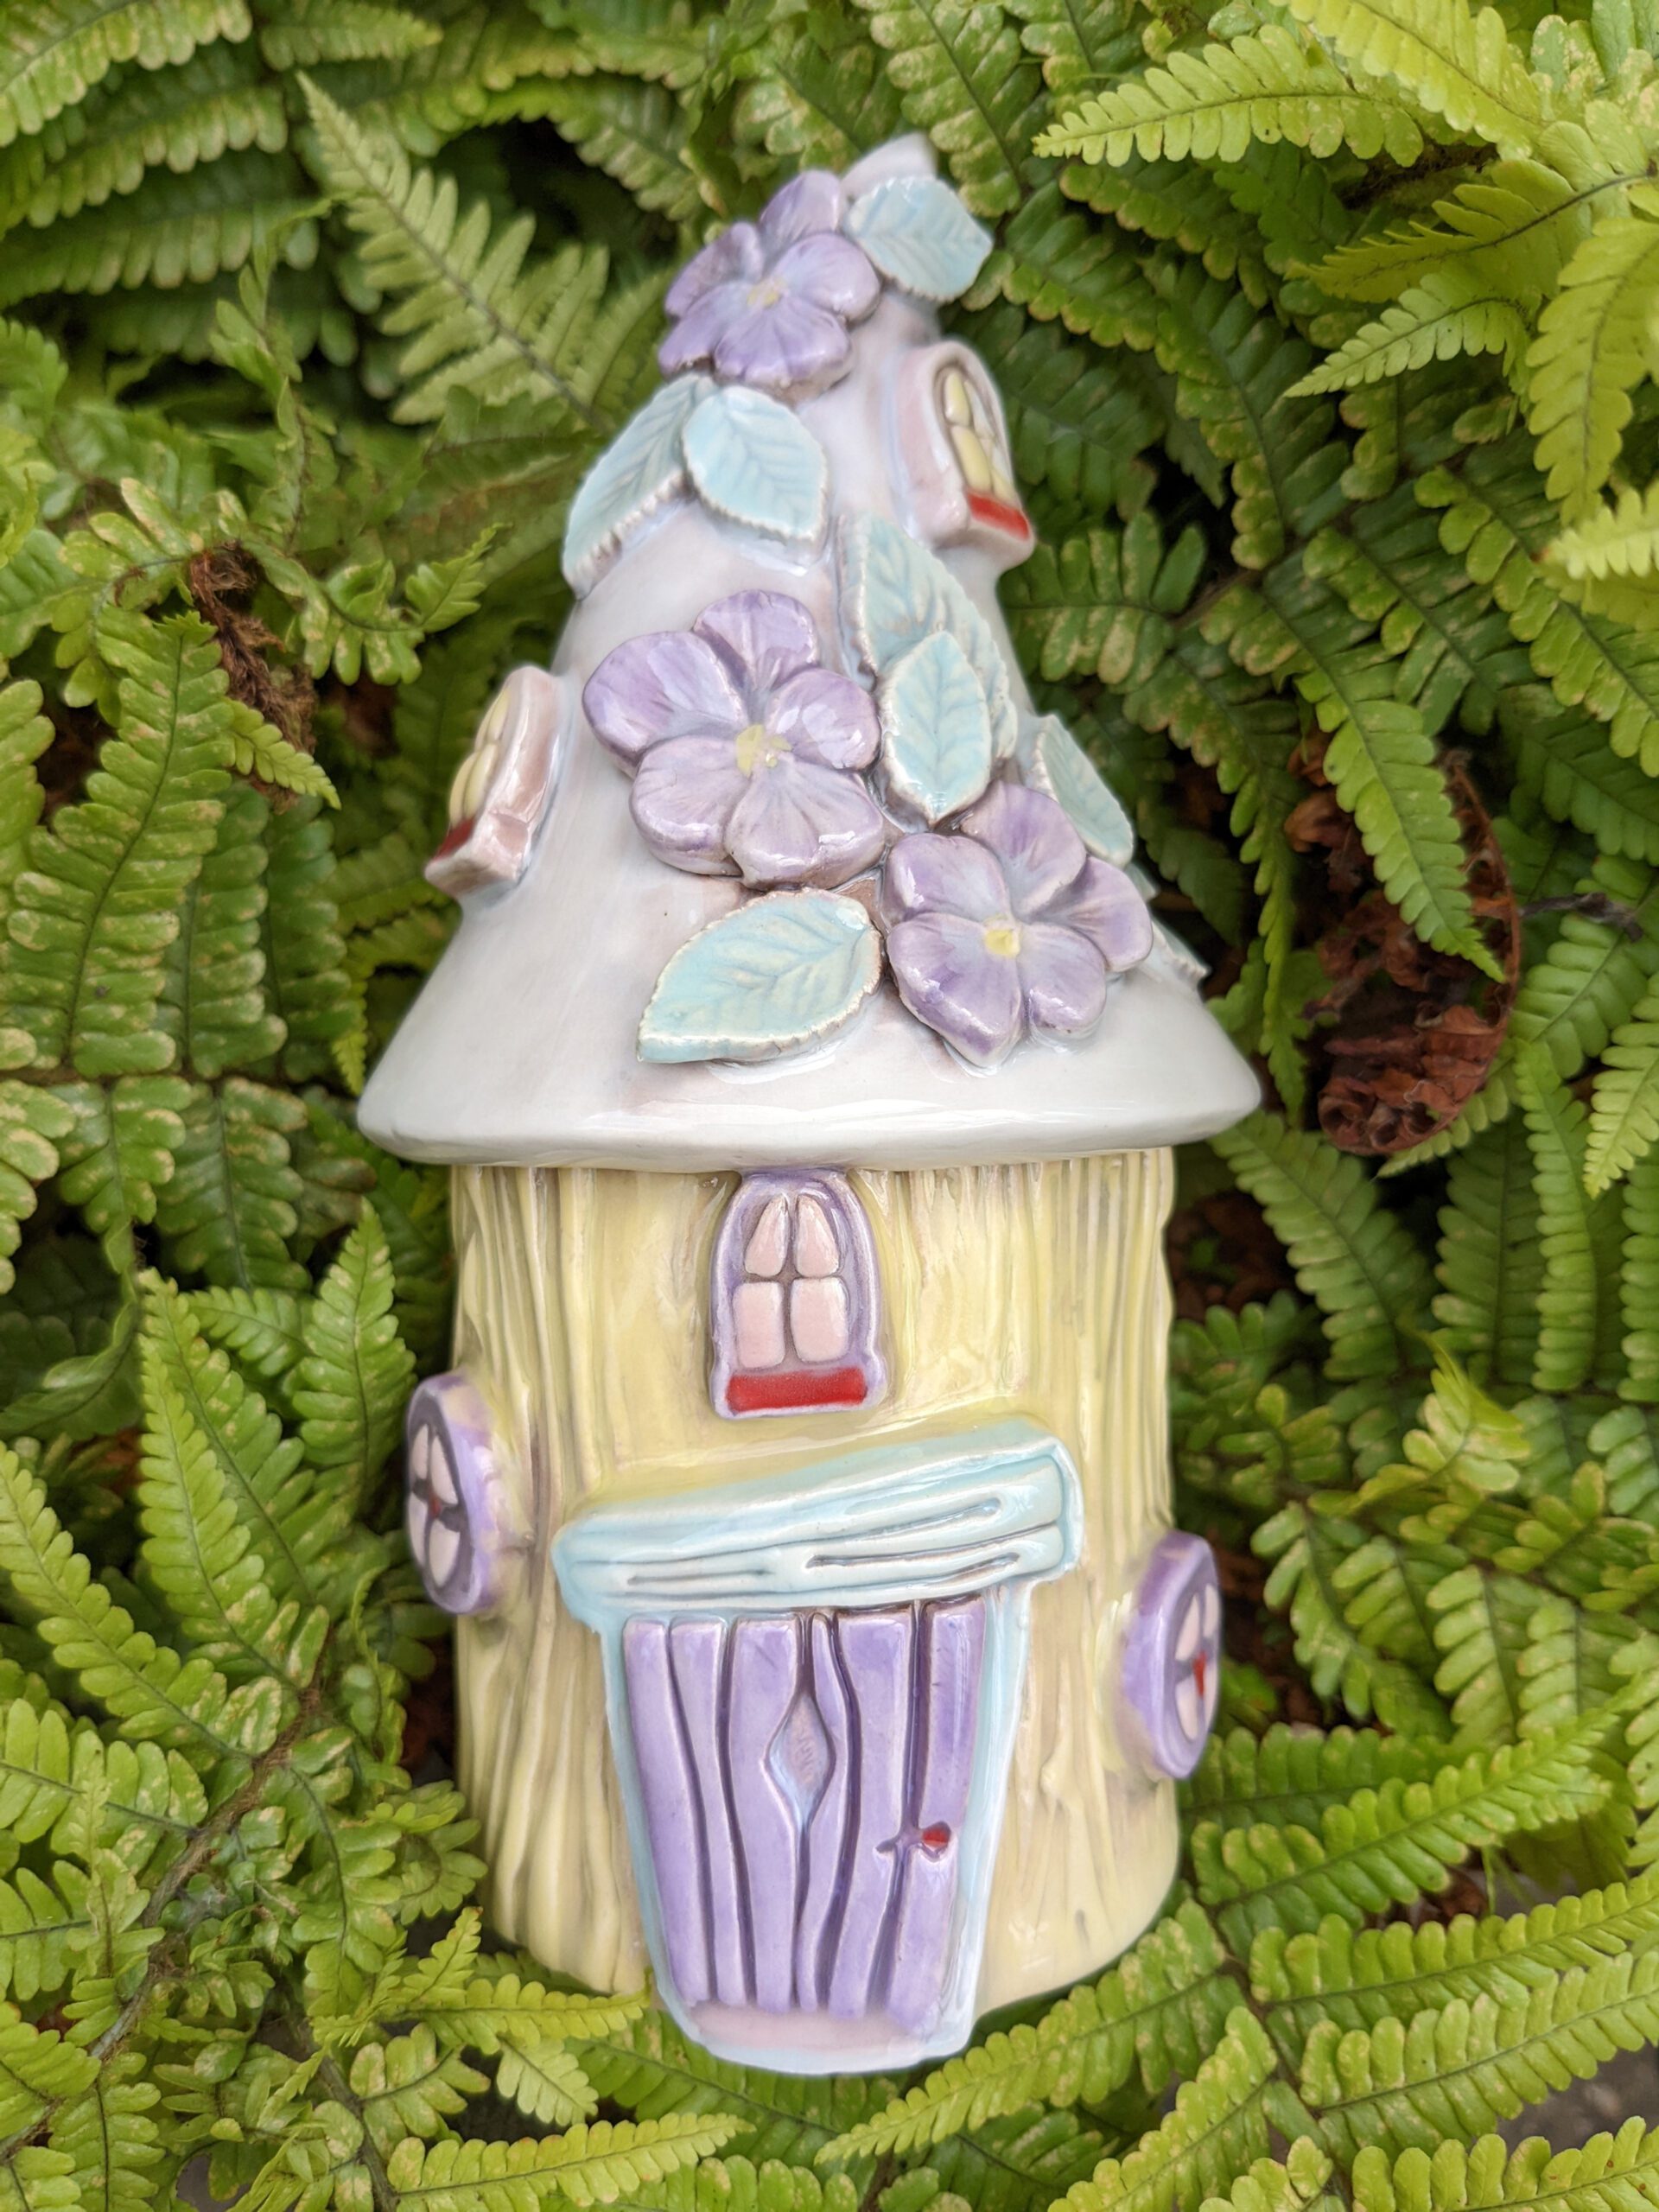
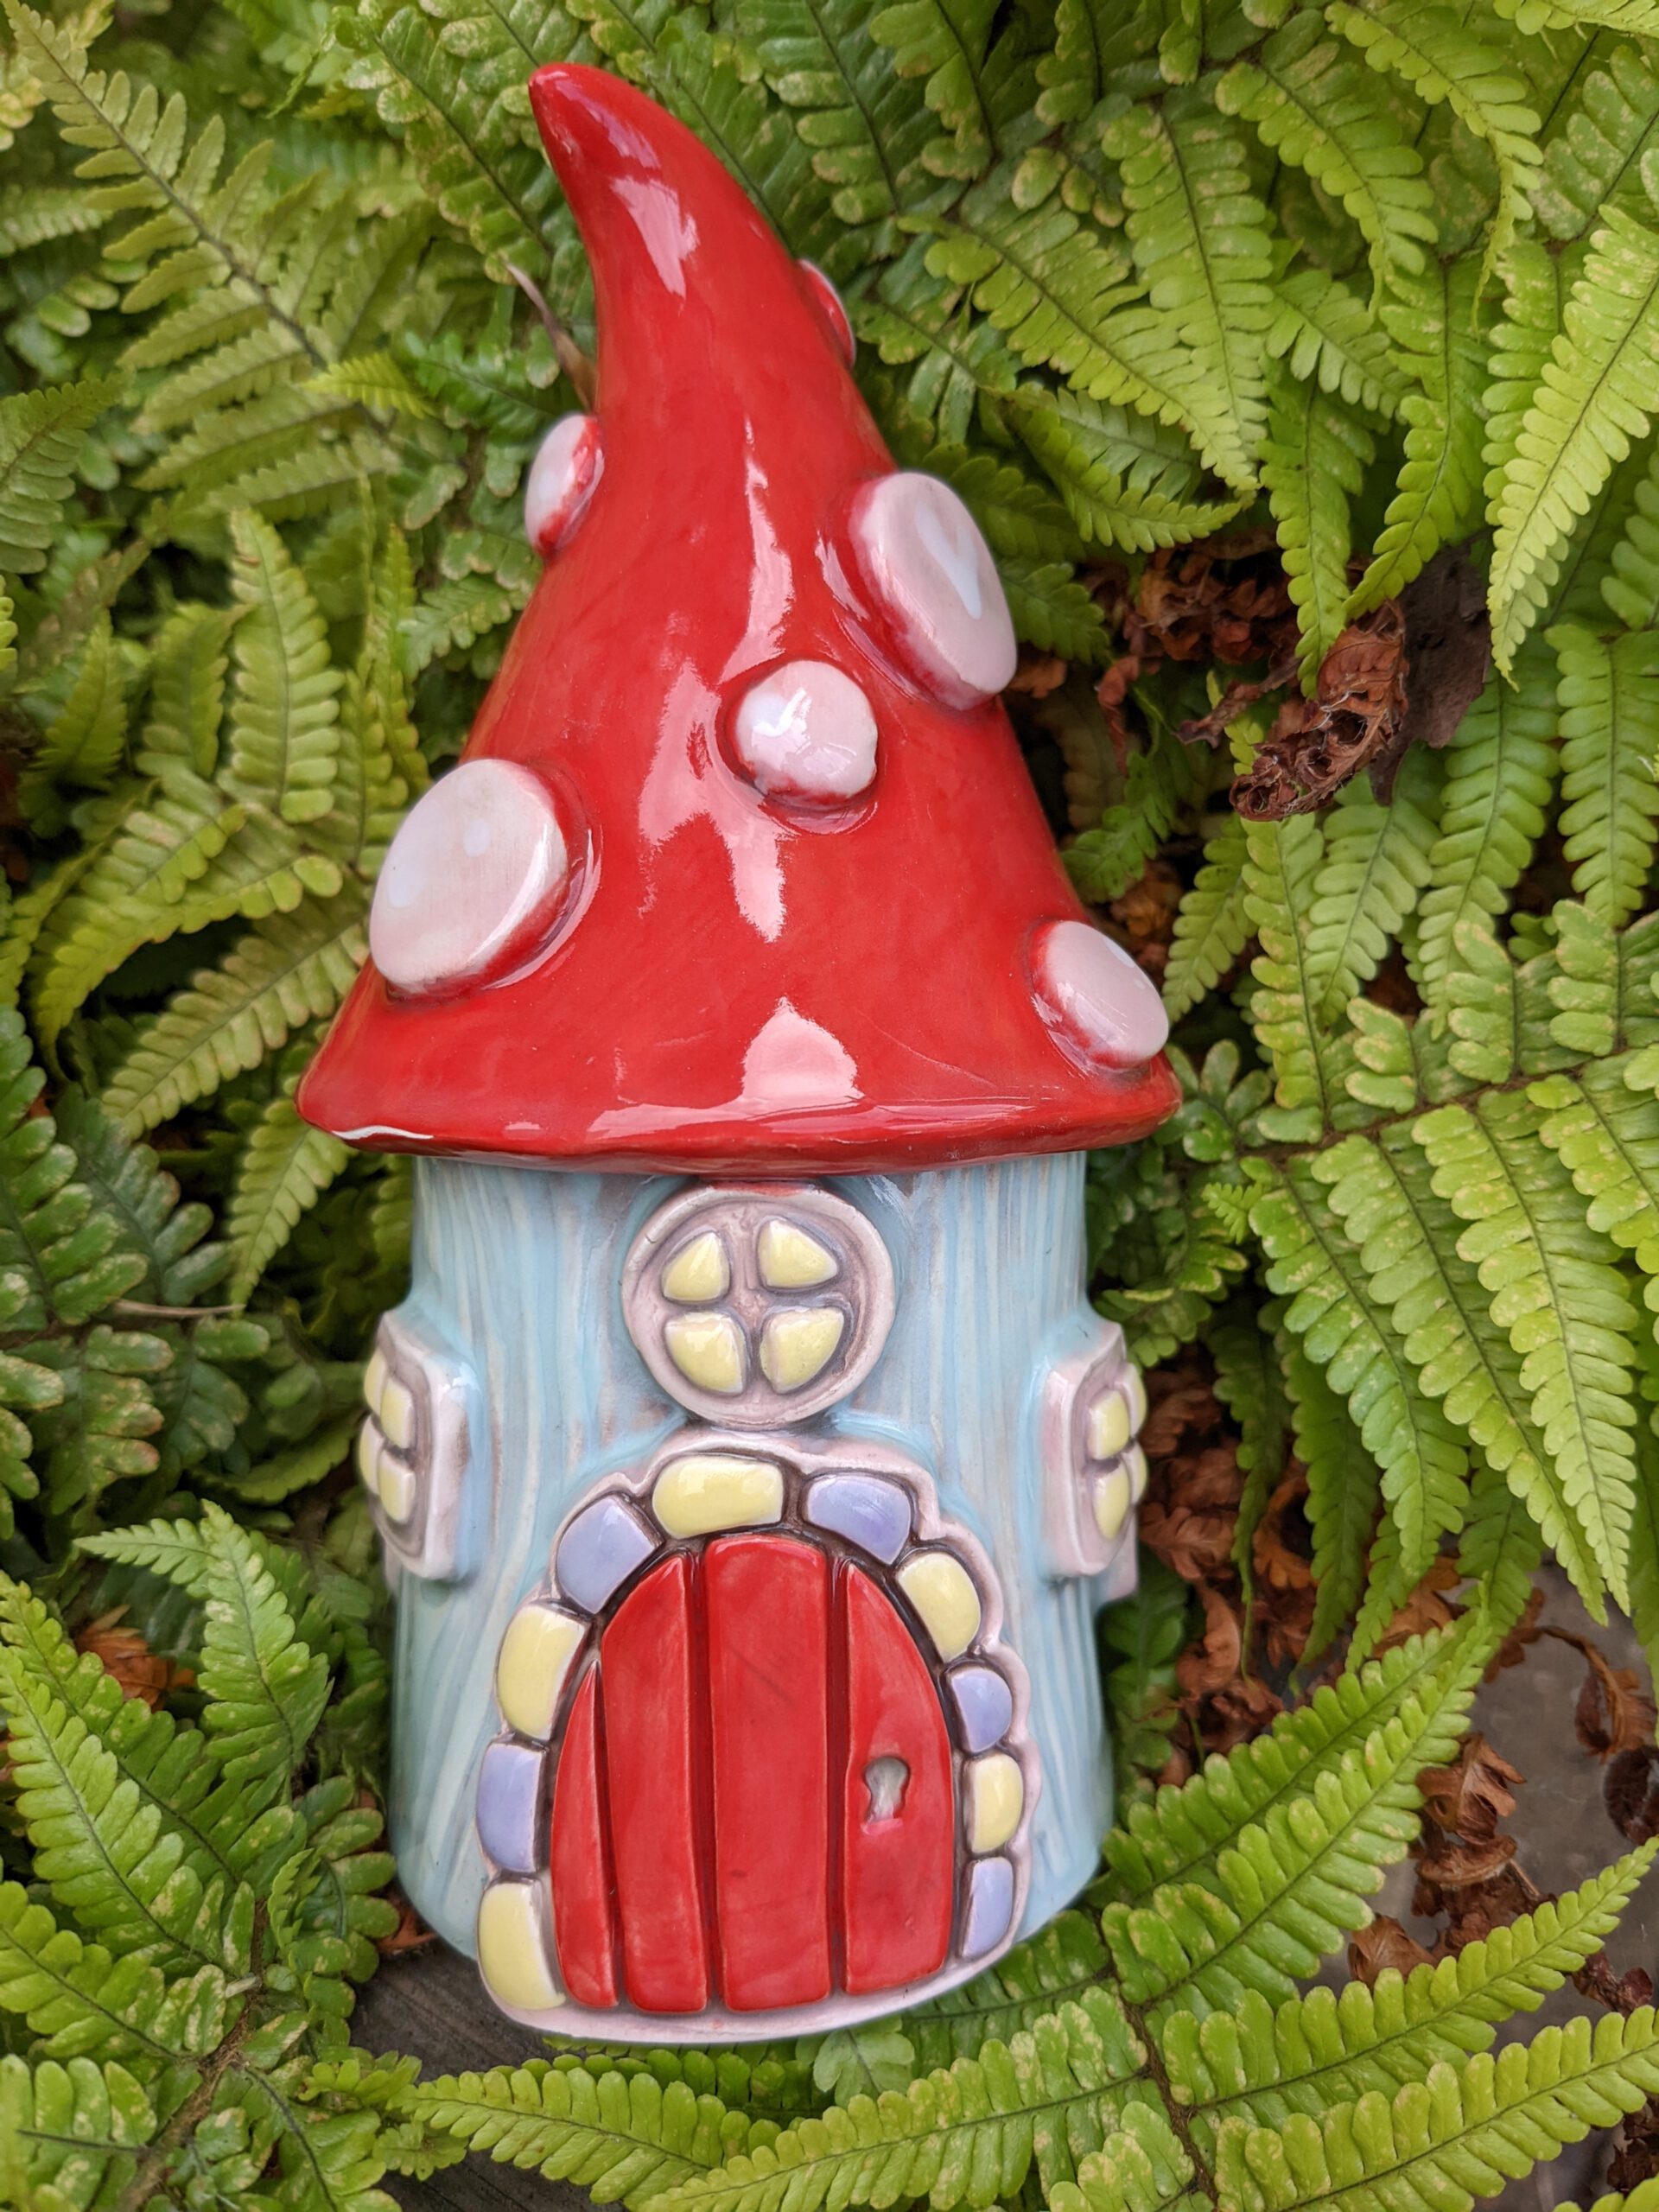
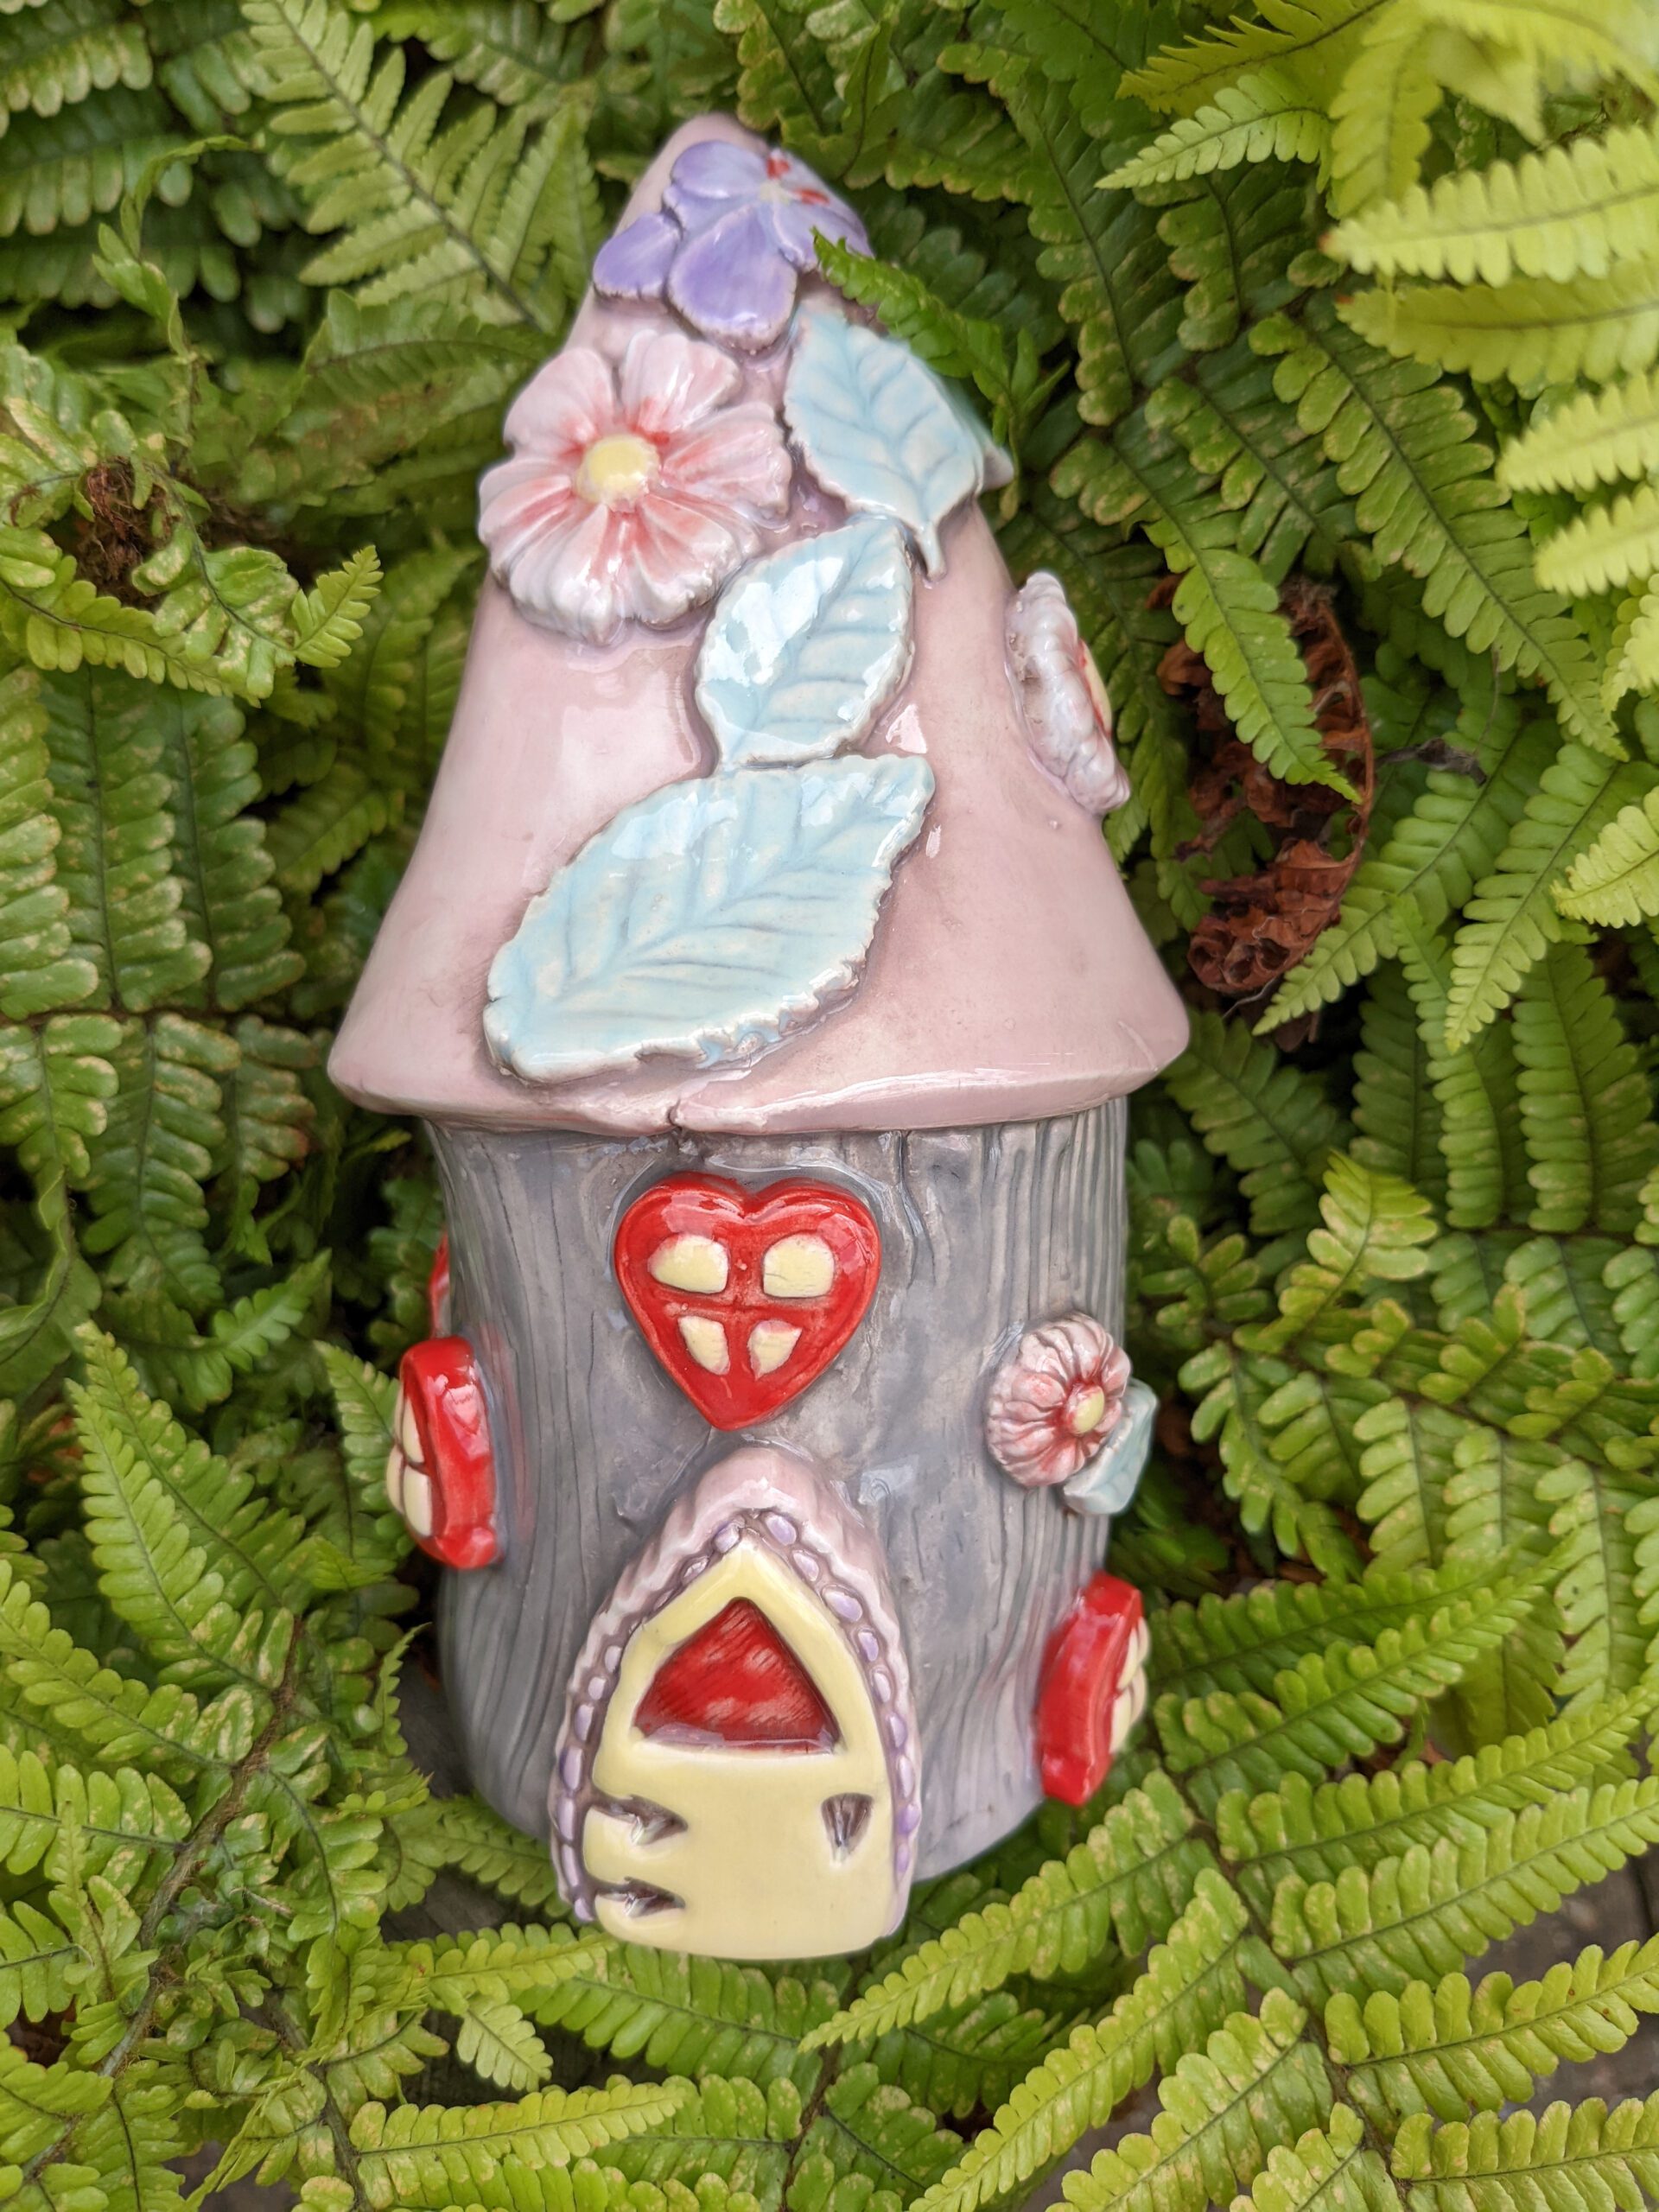


Complete Starter Kit To Make Your Own Fairy House
£45.00
This item is for a full set of 3D printed cutters and stamps to make your very own fairy house!
In this set you will receive:
- Fairy house base cutter
- Fairy house wall cutter
- fairy house roof cutter
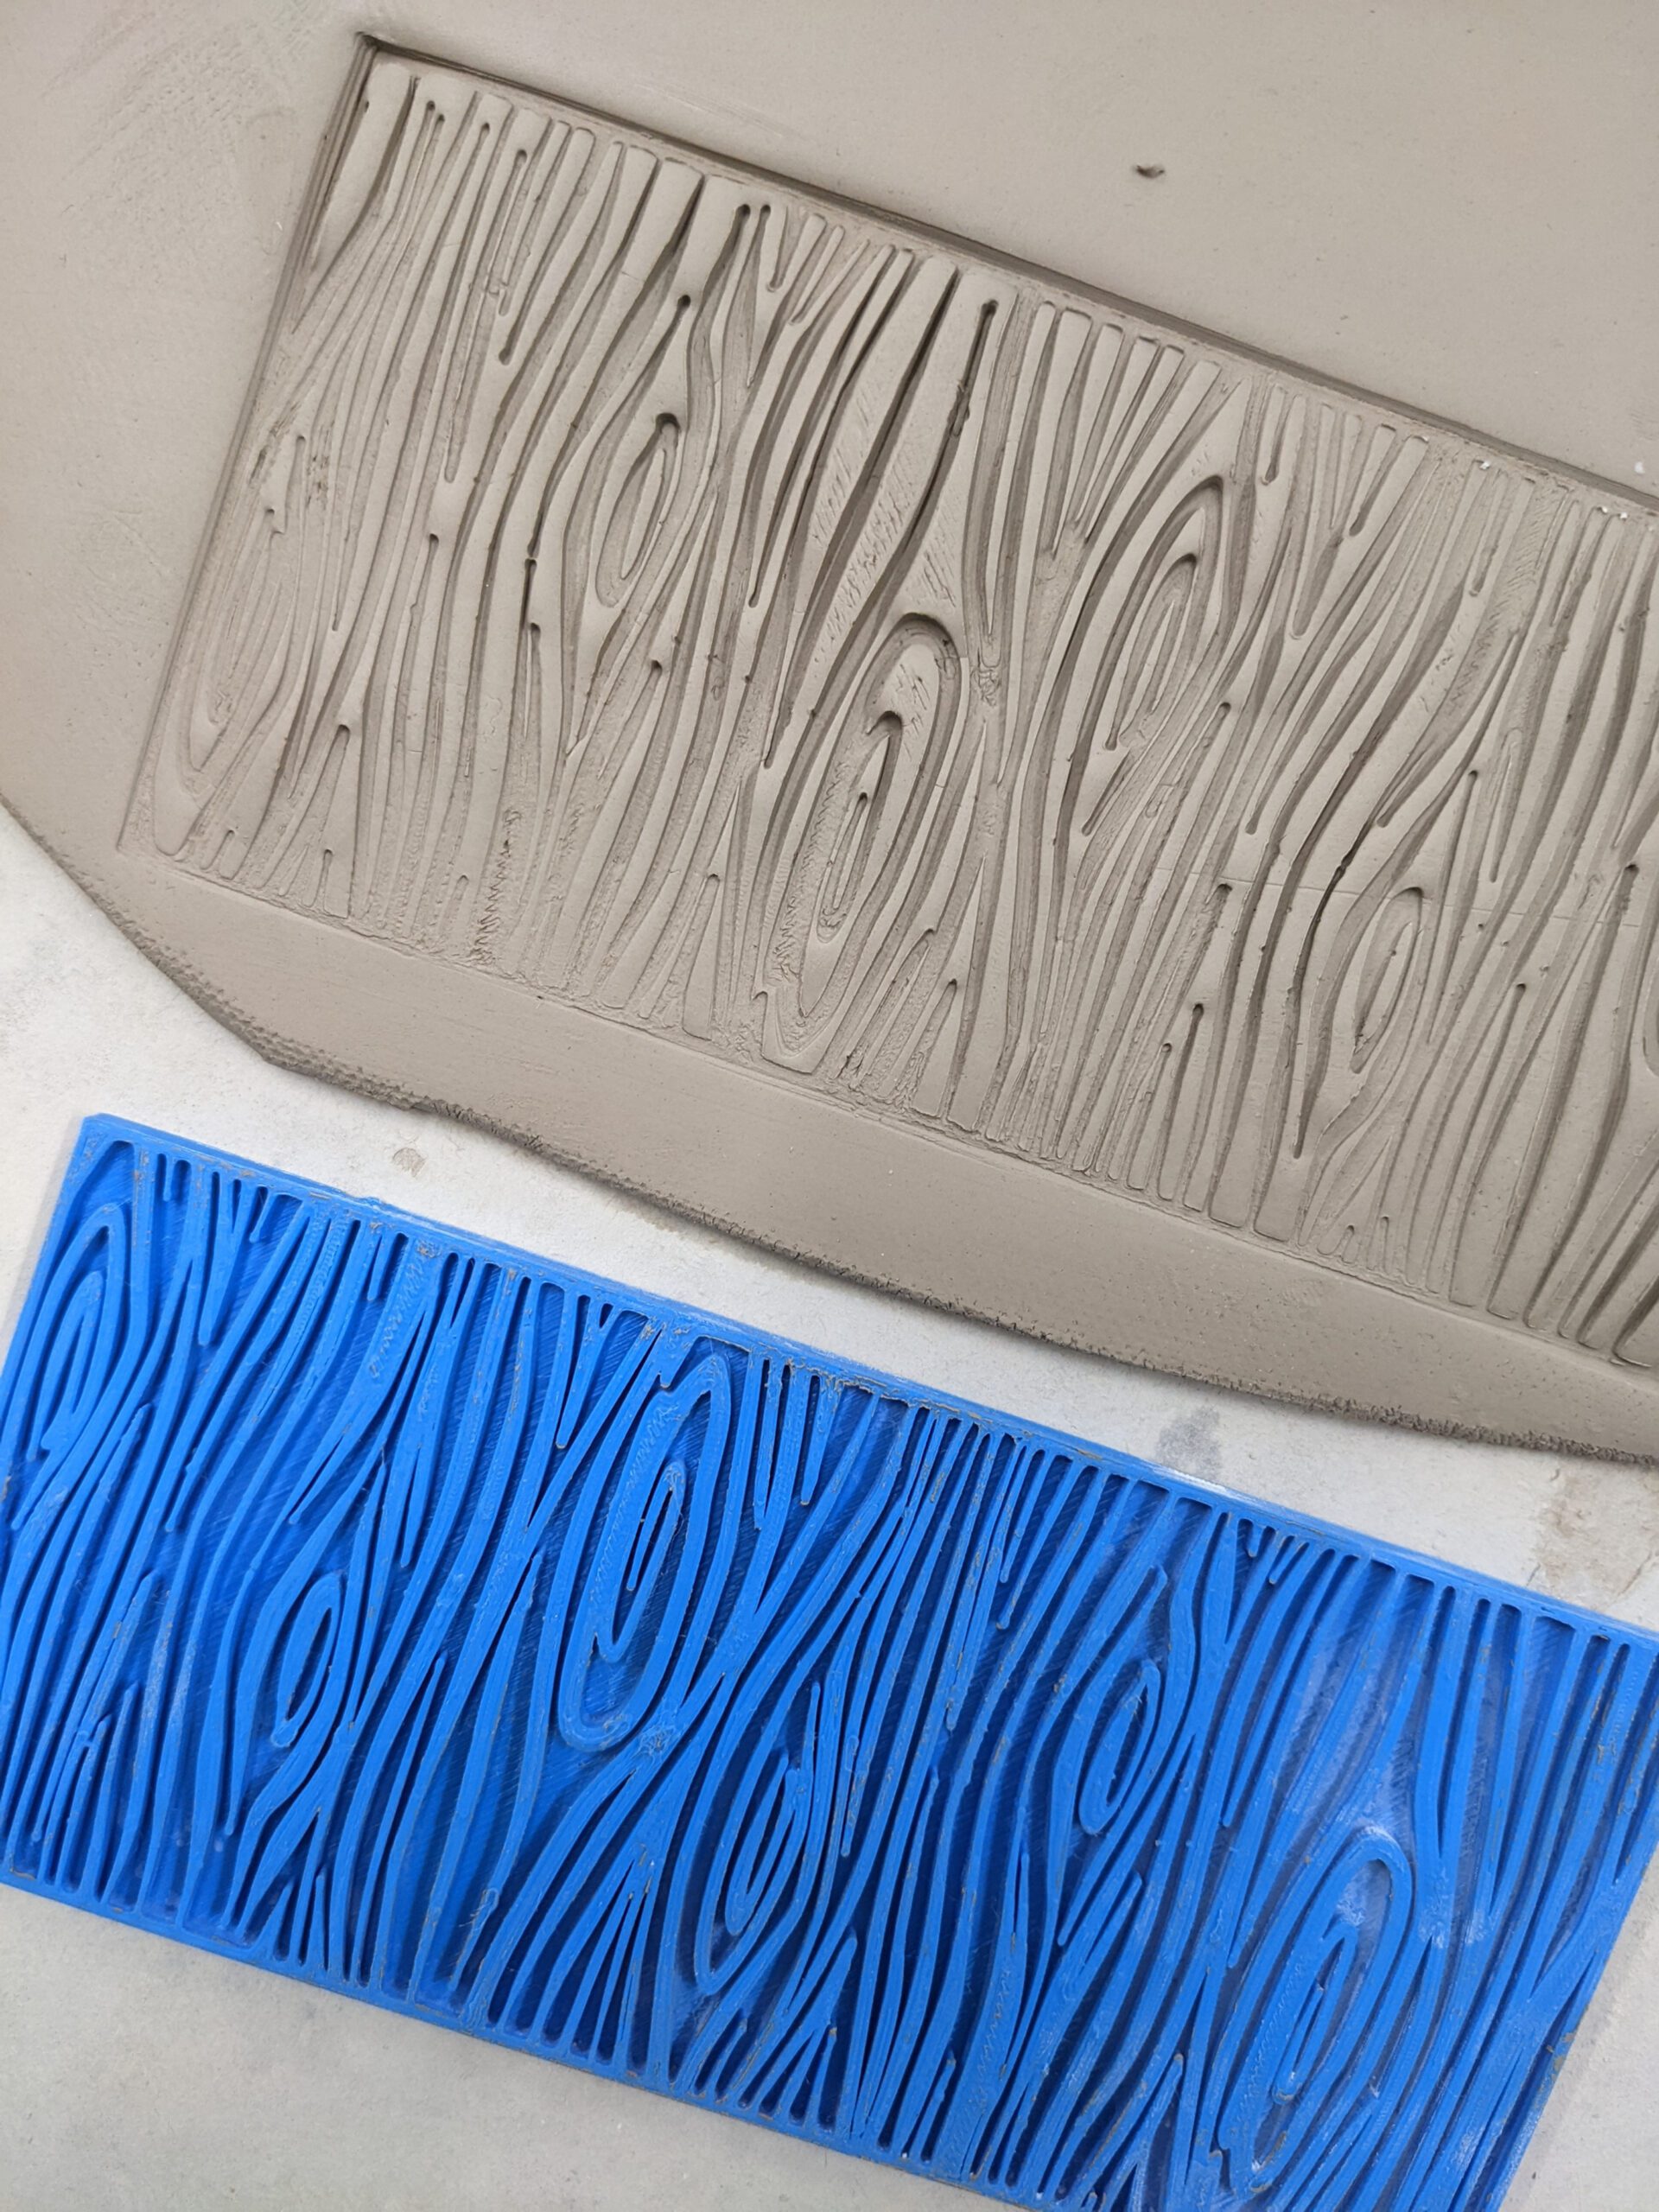
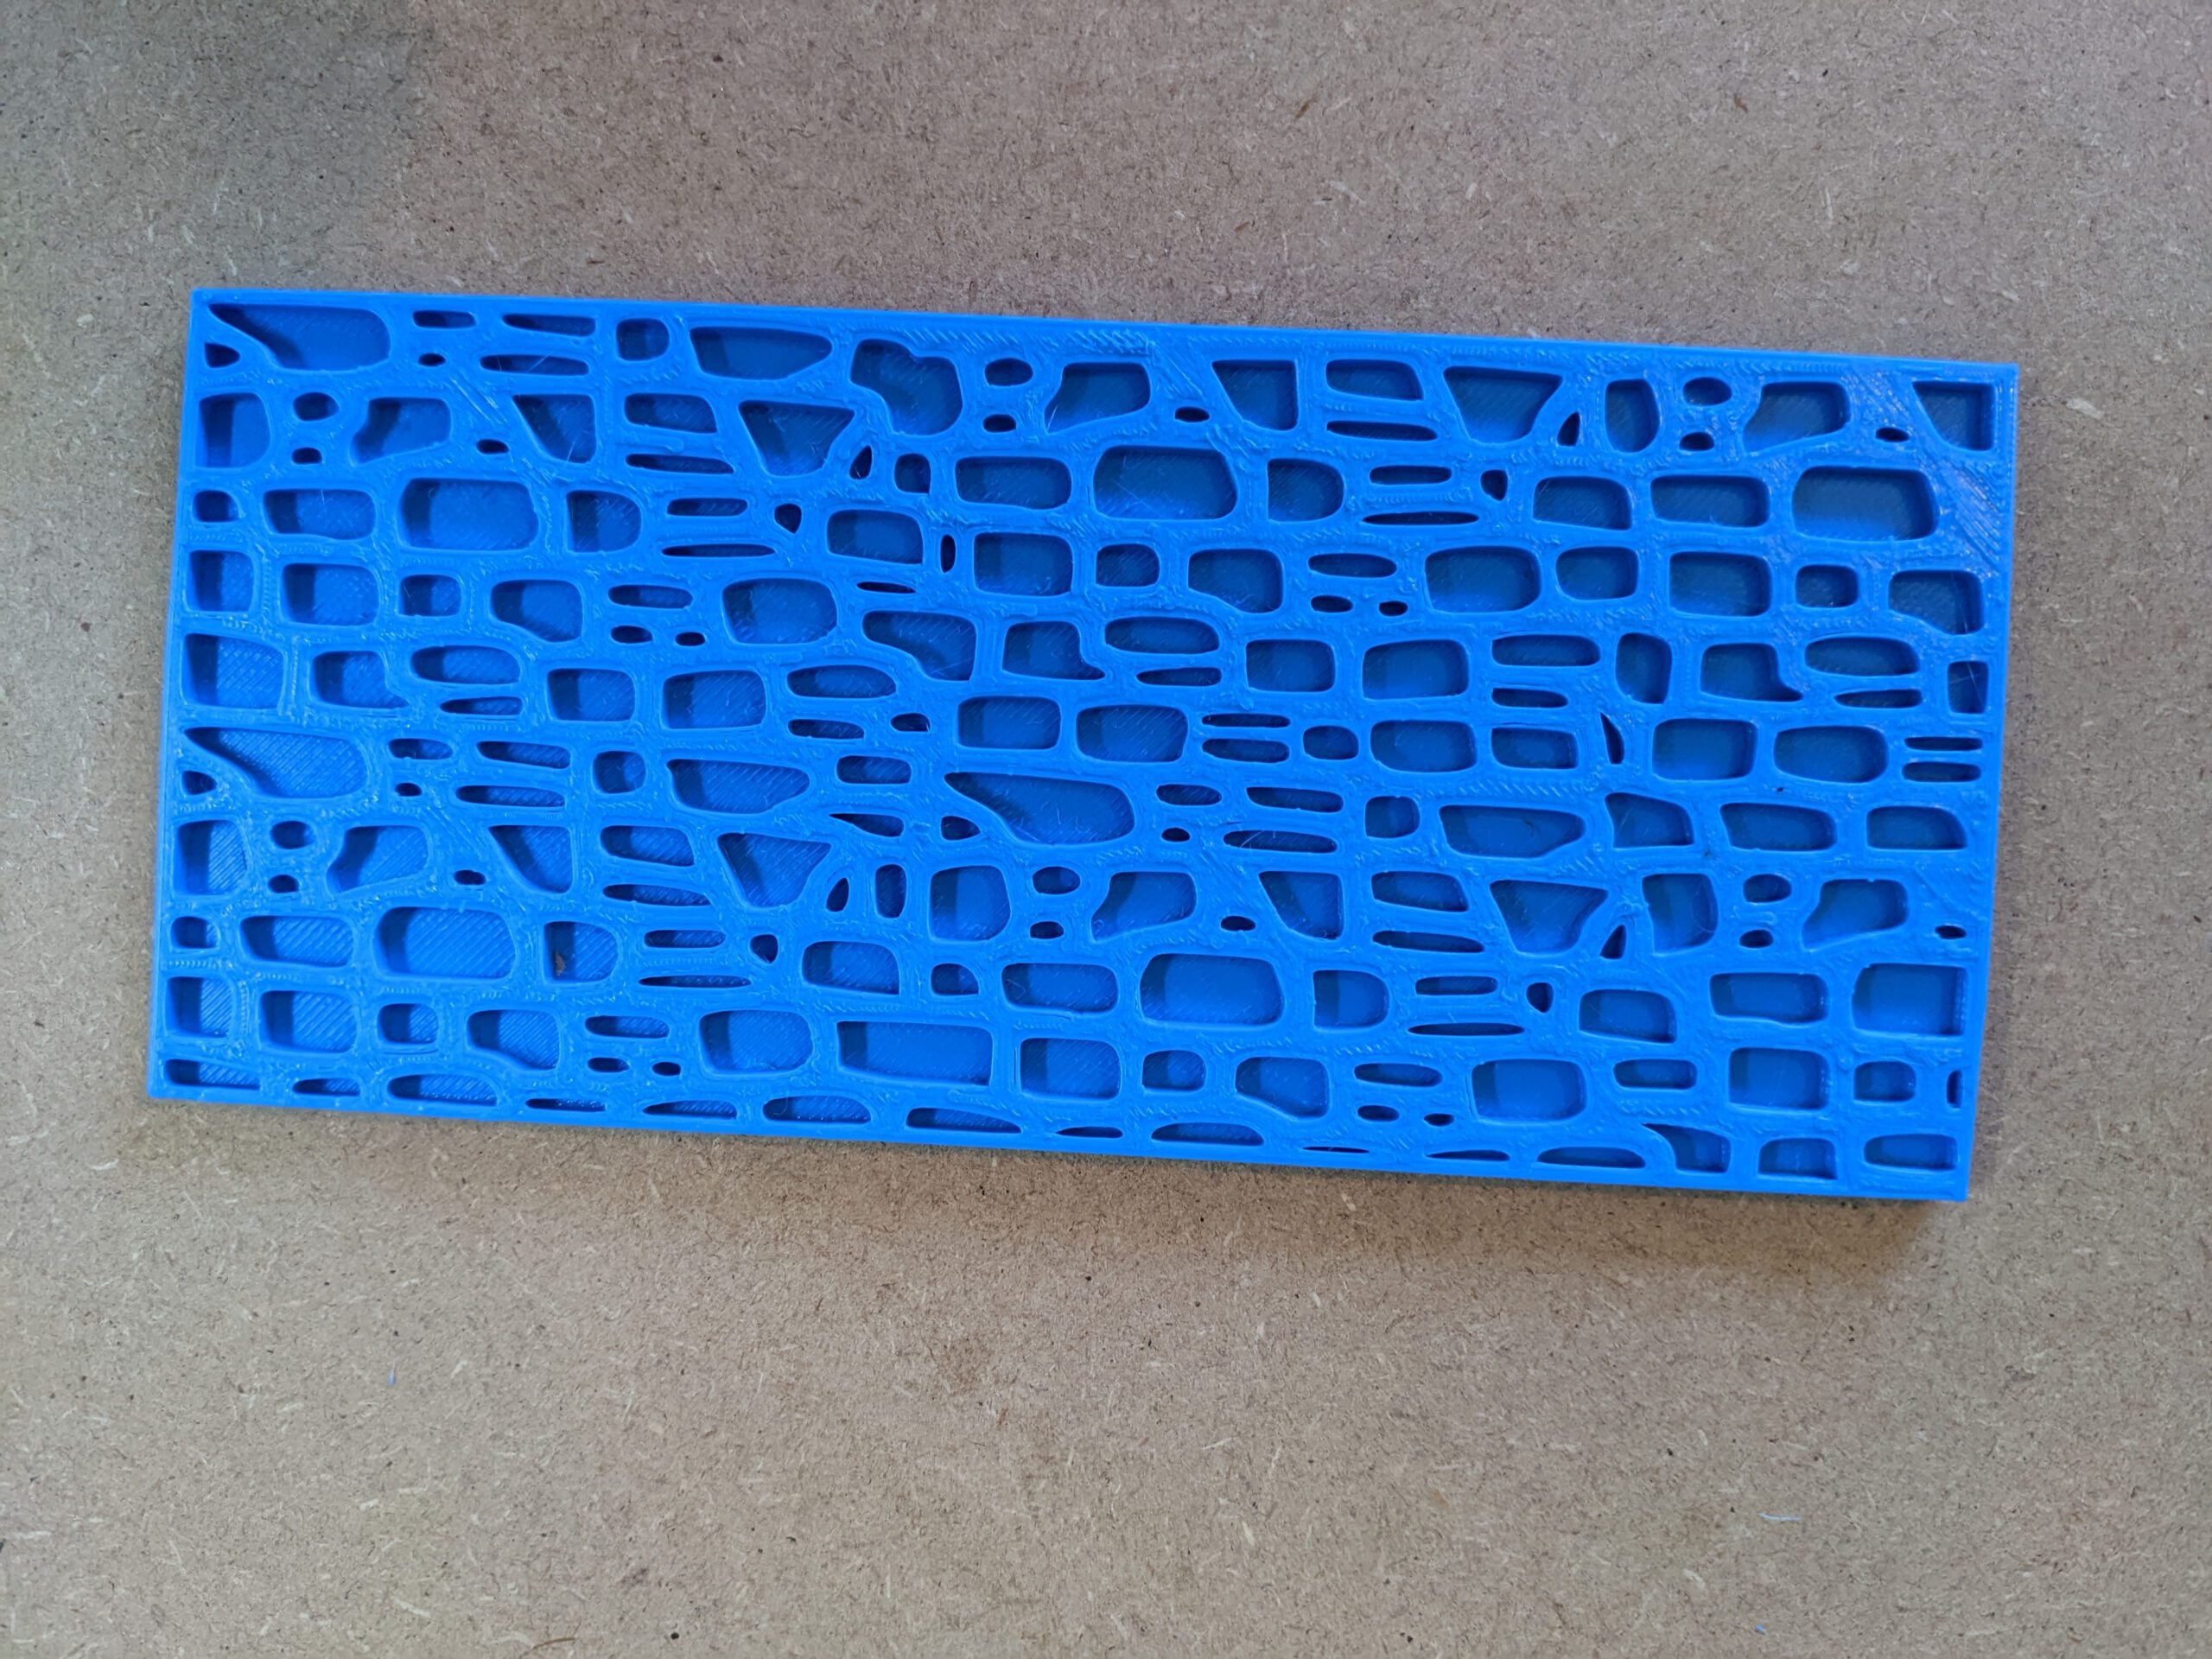
- set of 3 texture stamps for the walls – brick, wood and cobble stone.
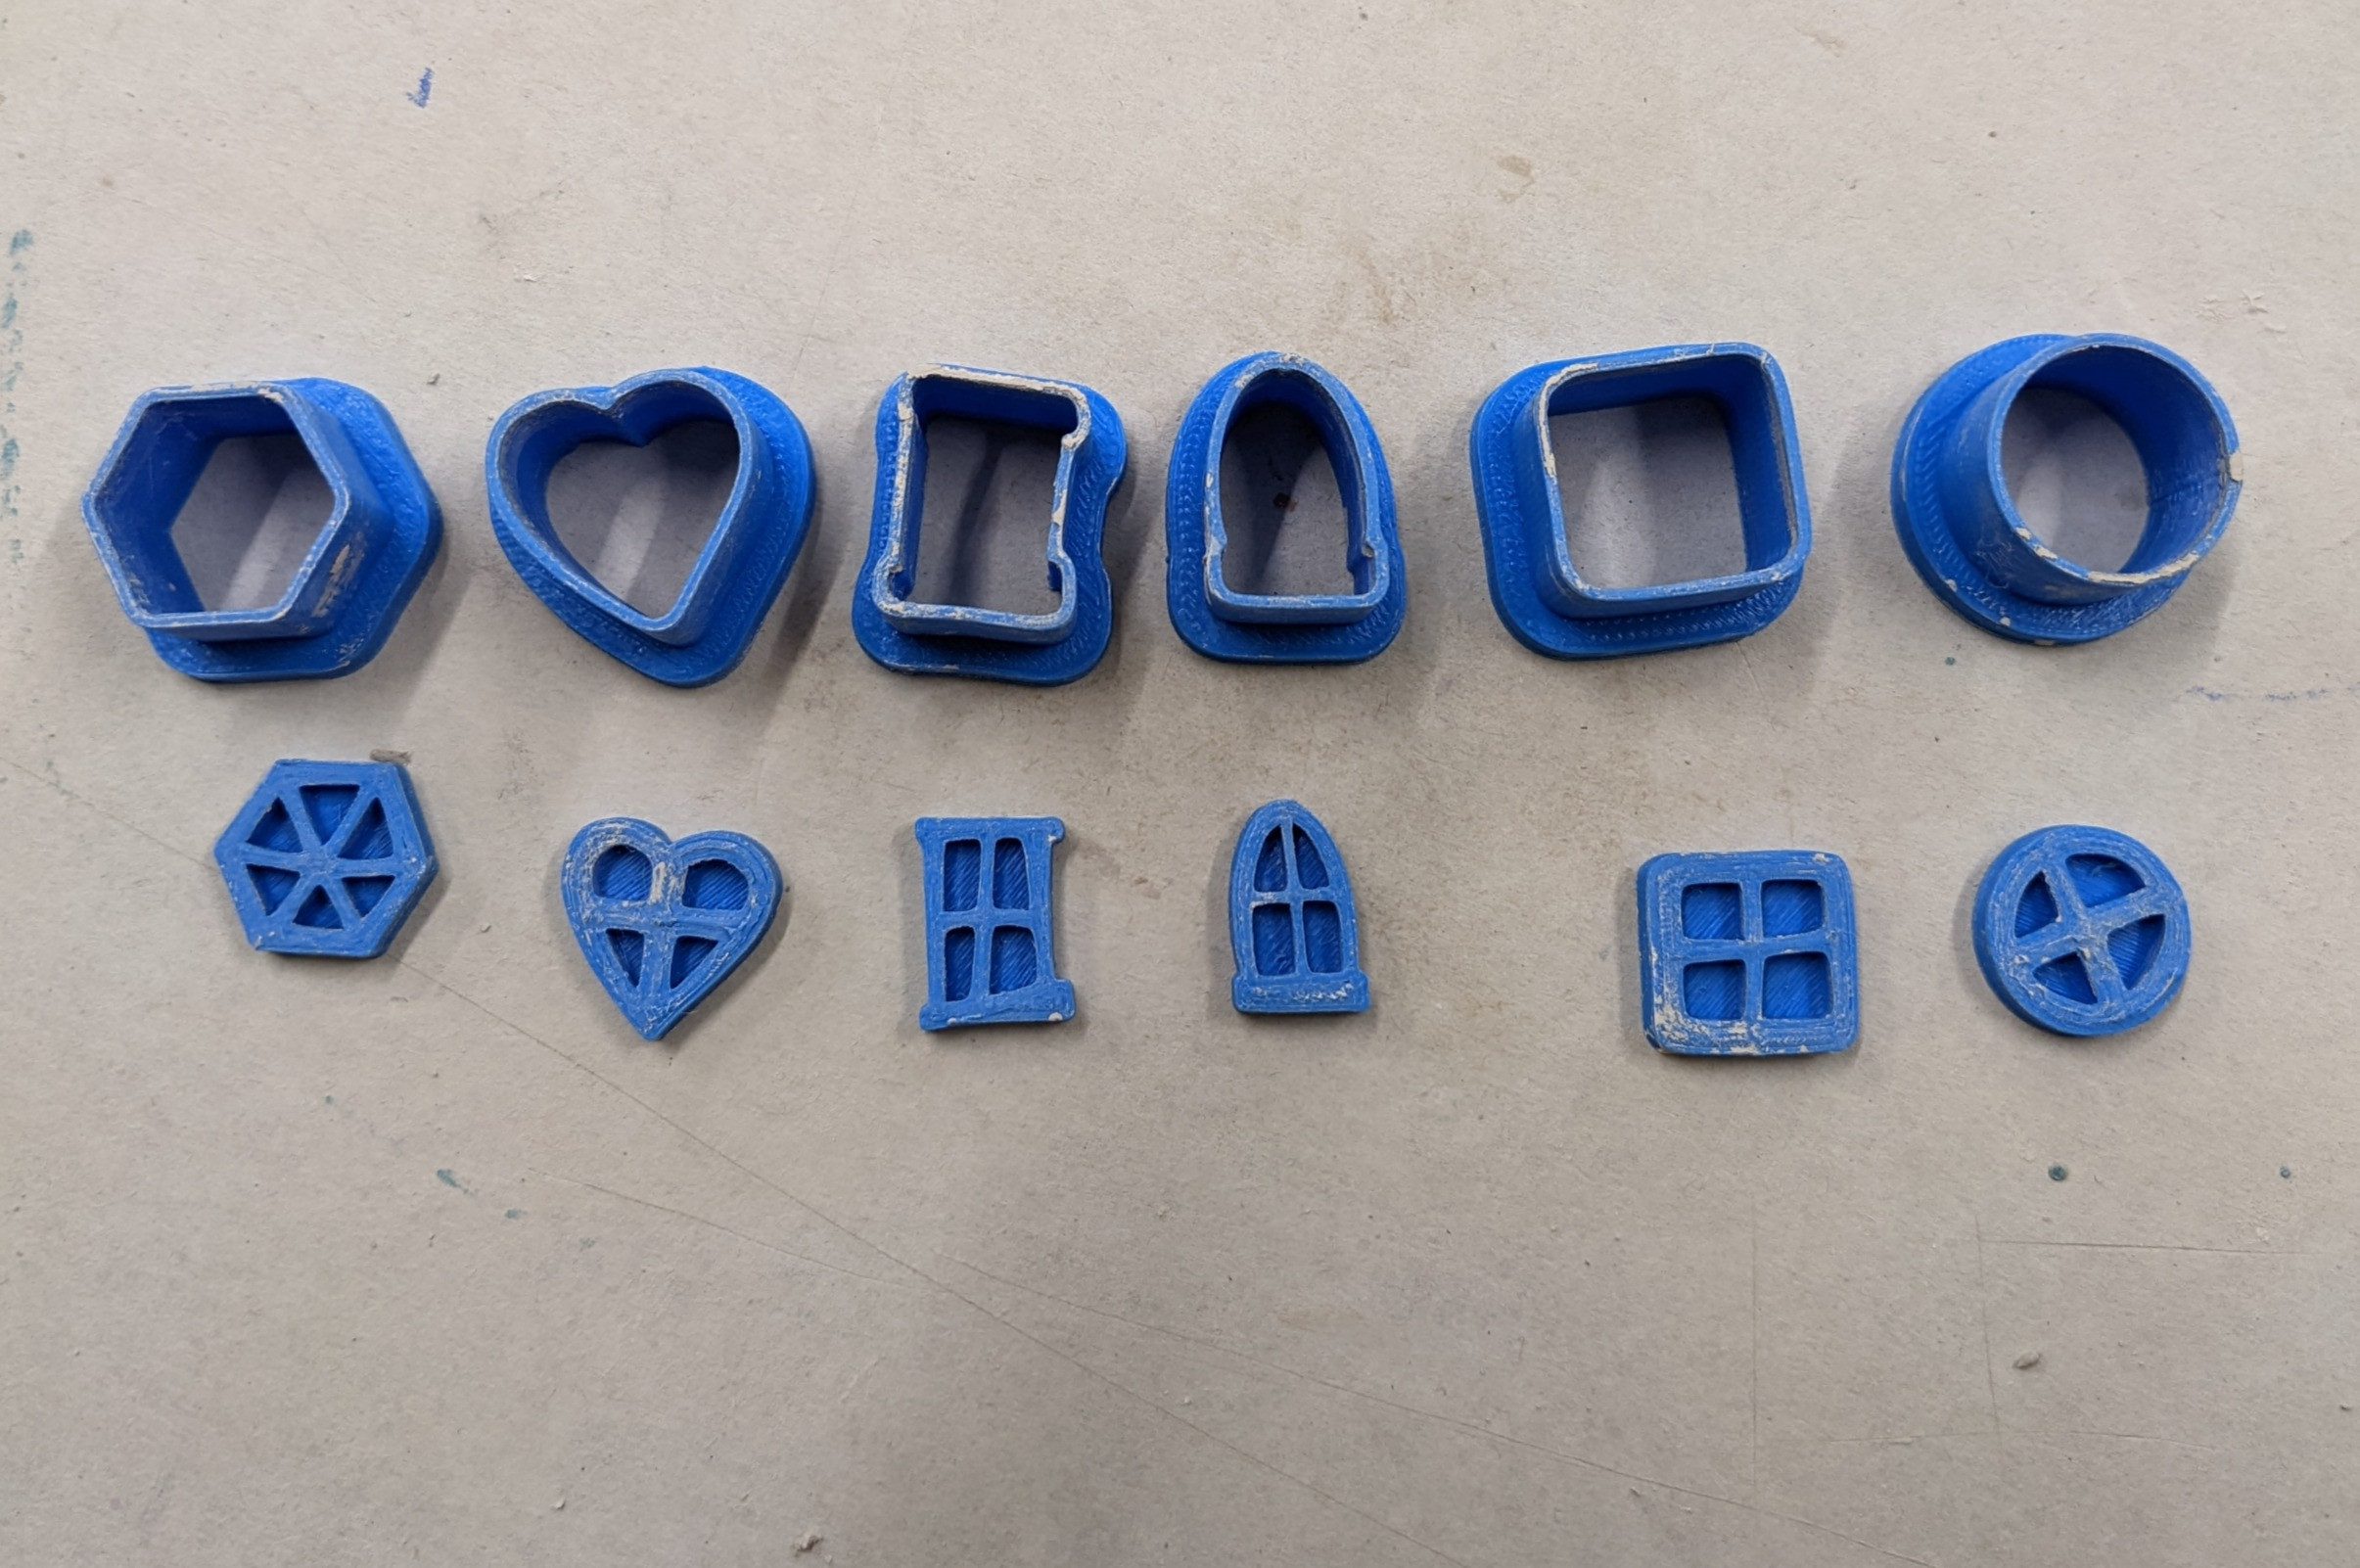
- 4 x stamp and cutter sets to make 4 different fairy doors
- 6 different stamp and cutter sets to make 6 different fairy windows.
HAVE FUN!!! (and don’t forget to share your designs with us, we love seeing what you make!)
Make magical fairy houses to sell in your PYOP studio, for yourself to paint to sell, or to run as a workshop.
This cutter is printed in PLA filament. This item is not food safe. The photo of the bisque item is for inspiration only, this listing is for the 3d printed cutter for you to make the bisque pieces yourself. The colour of your cutters may vary at any time and may be different from that shown in the photo.
Description
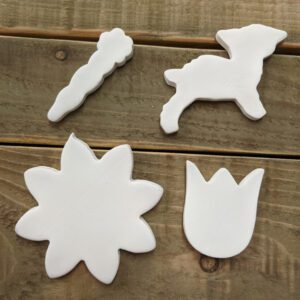
This listing is for an item(s) that is printed with PLA filament using a 3D printer. The photos alongside the main photo will show you bisque fired earthenware clay pieces made with the cutters / stamps and also some painted pieces for inspiration. You will also find extra inspiration in our gallery.
This item is perfect for making your own bisque to sell in your PYOP studio, for use within a pottery studio, or for your own handicrafts…. the only limit is your imagination!
The colour of your cutters and stamps may vary from those shown in the photograph.
After use, rinse in cool water (never use hot water and do not soak) and dry immediately. Store in a cool, dry place.
Intstructions to make your fairy house…
- Roll out clay to approx. 6mm, large enough to fit all of your cutters.
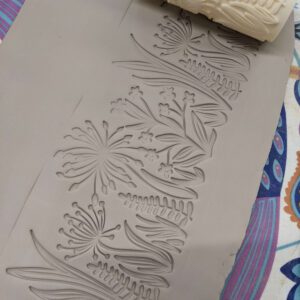
- Add texture to your walls however you wish. You may want to do this before cutting out your clay.
- Use your cutters to cut out a base, the wall and the roof
- If you’ve added texture to any of your pieces, flip them over so you are now working on the ‘back’
- Score all around the side of the base, score the 2 straight edges of the roof, and score 3 sides of your wall piece, leaving the ‘top’ edge unscored
- Apply slip to the areas you have scored
- Roll out 3 sausages of clay – 1 the length of the long edge of the wall piece and 2 the length of the shore edges
- Stand up the wall piece and start shaping around the base. Use the long sausage of clay to line the join as you go.
- Smooth the sausage of clay into the wall and base to seal the join
- Continue all the way around until the 2 short edges of your walls meet. Firm these edges together
- Smooth one of the shorter sausages of clay into where the edges meet on the inside and outside of the house
- Roll out some more clay to approx. 3mm thick. Stamp in the door texture then use the cutter to cut it out
- Score and paint slip on the back of the door and the area you want to attach it on the fairy house. Attach and seal the edge with a slightly damp paintbrush
- Stand up the roof piece into a cone shape until the 2 straight edges meet
- Roll out 2 more sausages of clay to smooth the join inside and outside of the roof piece – blend these in
- Smooth and shape the roof as you wish to add character
- Add the roof to the house and use a damp paintbrush to seal the join
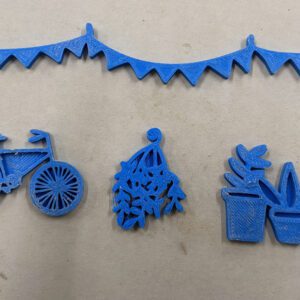
- Decorate however you wish! Add bunting or windows, whatever you’d like. Just remember to score and slip everything you add.
- Now you have your finished fairy house! Add a couple of small holes somewhere so it doesn’t explode in the kiln then fettle all over with a damp paintbrush
Additional information
| Weight | 0.1 kg |
|---|---|
| Shipping Information |
You may also like…
Related products
-
Spring Themed Cutter Set – 4 Designs (Various Sizes Available)
Price range: £8.00 through £40.00 Select options This product has multiple variants. The options may be chosen on the product page -

Penguin With Ear Muffs Cutter And Stamp Set (Various Sizes Available)
Price range: £4.00 through £10.50 Select options This product has multiple variants. The options may be chosen on the product page -
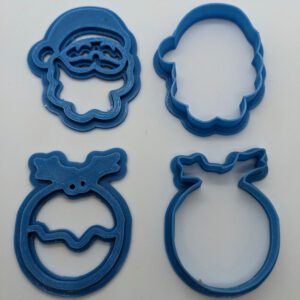
Christmas Toppers Cutters And Stamp Set 2
£20.00 Add to basket -

Trophy Stamp And Cutter Set (Various Sizes Available)
Price range: £4.00 through £10.50 Select options This product has multiple variants. The options may be chosen on the product page
Reviews
There are no reviews yet.