Complete starter kit to make your own fairy house
£45.00
This item is for a full set of 3D printed cutters and stamps to make your very own fairy house!
In this set you will receive:
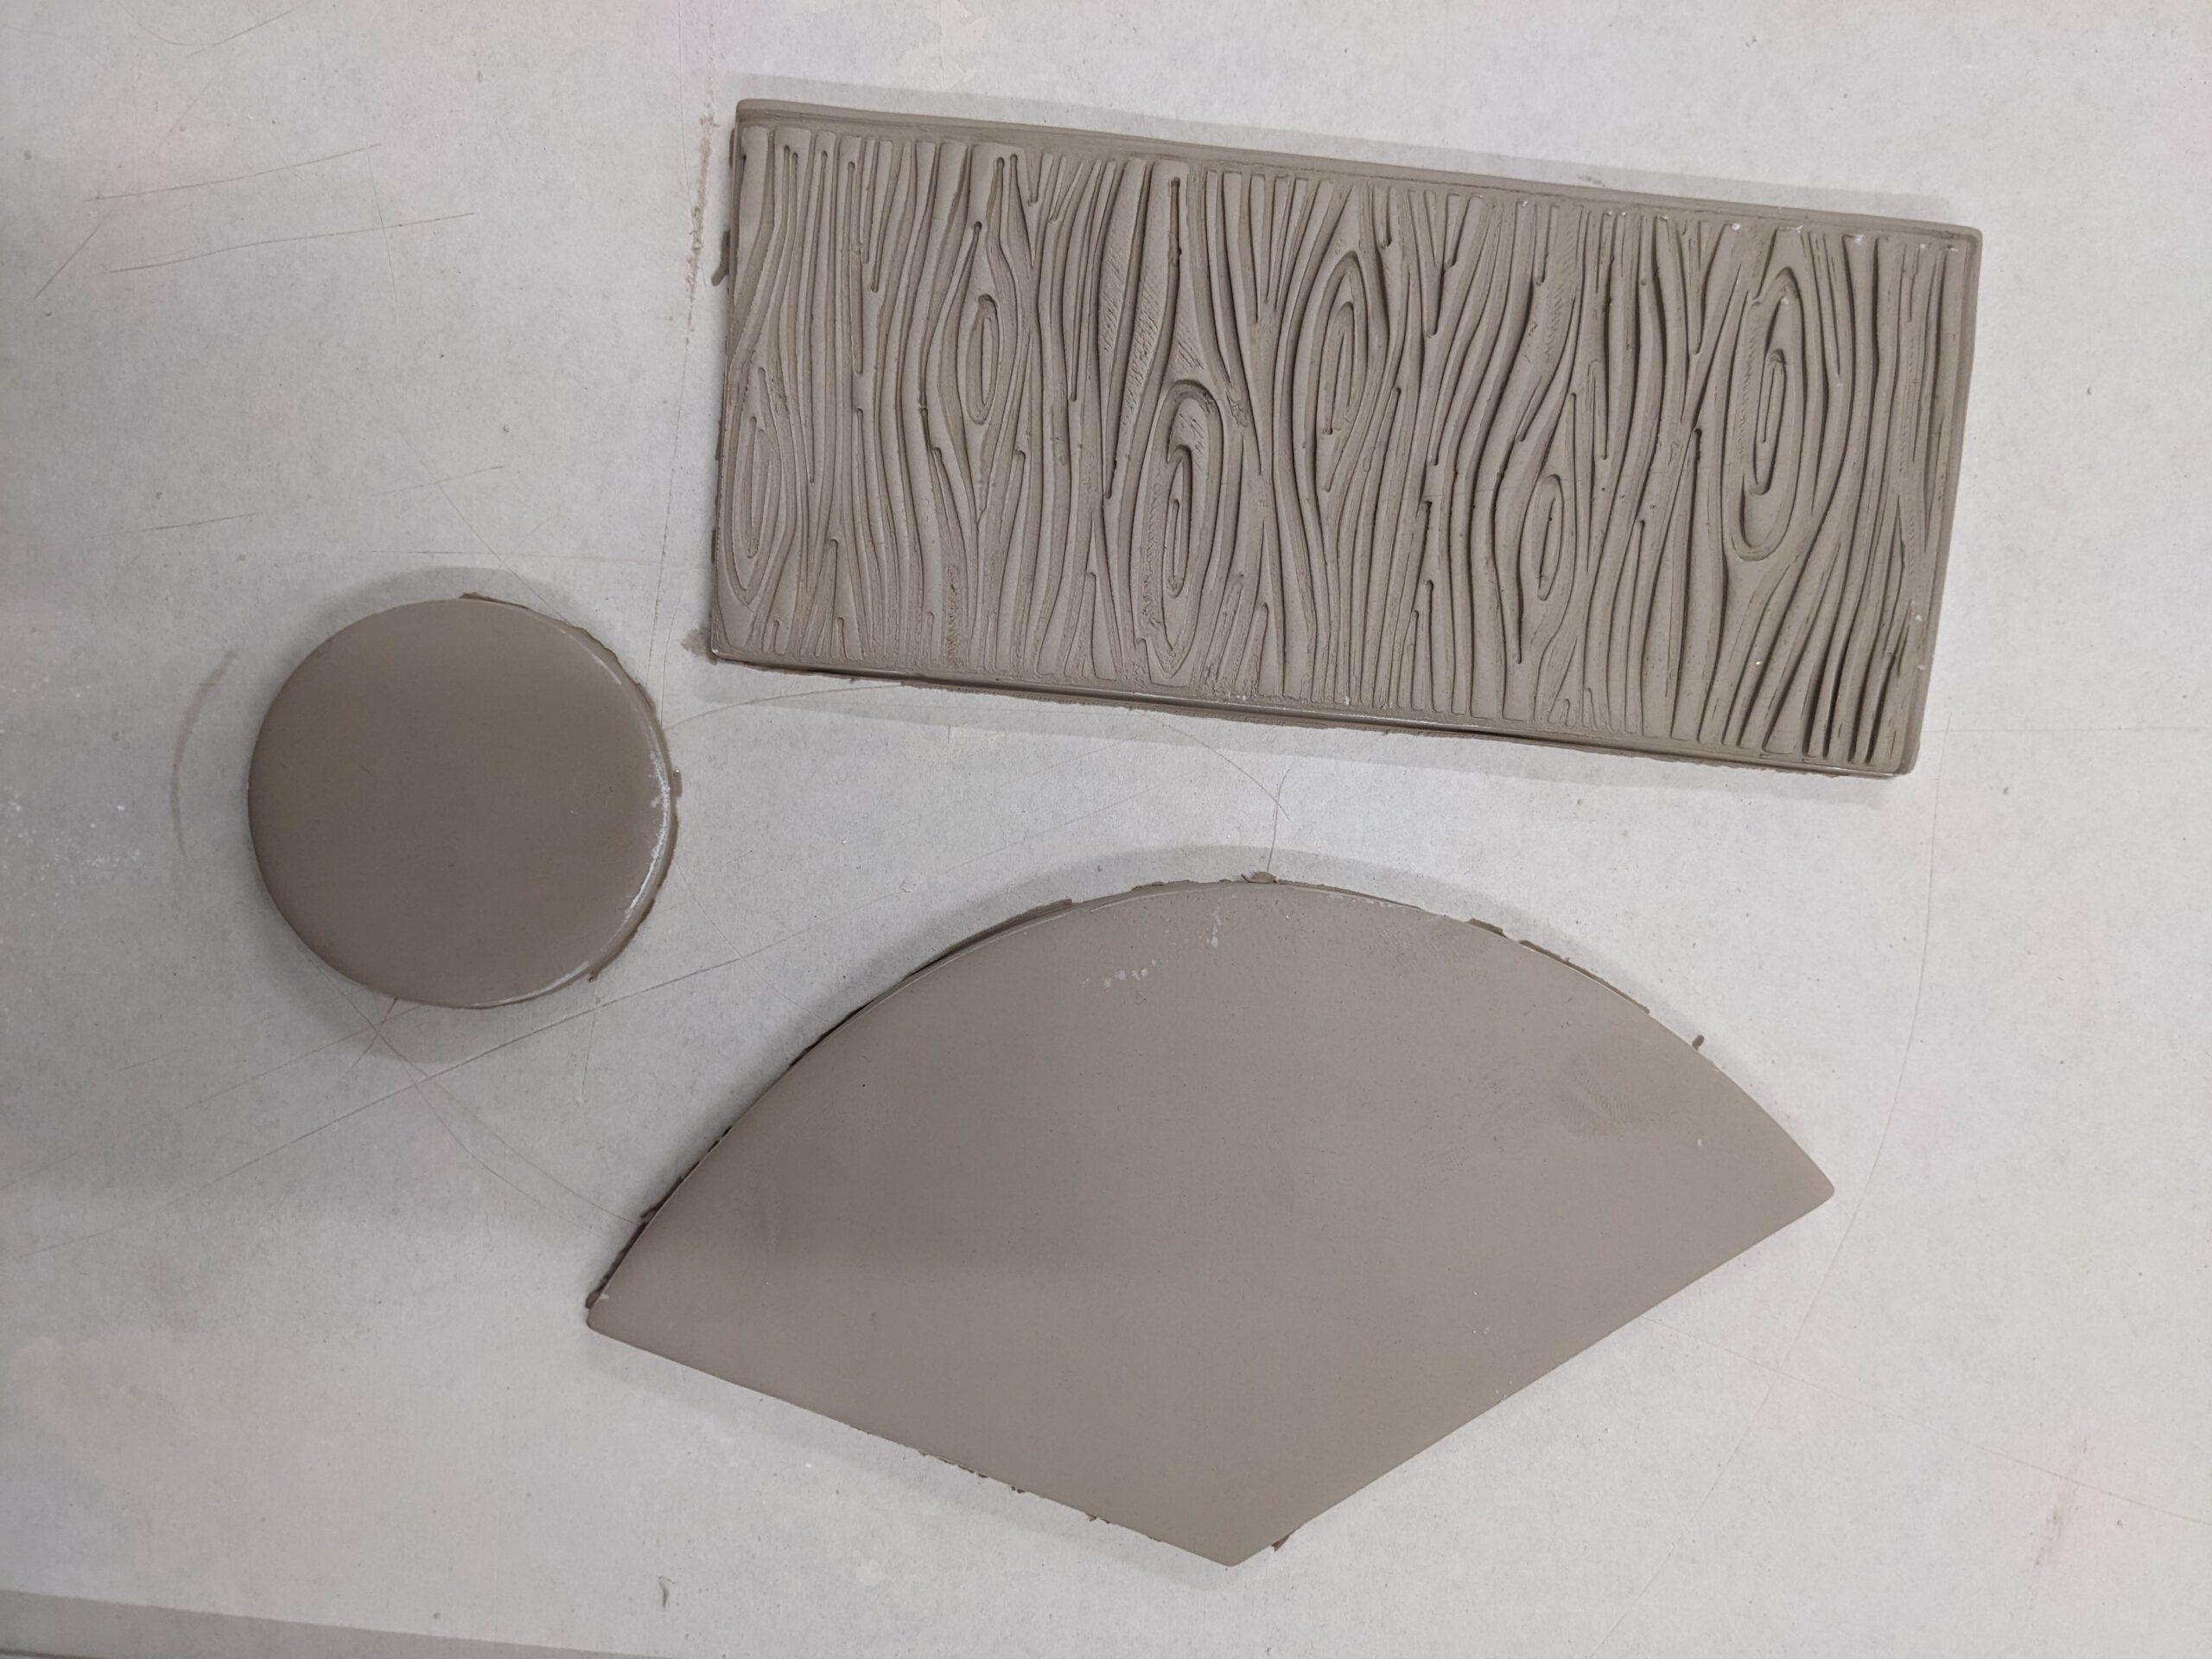
- Fairy house base cutter
- Fairy house wall cutter
- fairy house roof cutter
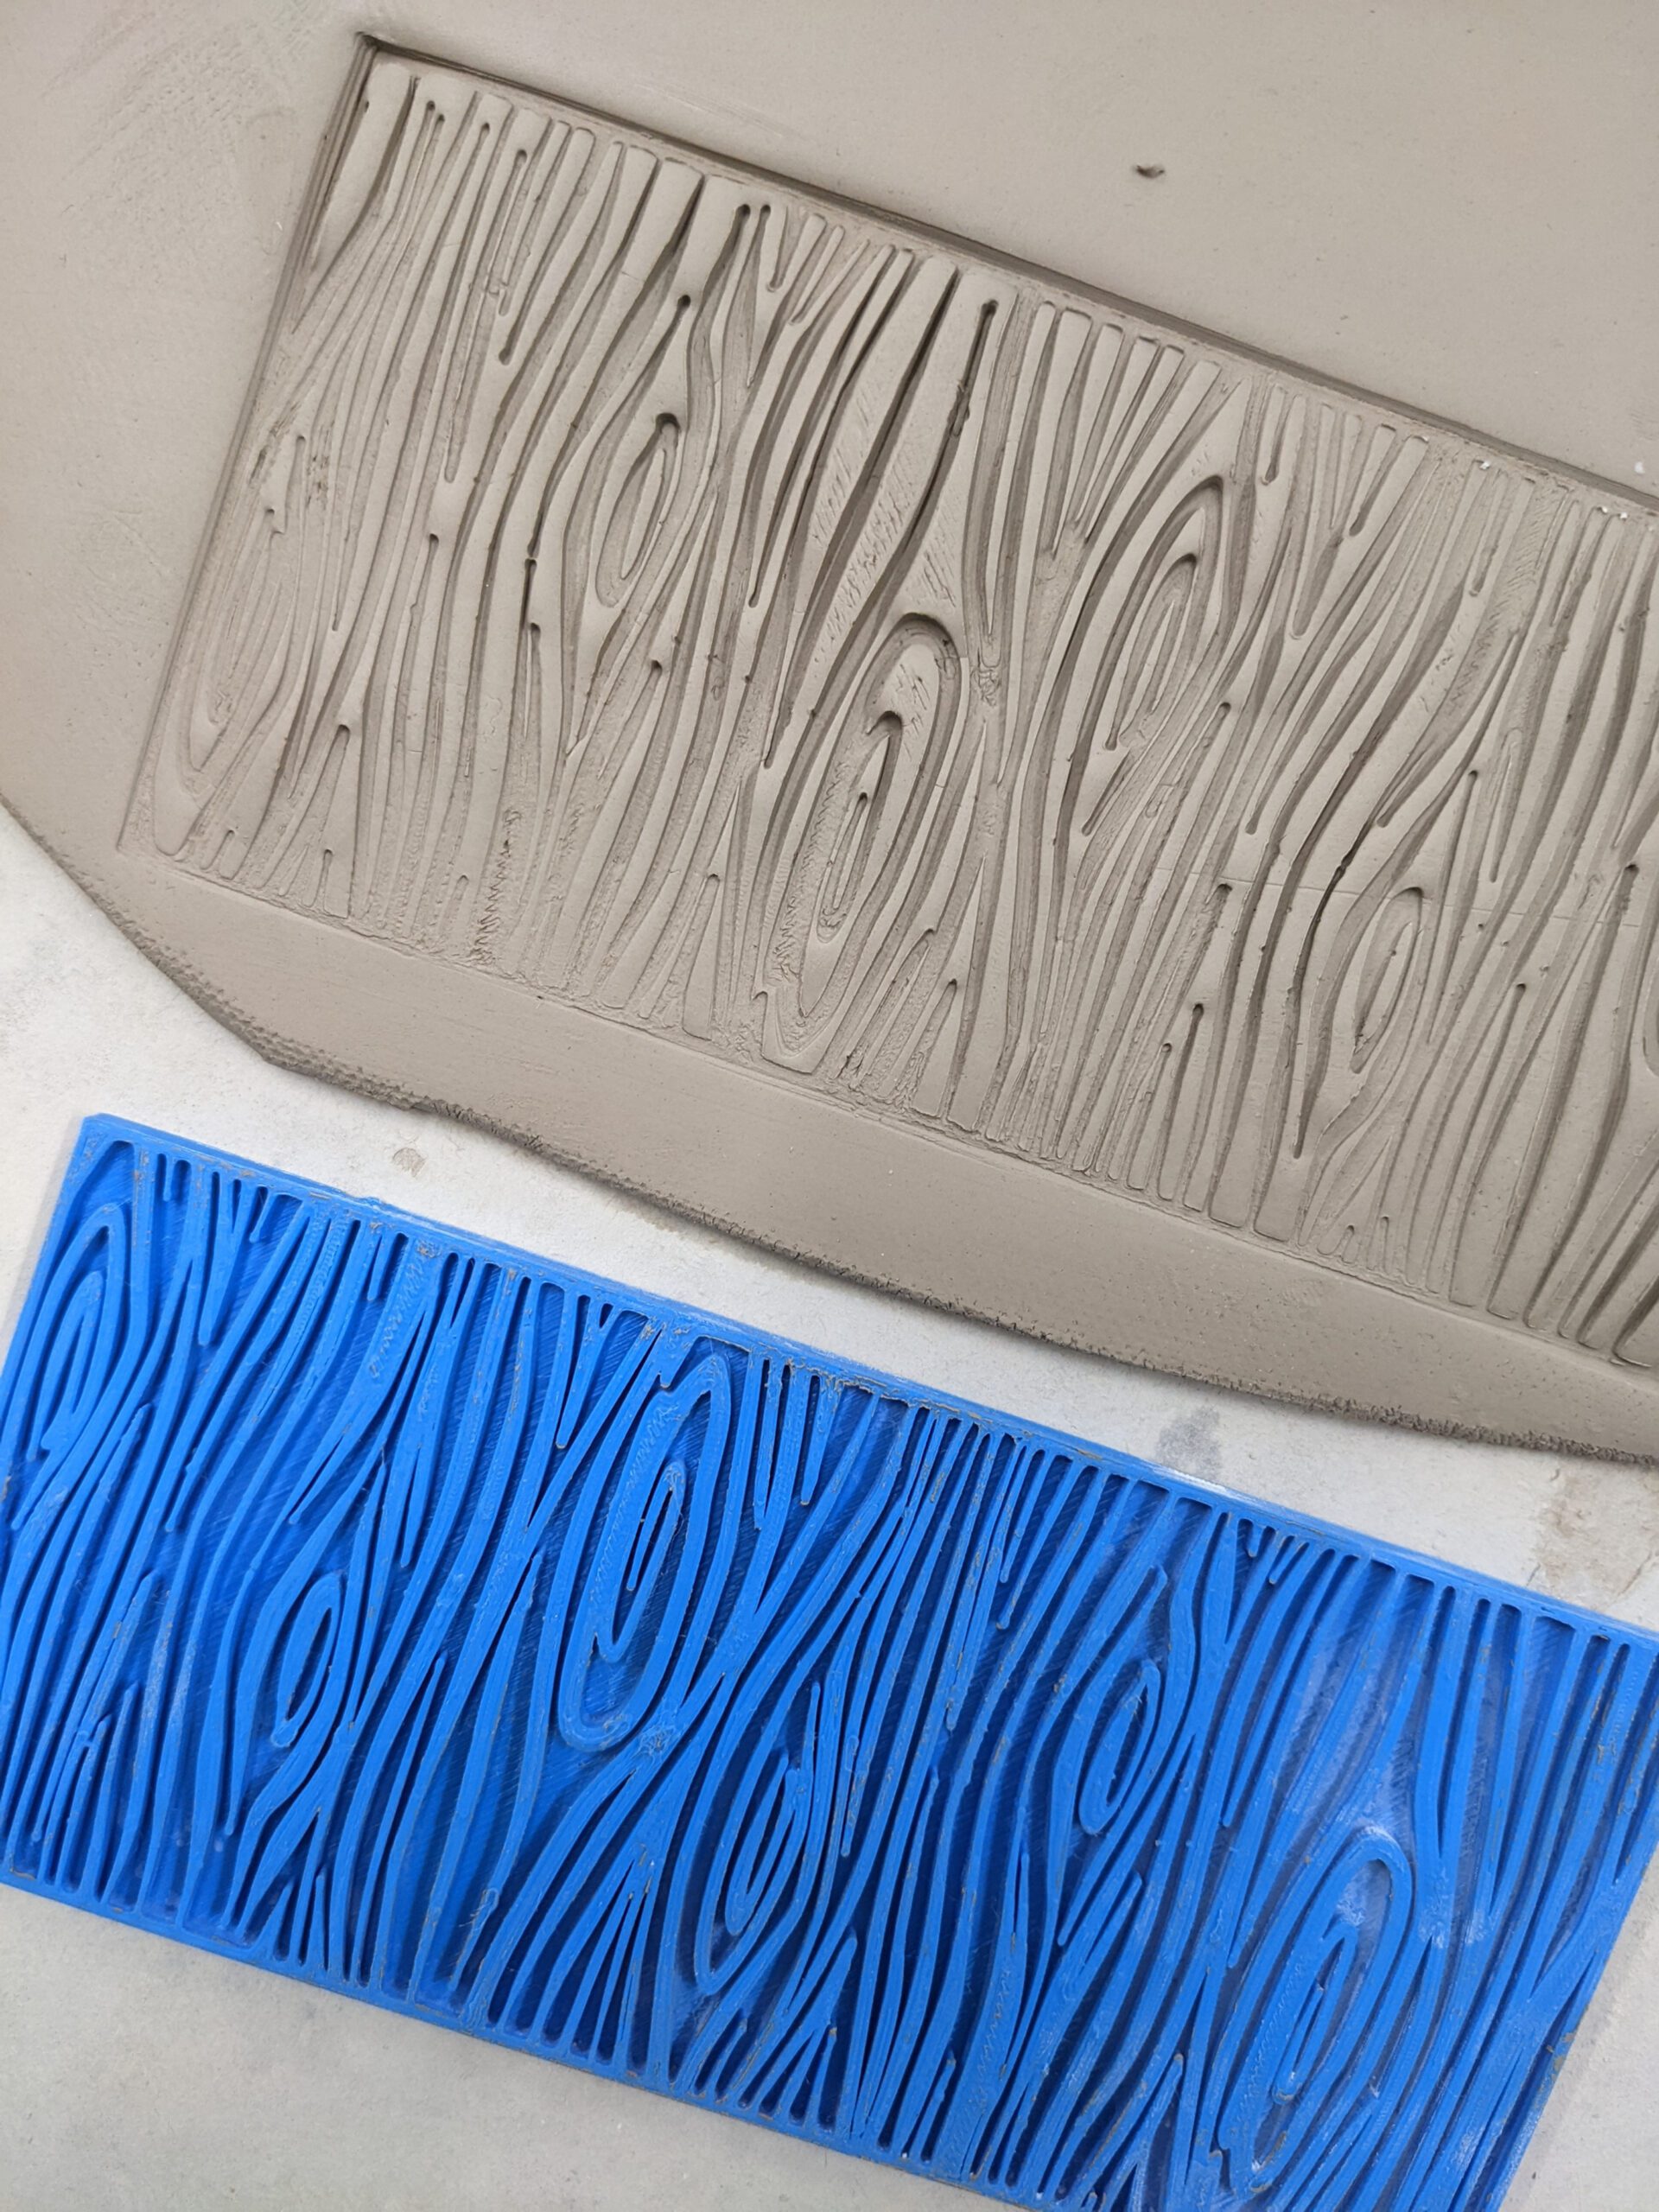
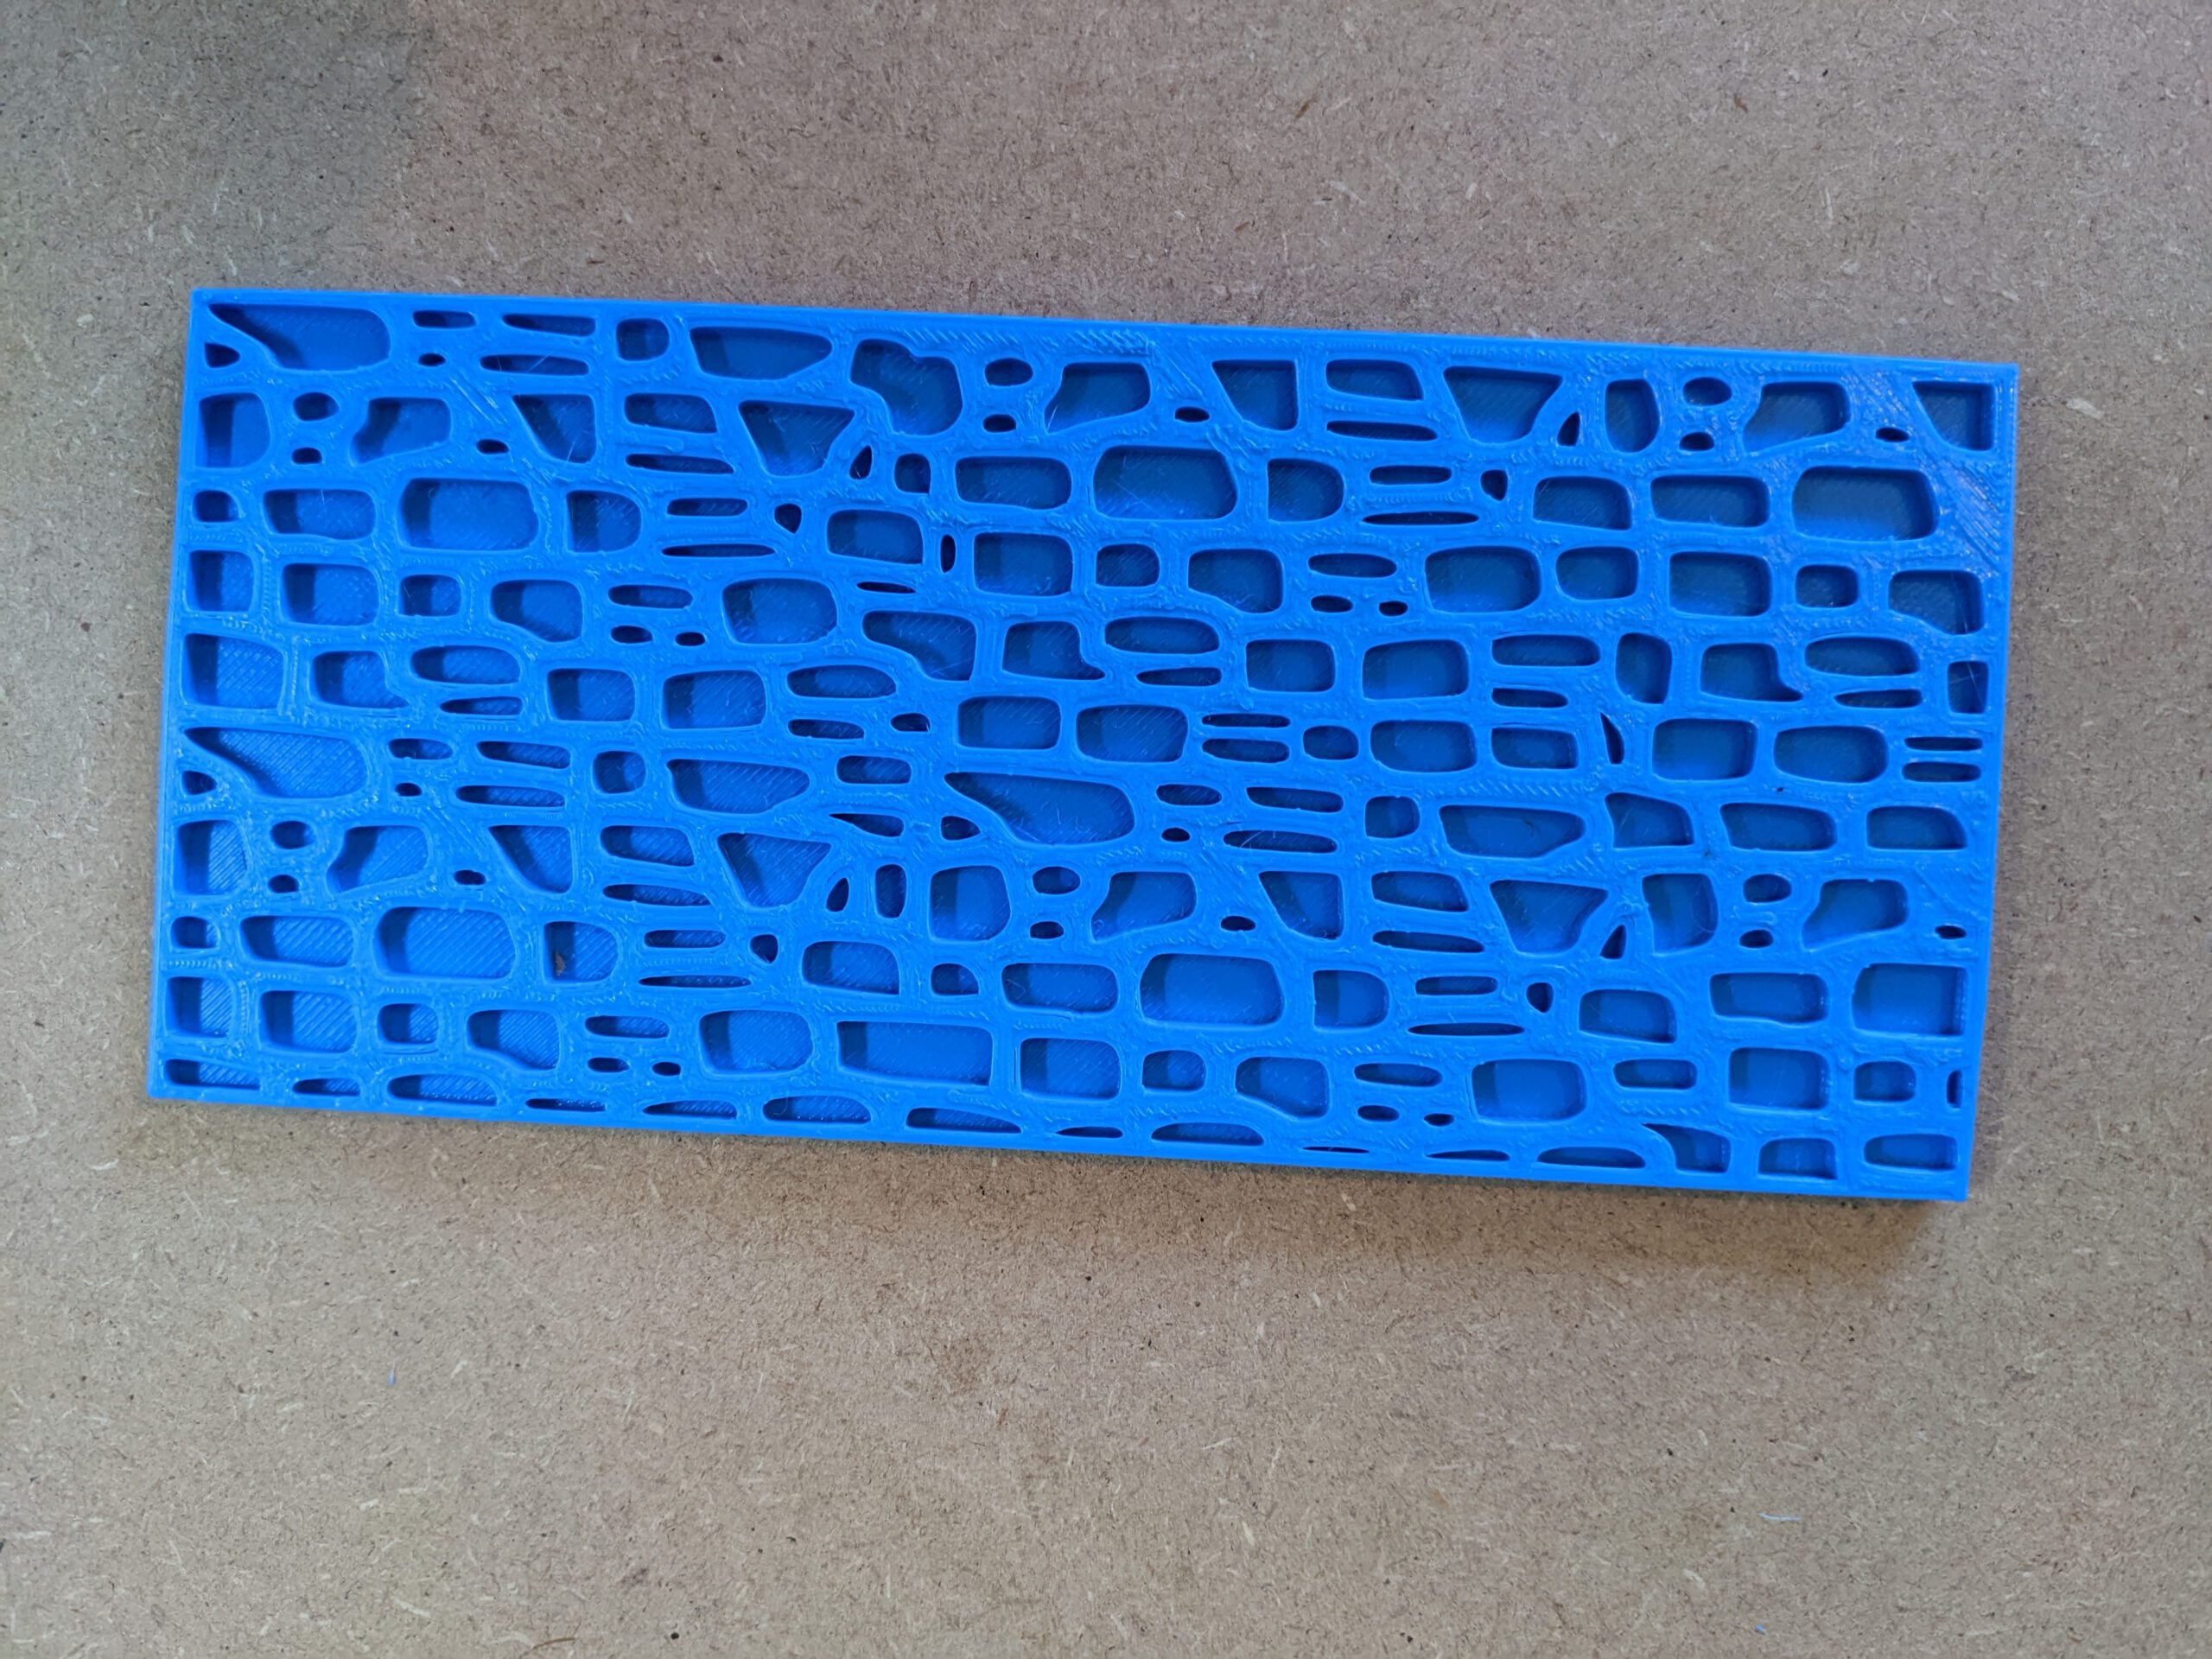
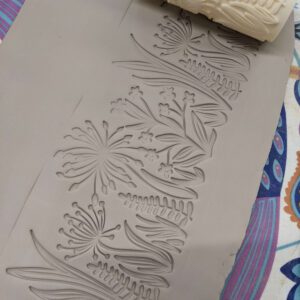
- set of 3 texture stamps for the walls – brick, wood and cobble stone.
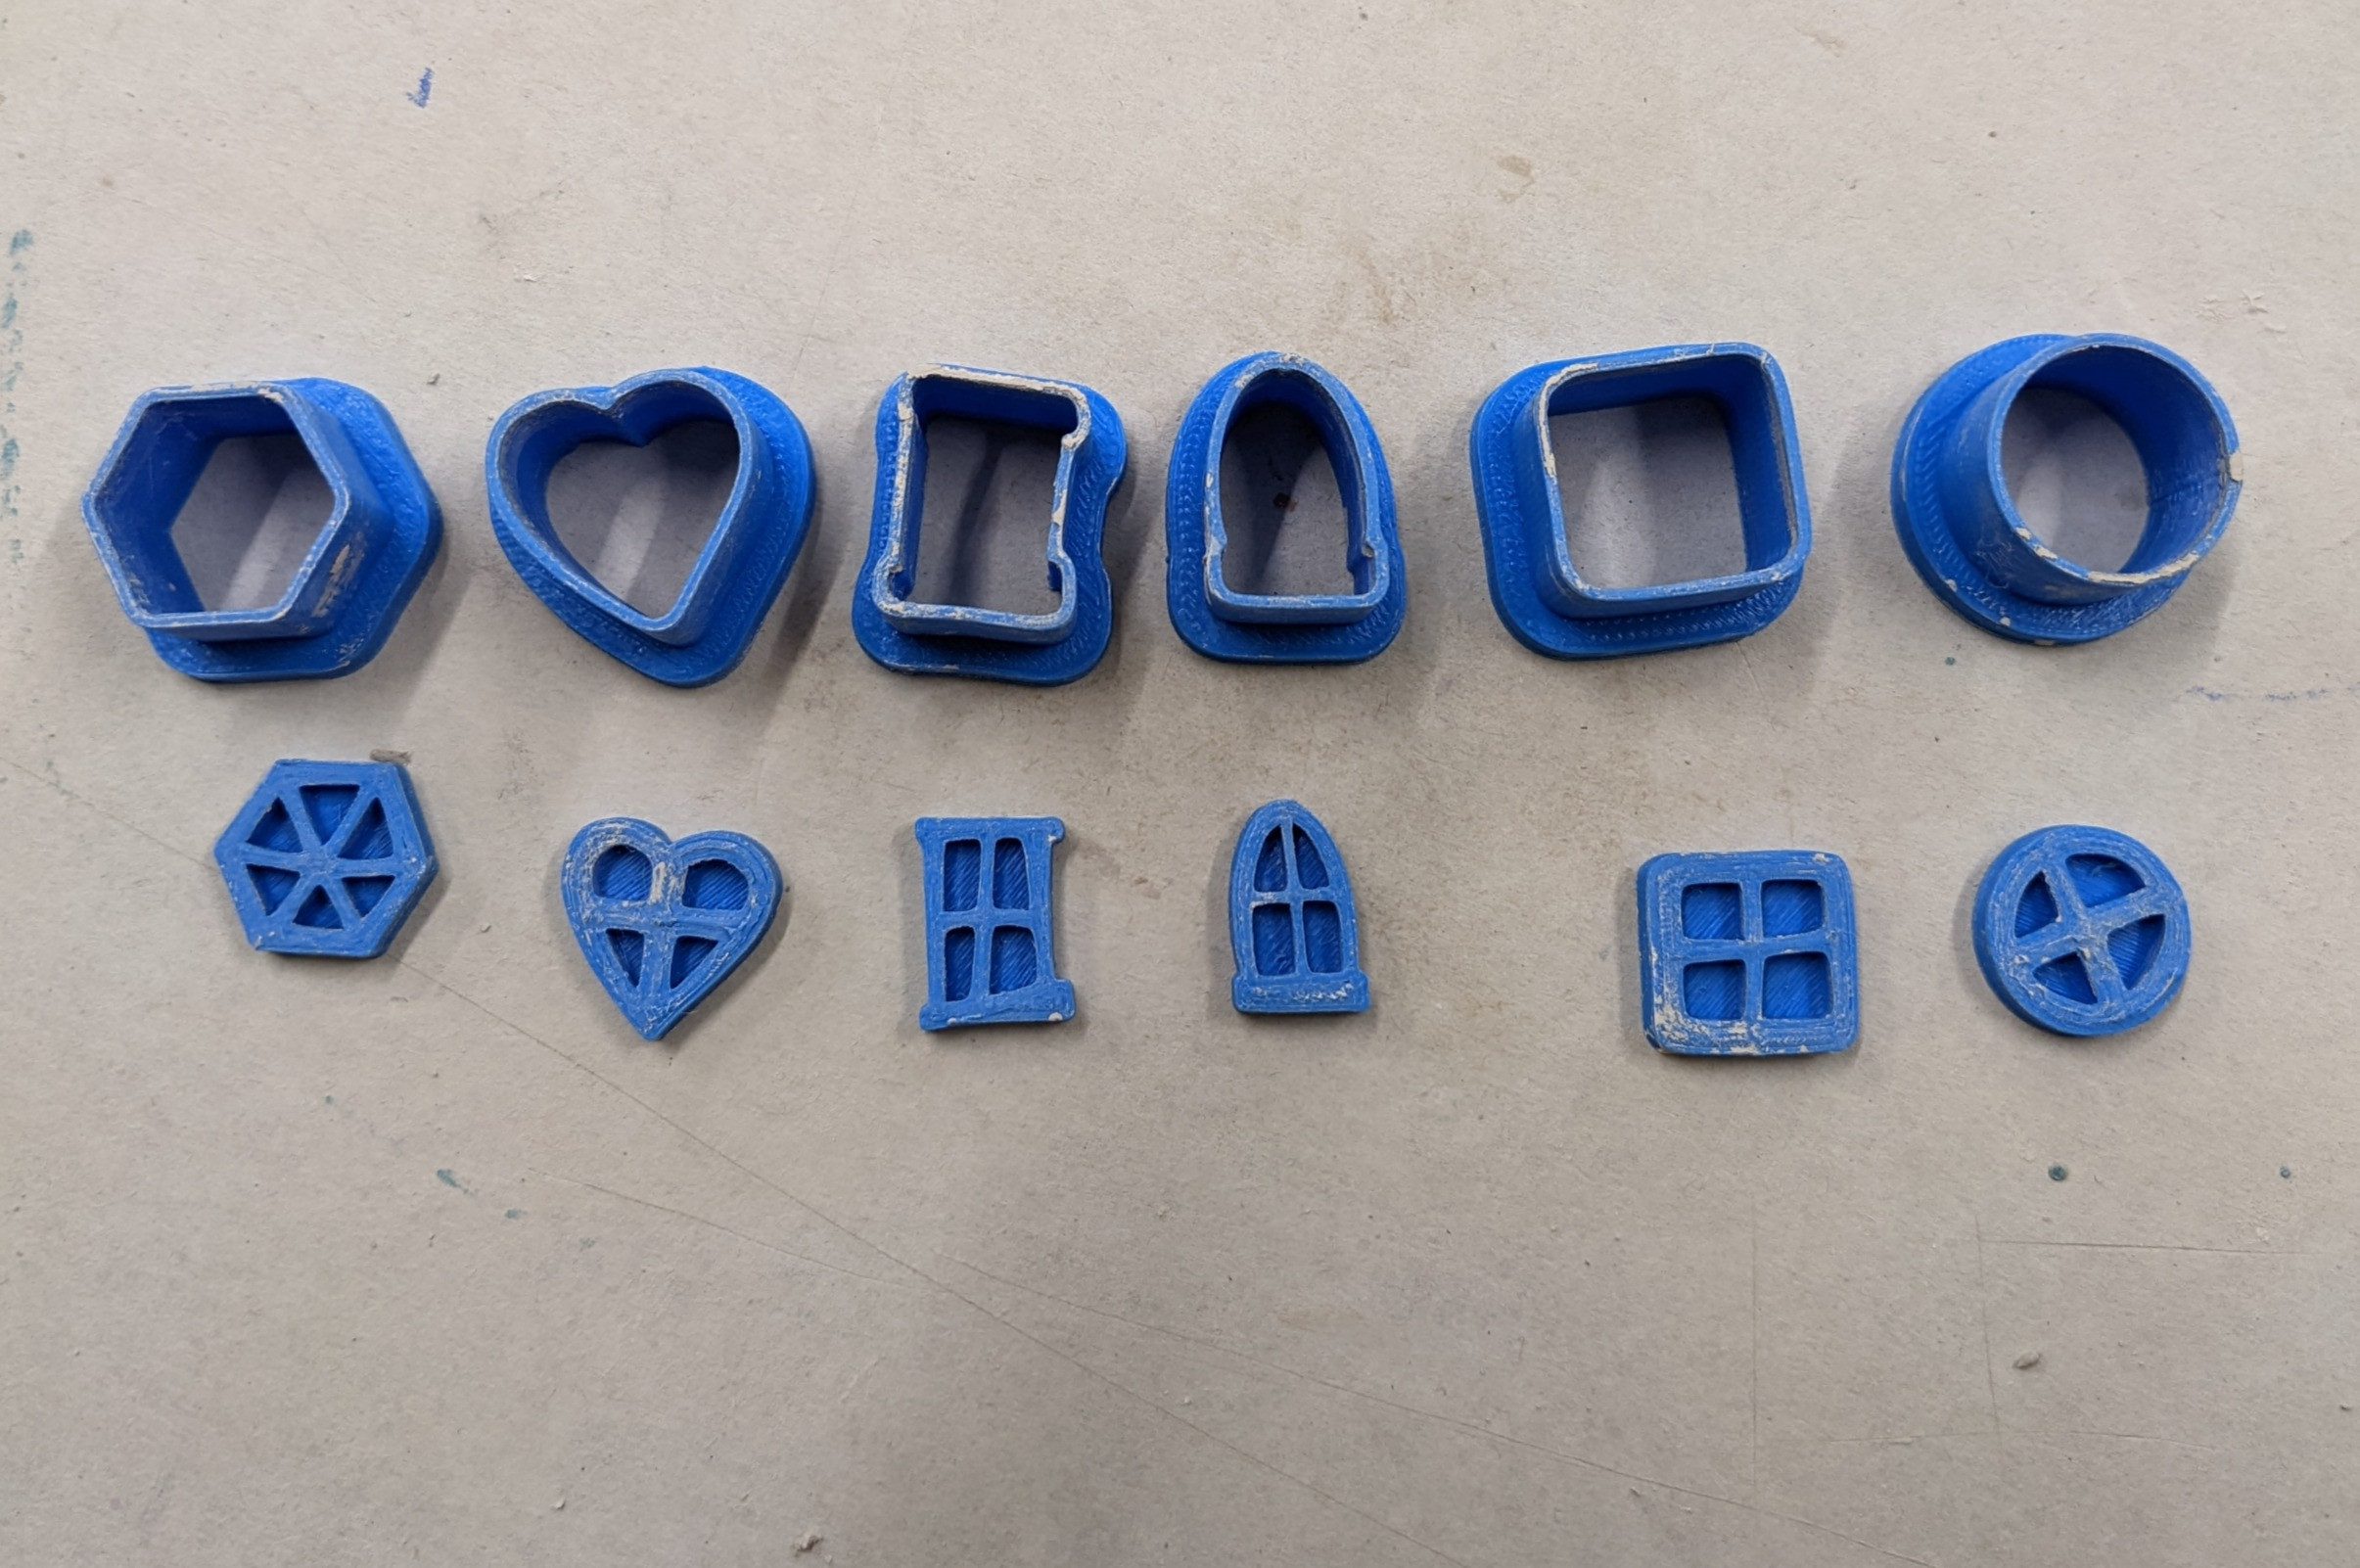
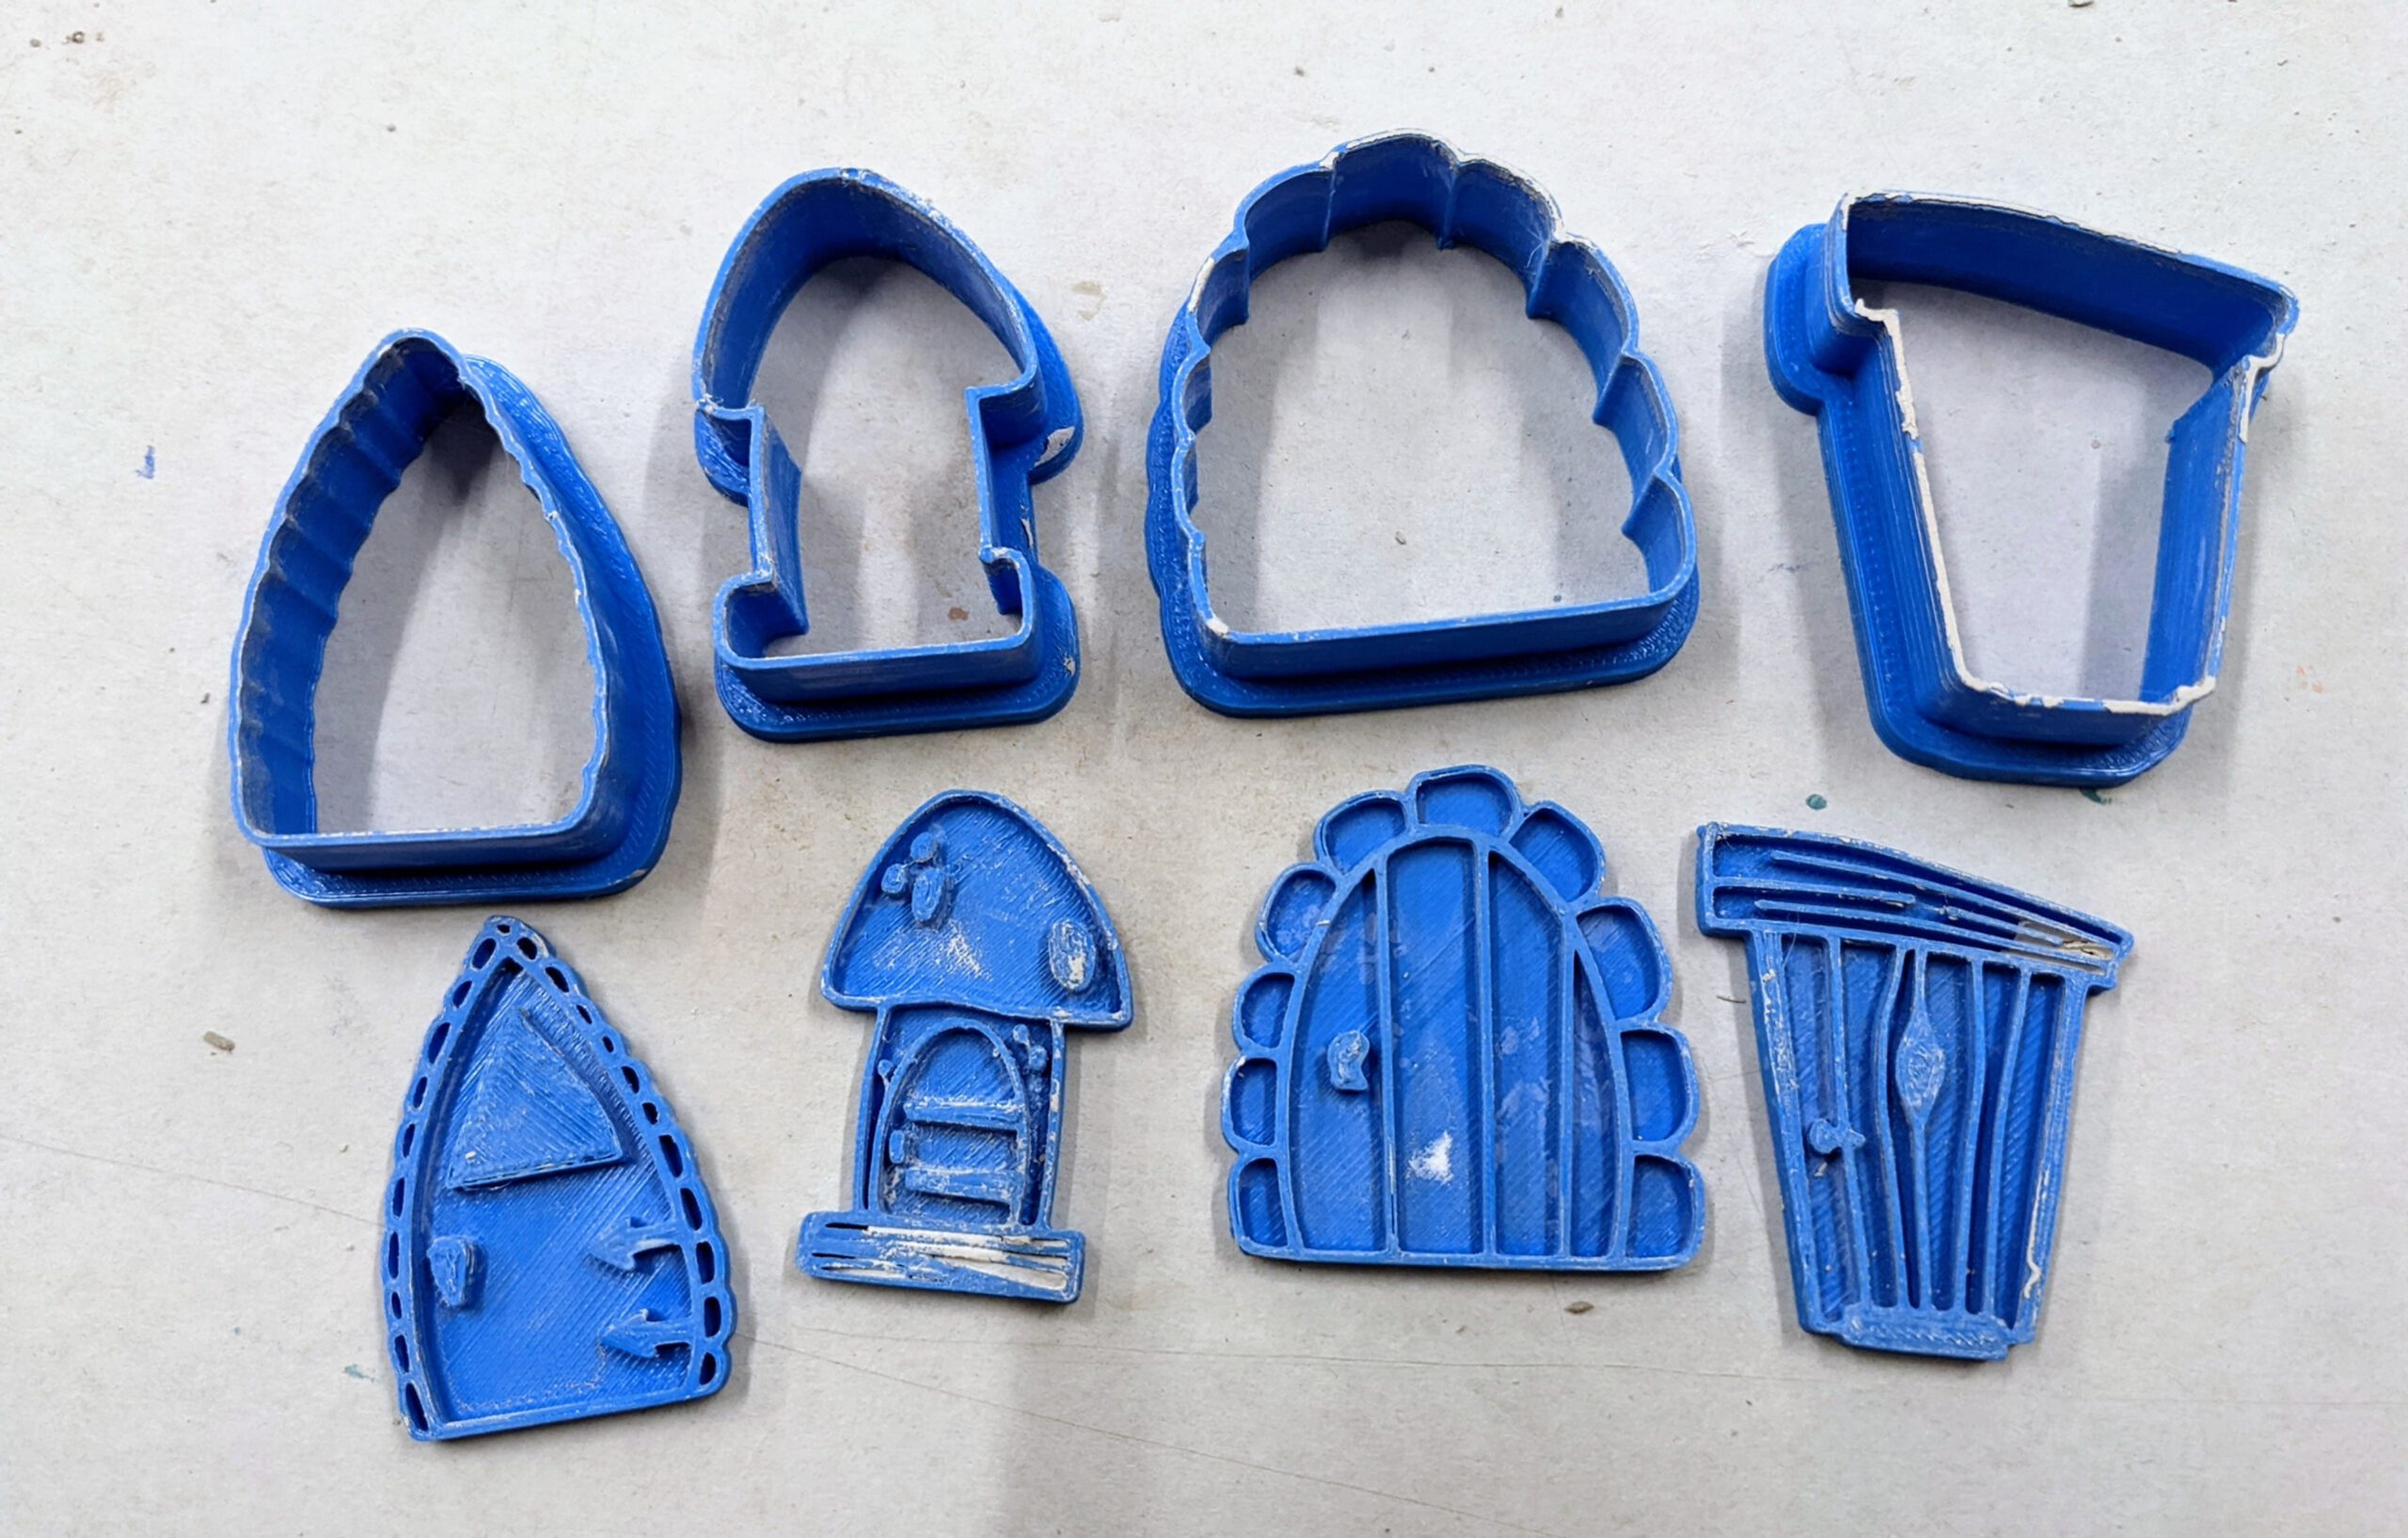
- 4 x stamp and cutter sets to make 4 different fairy doors
- 6 different stamp and cutter sets to make 6 different fairy windows.
How to make your fairy house…….
We roll our clay to 1cm thick, if we’re stamping a design onto the walls first then we do this before cutting out the walls. Cut one of each of the walls, base and roof.
Form the walls around the base making sure that you score and slip the edges and reinforce the seams so that you can’t see the joins.
Make sure you place your fairy door over where the seam has been for the walls to strengthen and also to hide any imperfections…. always making sure any additions are fixed by scoring both parts, adding slip and then making sure the piece is firmly in place.
Next we make the roof of the fairy house, score the two straight edges and pop some slip on one edge. Stand the roof up and gently ease the two edges around to each other so that they ‘butt’ together. reinforce this seam with clay on the inside and out and smooth in so you can’t see the join. Gently flair the clay out a little at the bottom and shape as you like….. we like our fairy houses to be a little wonky! Score and slip the top edge of your walls and the inside of the roof and fix the two together.
Then…. embelish as you’d like! We use the dinky window cutters and stamps but you could always cut out windows to that you can pop an LED tealight inside. We also use a lot of cake decorating silicone moulds to make flowers…. these can be found inexpensively online…. we mainly get ours from ebay but there are so many other places you can get them.
Most of all….. HAVE FUN!!! (and don’t forget to share your designs with us, we love seeing what you make!)
There is a video on our facebook page of how to assemble your fairy house.
Make magical fairy houses to sell in your PYOP studio, for yourself to paint to sell, or to run as a workshop.
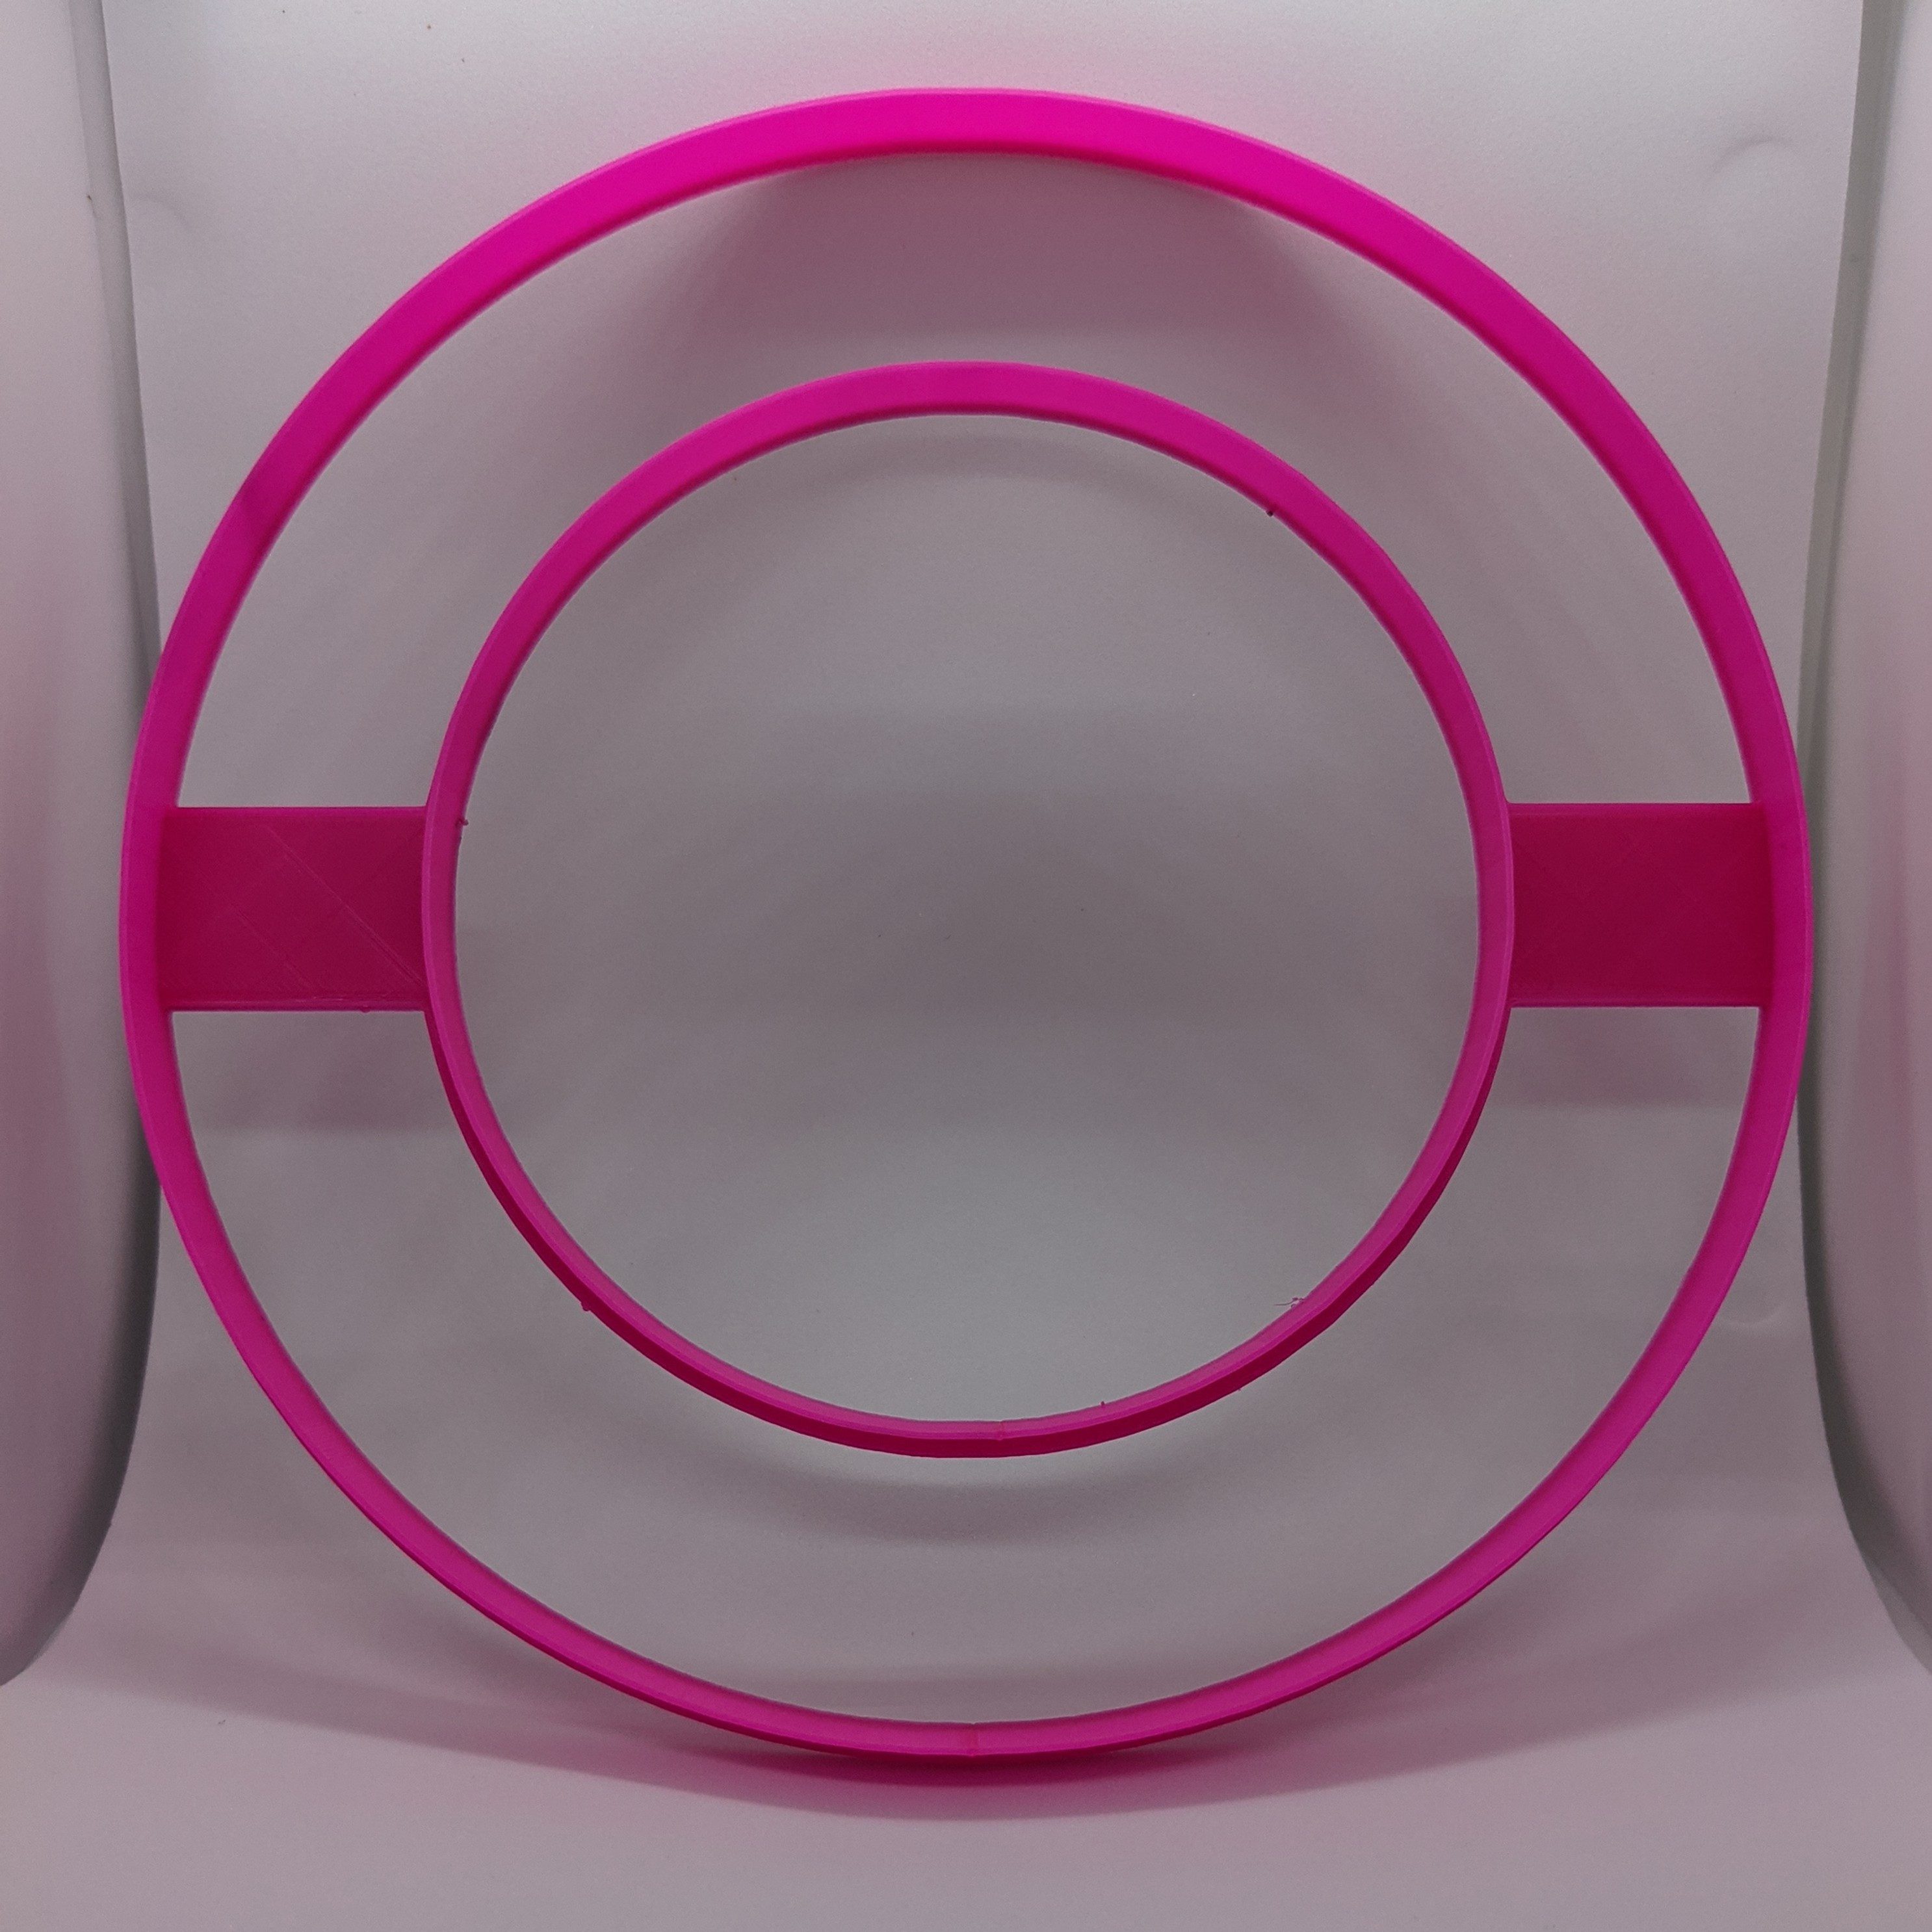
This cutter is printed in PLA filament.
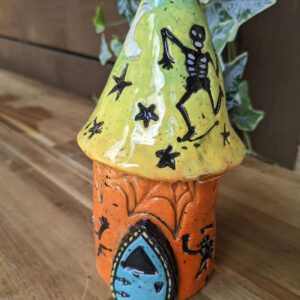
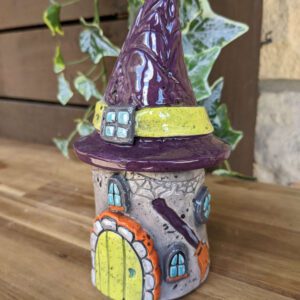
This item is not food safe. The photo of the bisque item is for inspiation only, this listing is for the 3d printed cutter for you to make the bisque pieces yourself.
The colour of your cutters may vary at any time and may be different from that shown in the photo.
Description
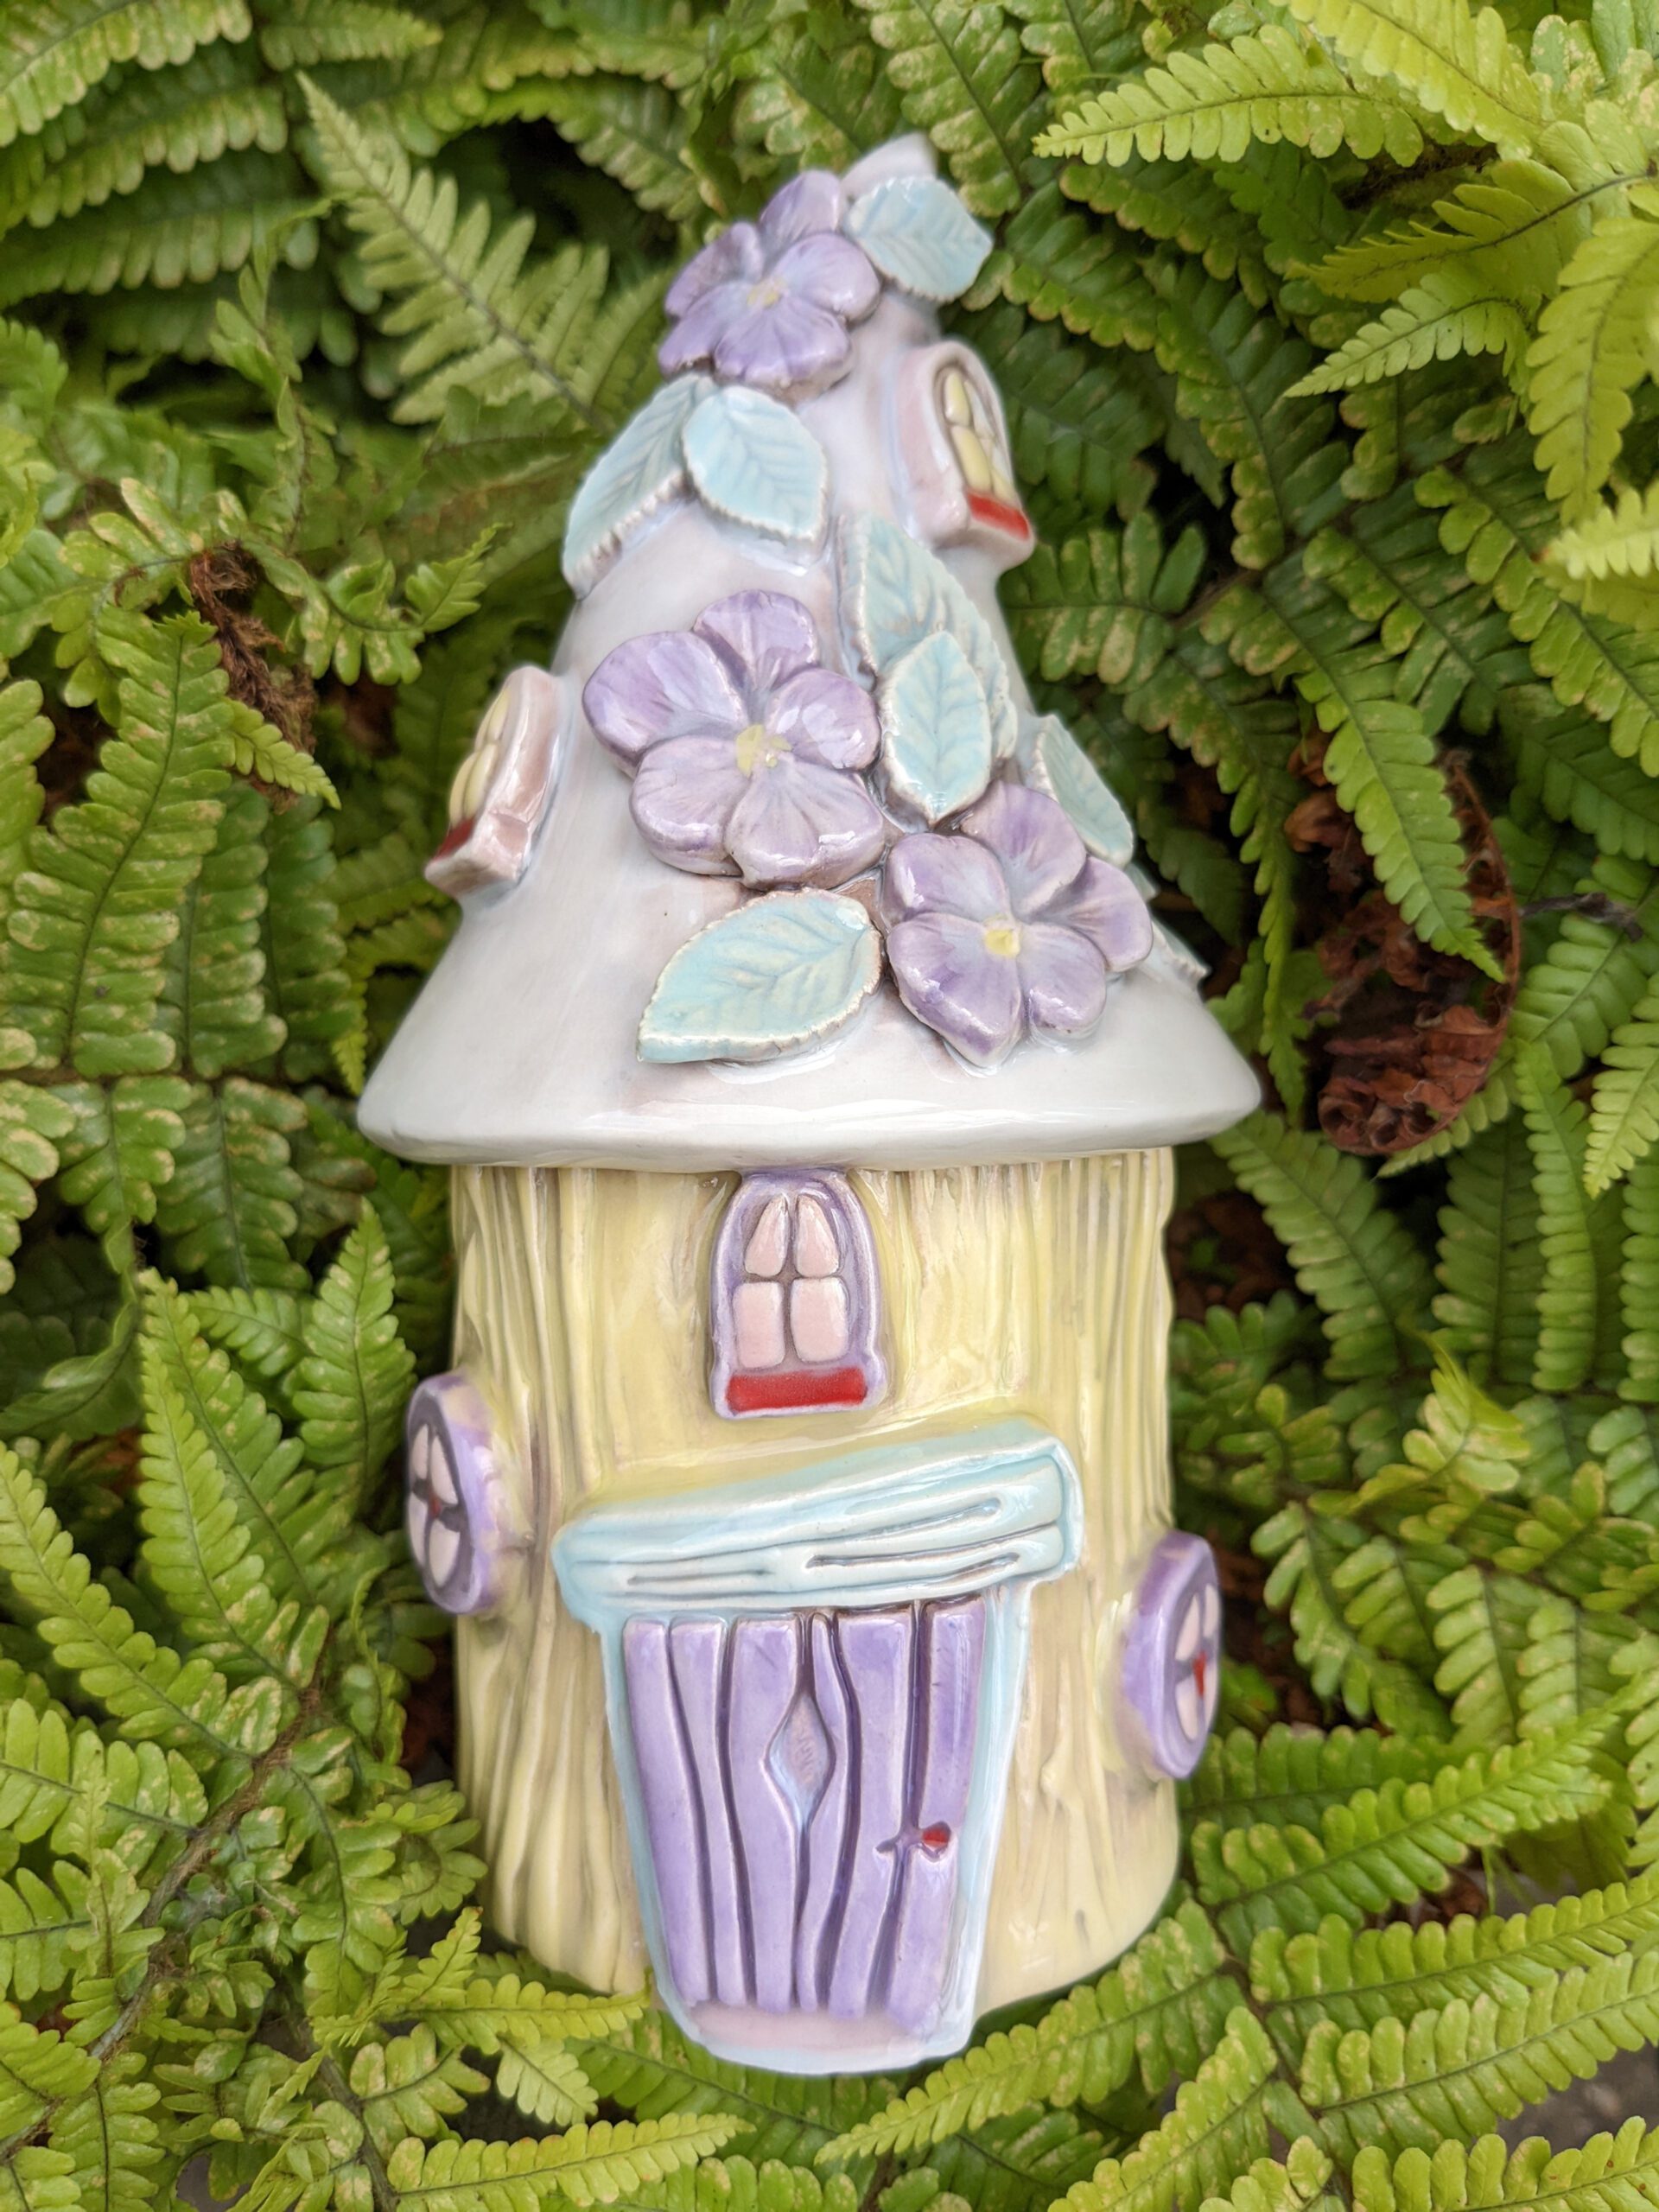
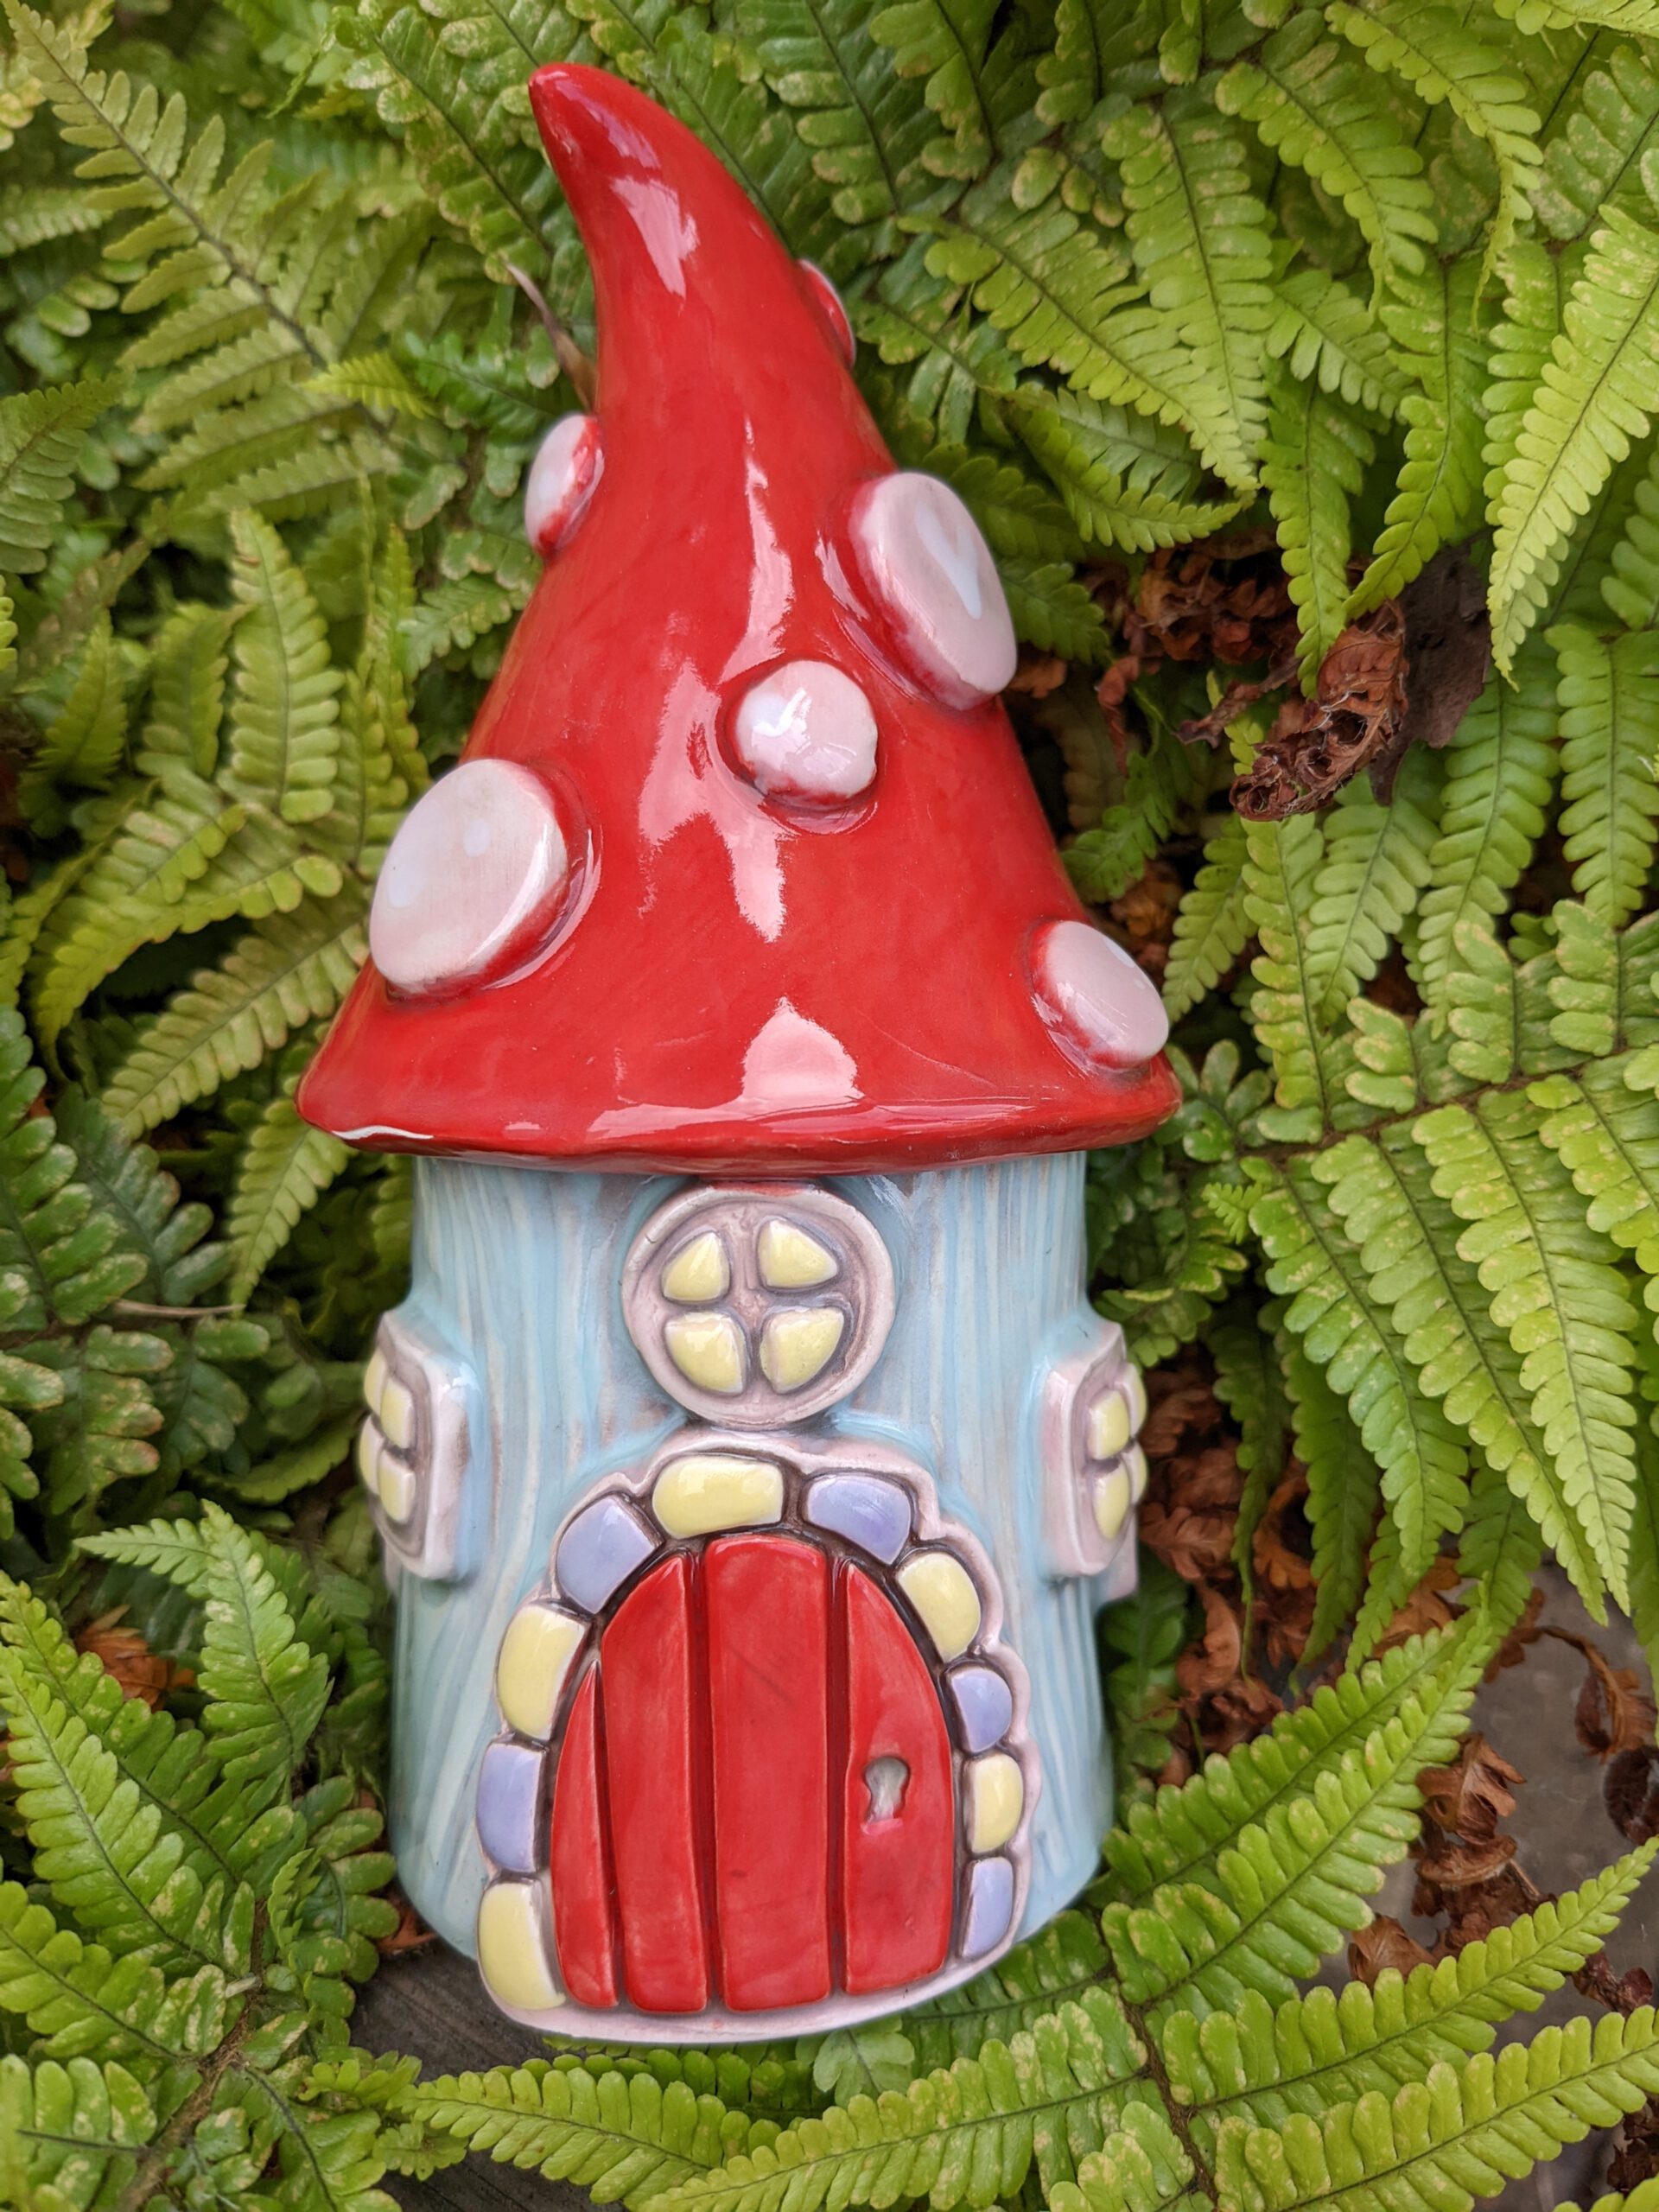
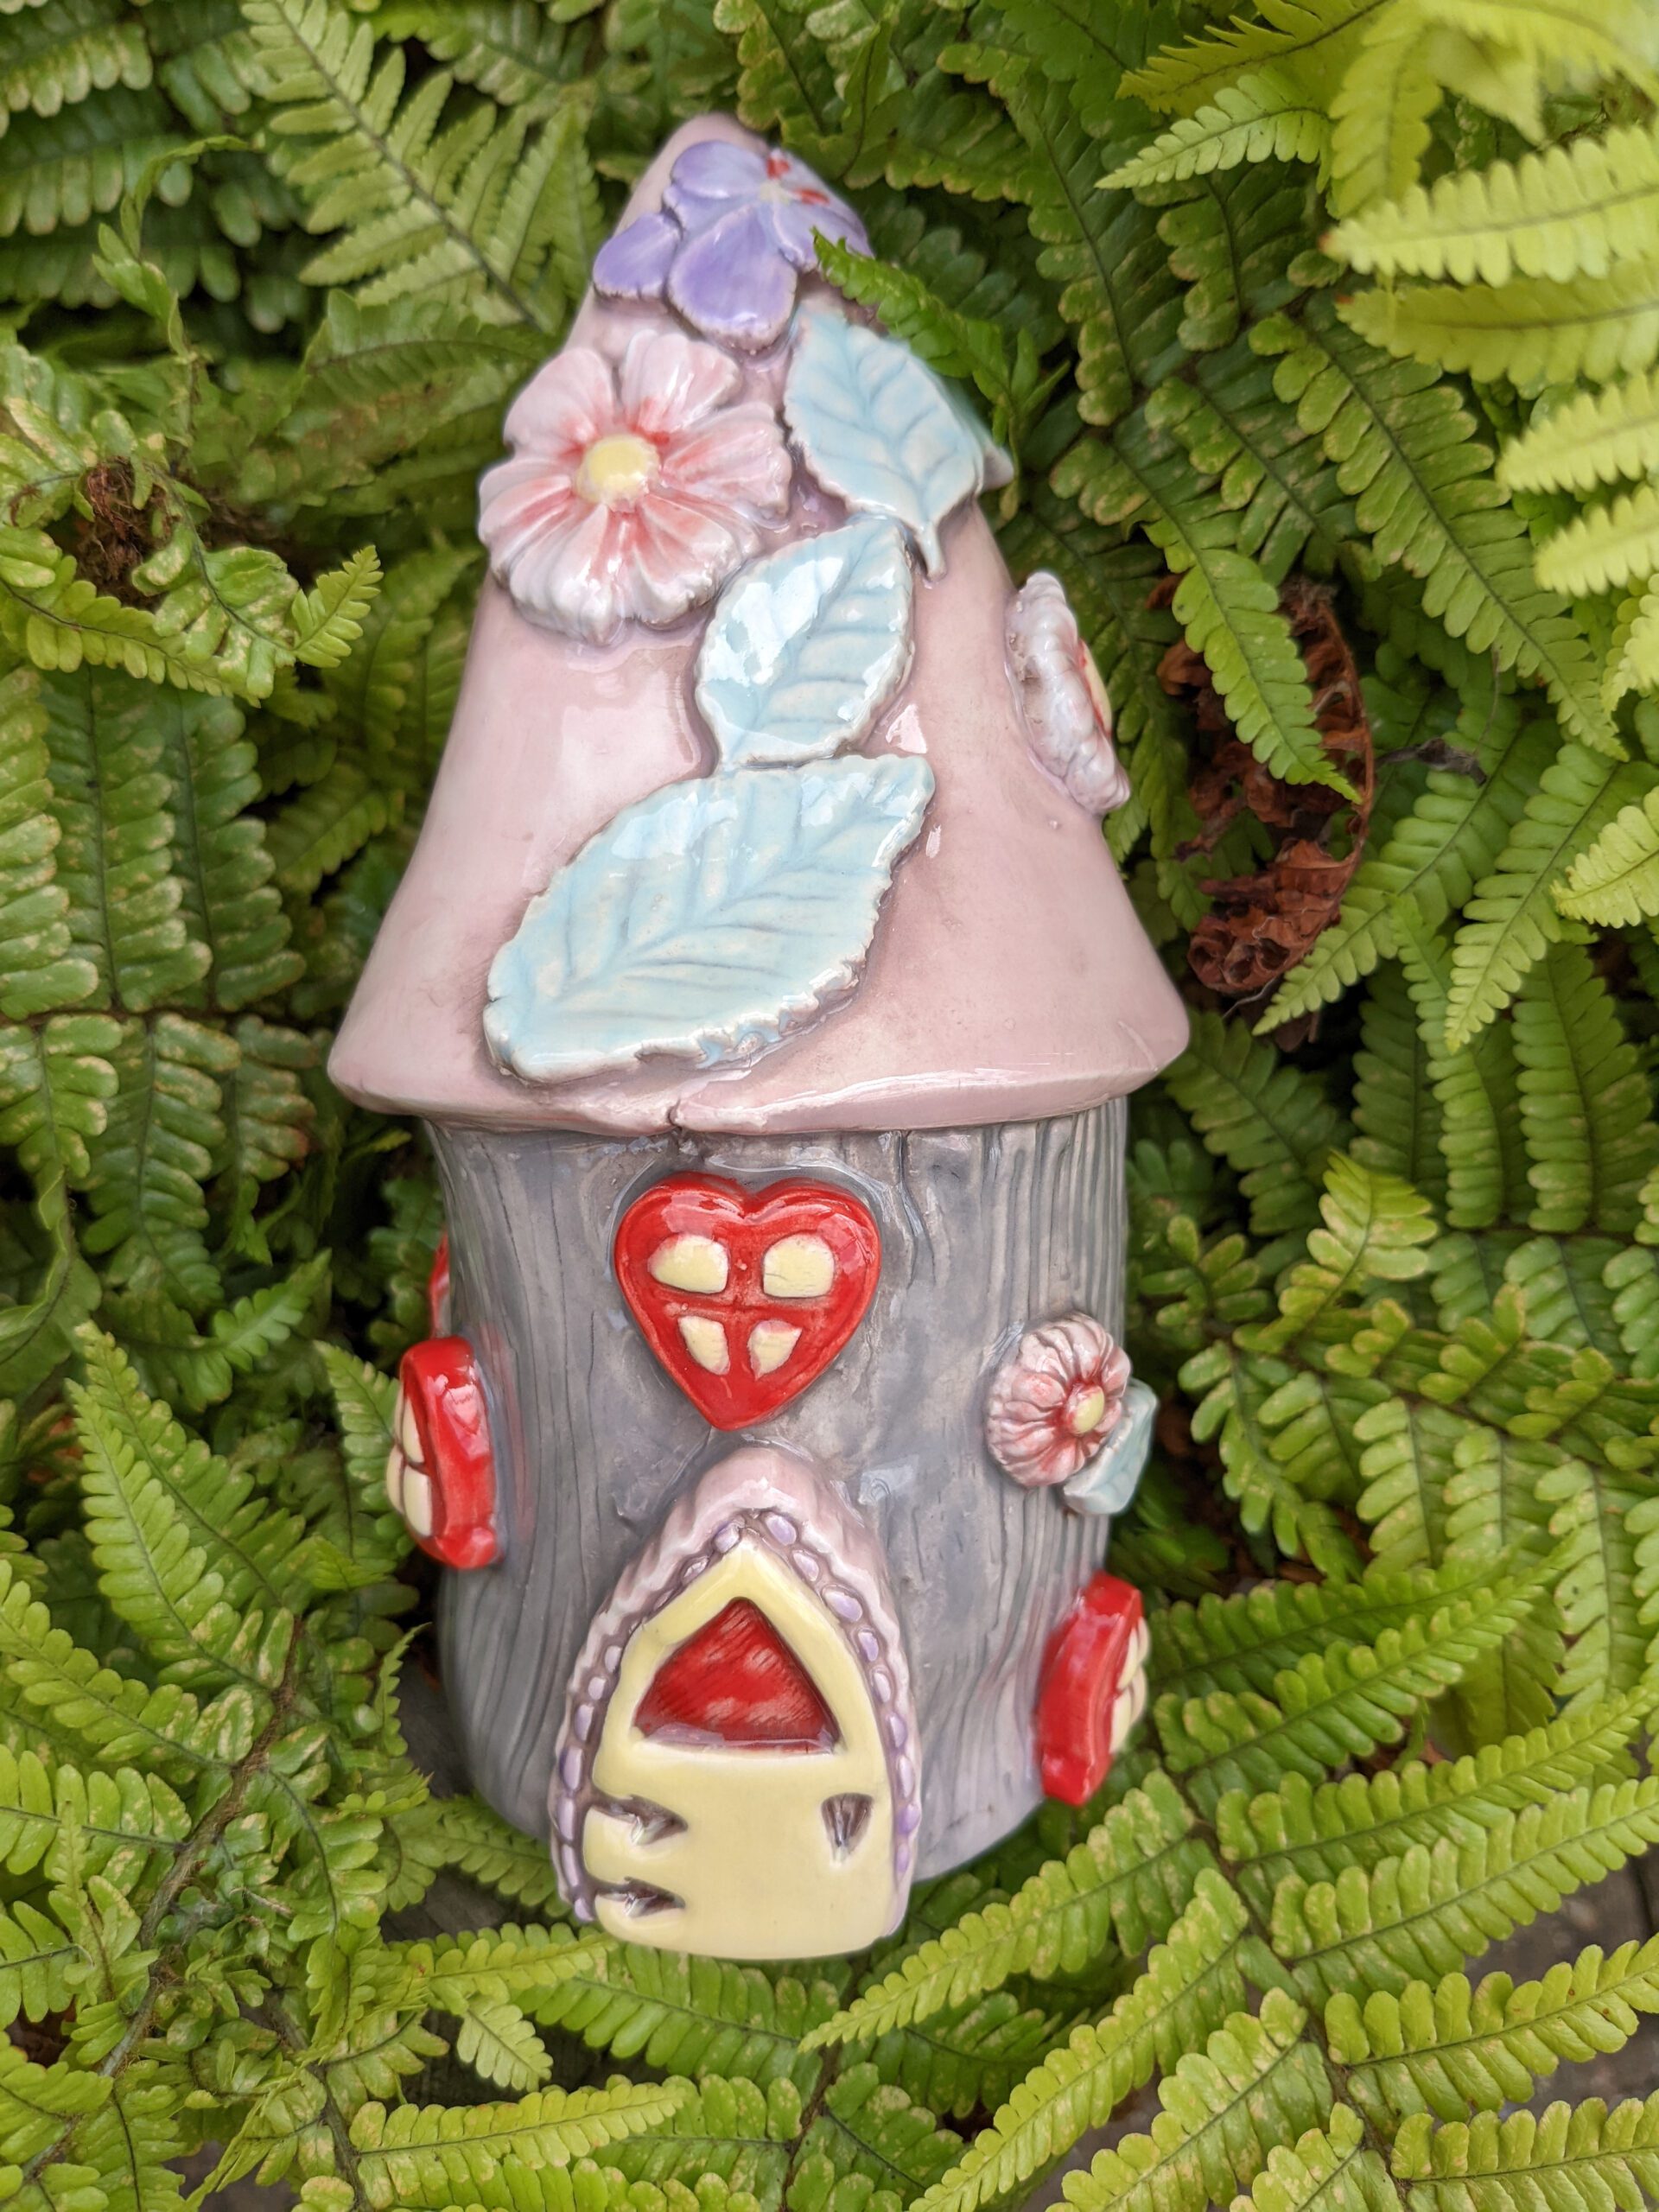
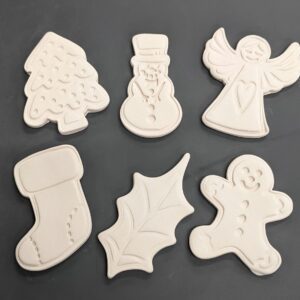
This listing is for an item(s) that is printed with PLA filament using a 3D printer. The photos alongside the main photo will show you bisque fired earthenware clay pieces made with the cutters / stamps and also some painted pieces for inspiration. You will also find extra inspiration in our gallery.
This item is perfect for making your own bisque to sell in your PYOP studio, for use within a pottery studio, or for your own handicrafts…. the only limit is your imagination!
The colour of your cutters and stamps may vary from those shown in the photograph.
After use, rinse in cool water (never use hot water and do not soak) and dry immediately. Store in a cool, dry place.
Additional information
| Weight | 0.1 kg |
|---|---|
| Shipping Information |

Reviews
There are no reviews yet.