Cute Animal Faces Kit
Price range: £1.00 through £14.50
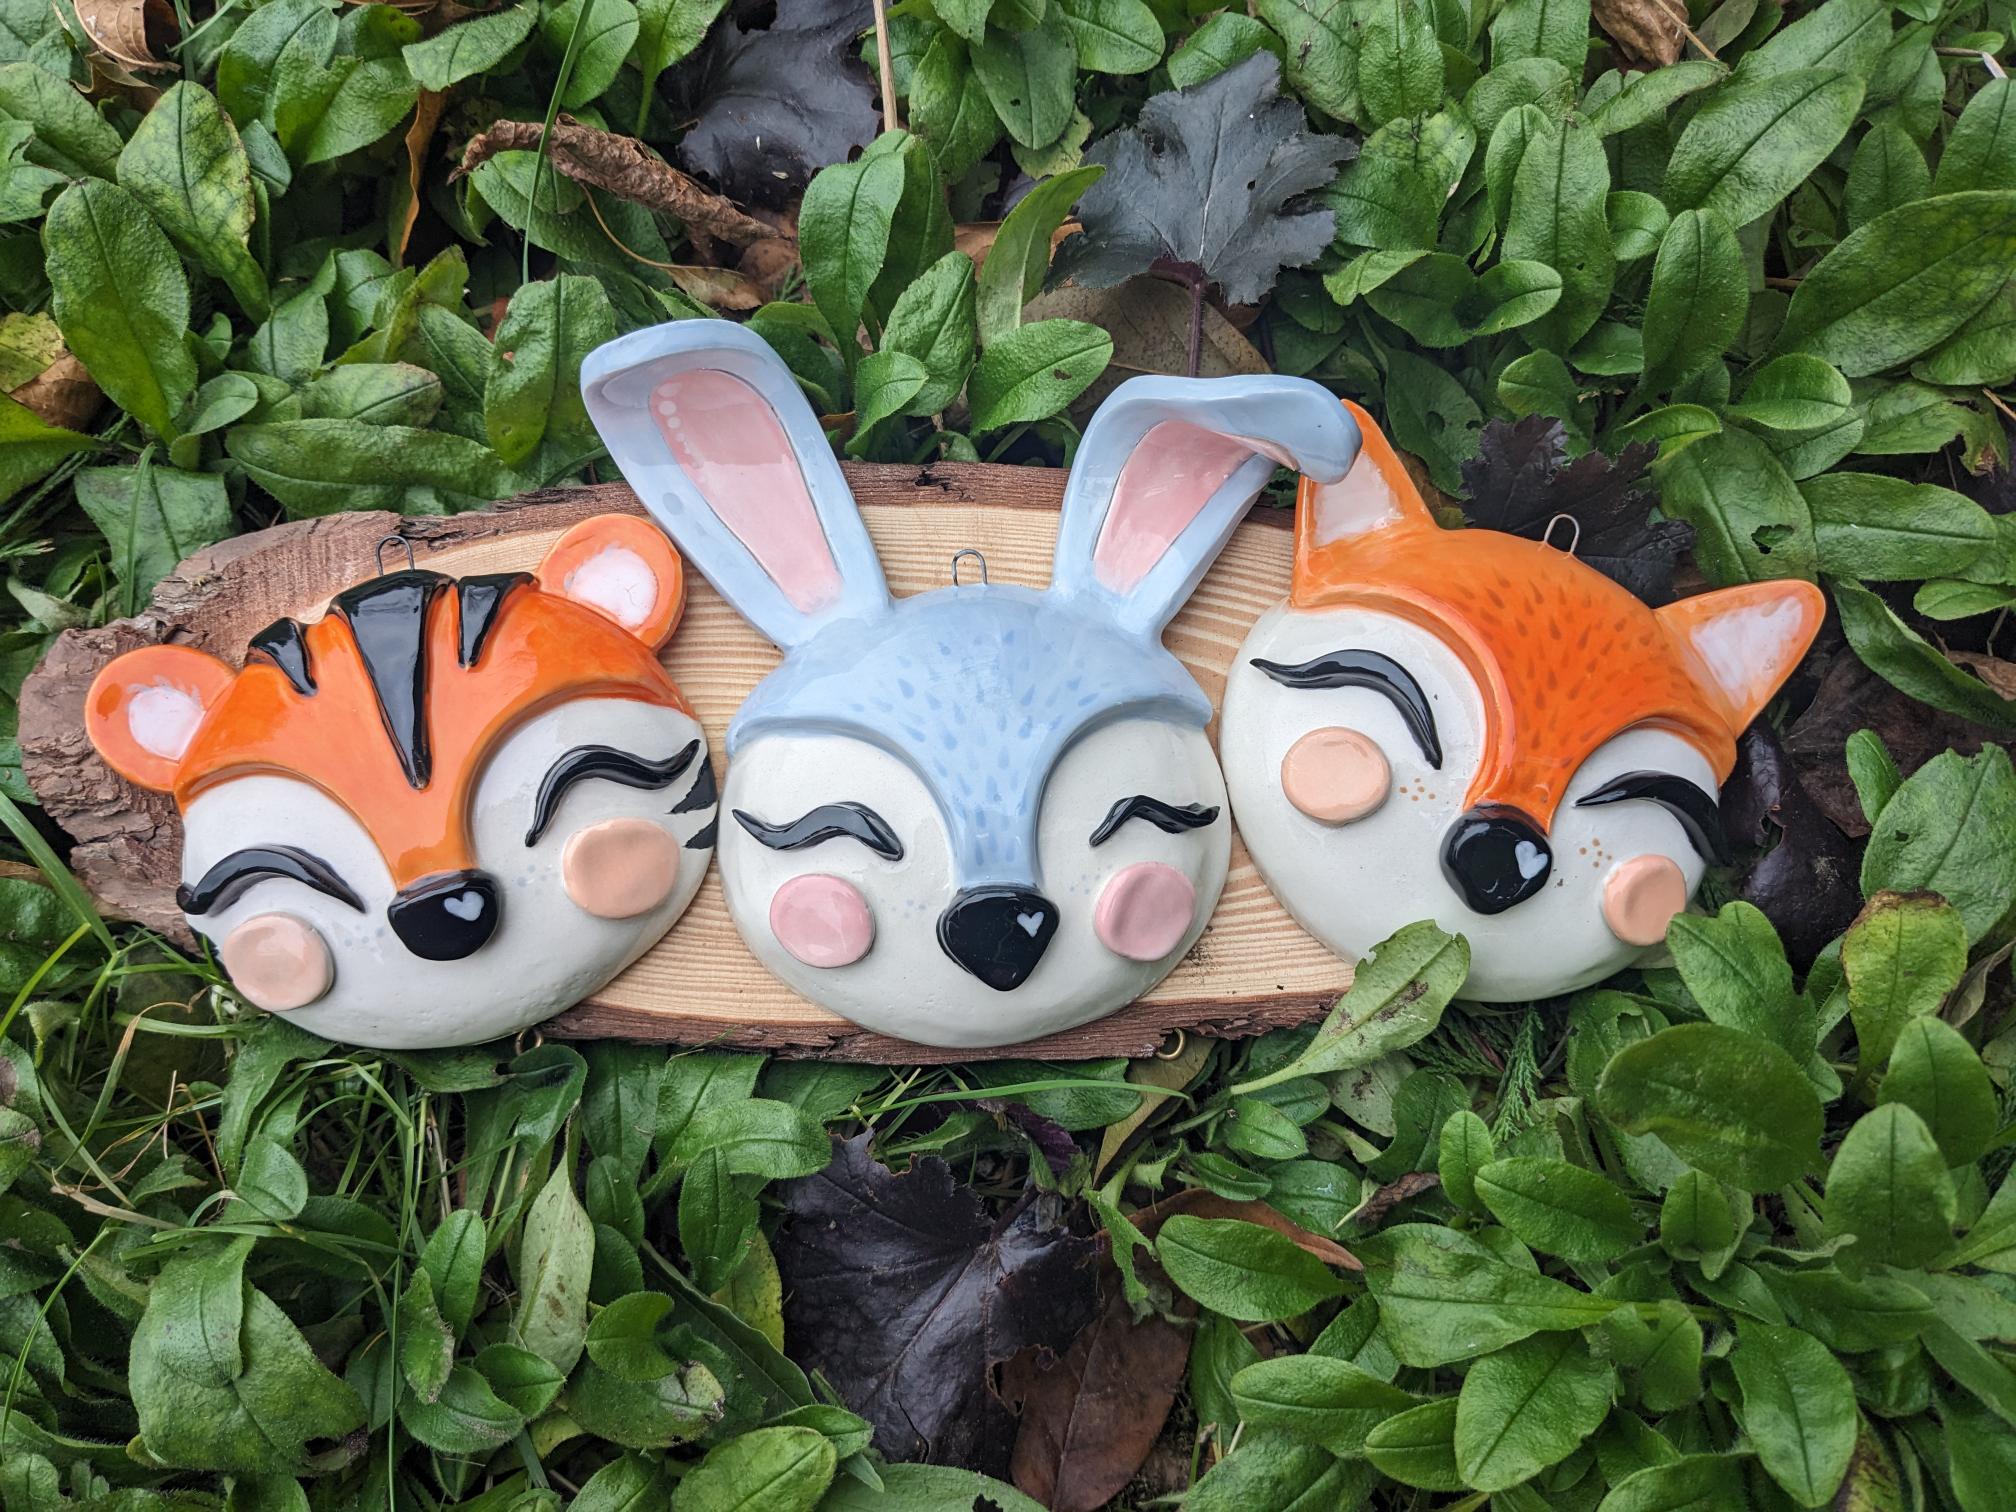
This cute animal face cutter set contains all the cutters needed to create a range of animal characters, perfect for creating pieces to sell as well as a a great workshop for children!
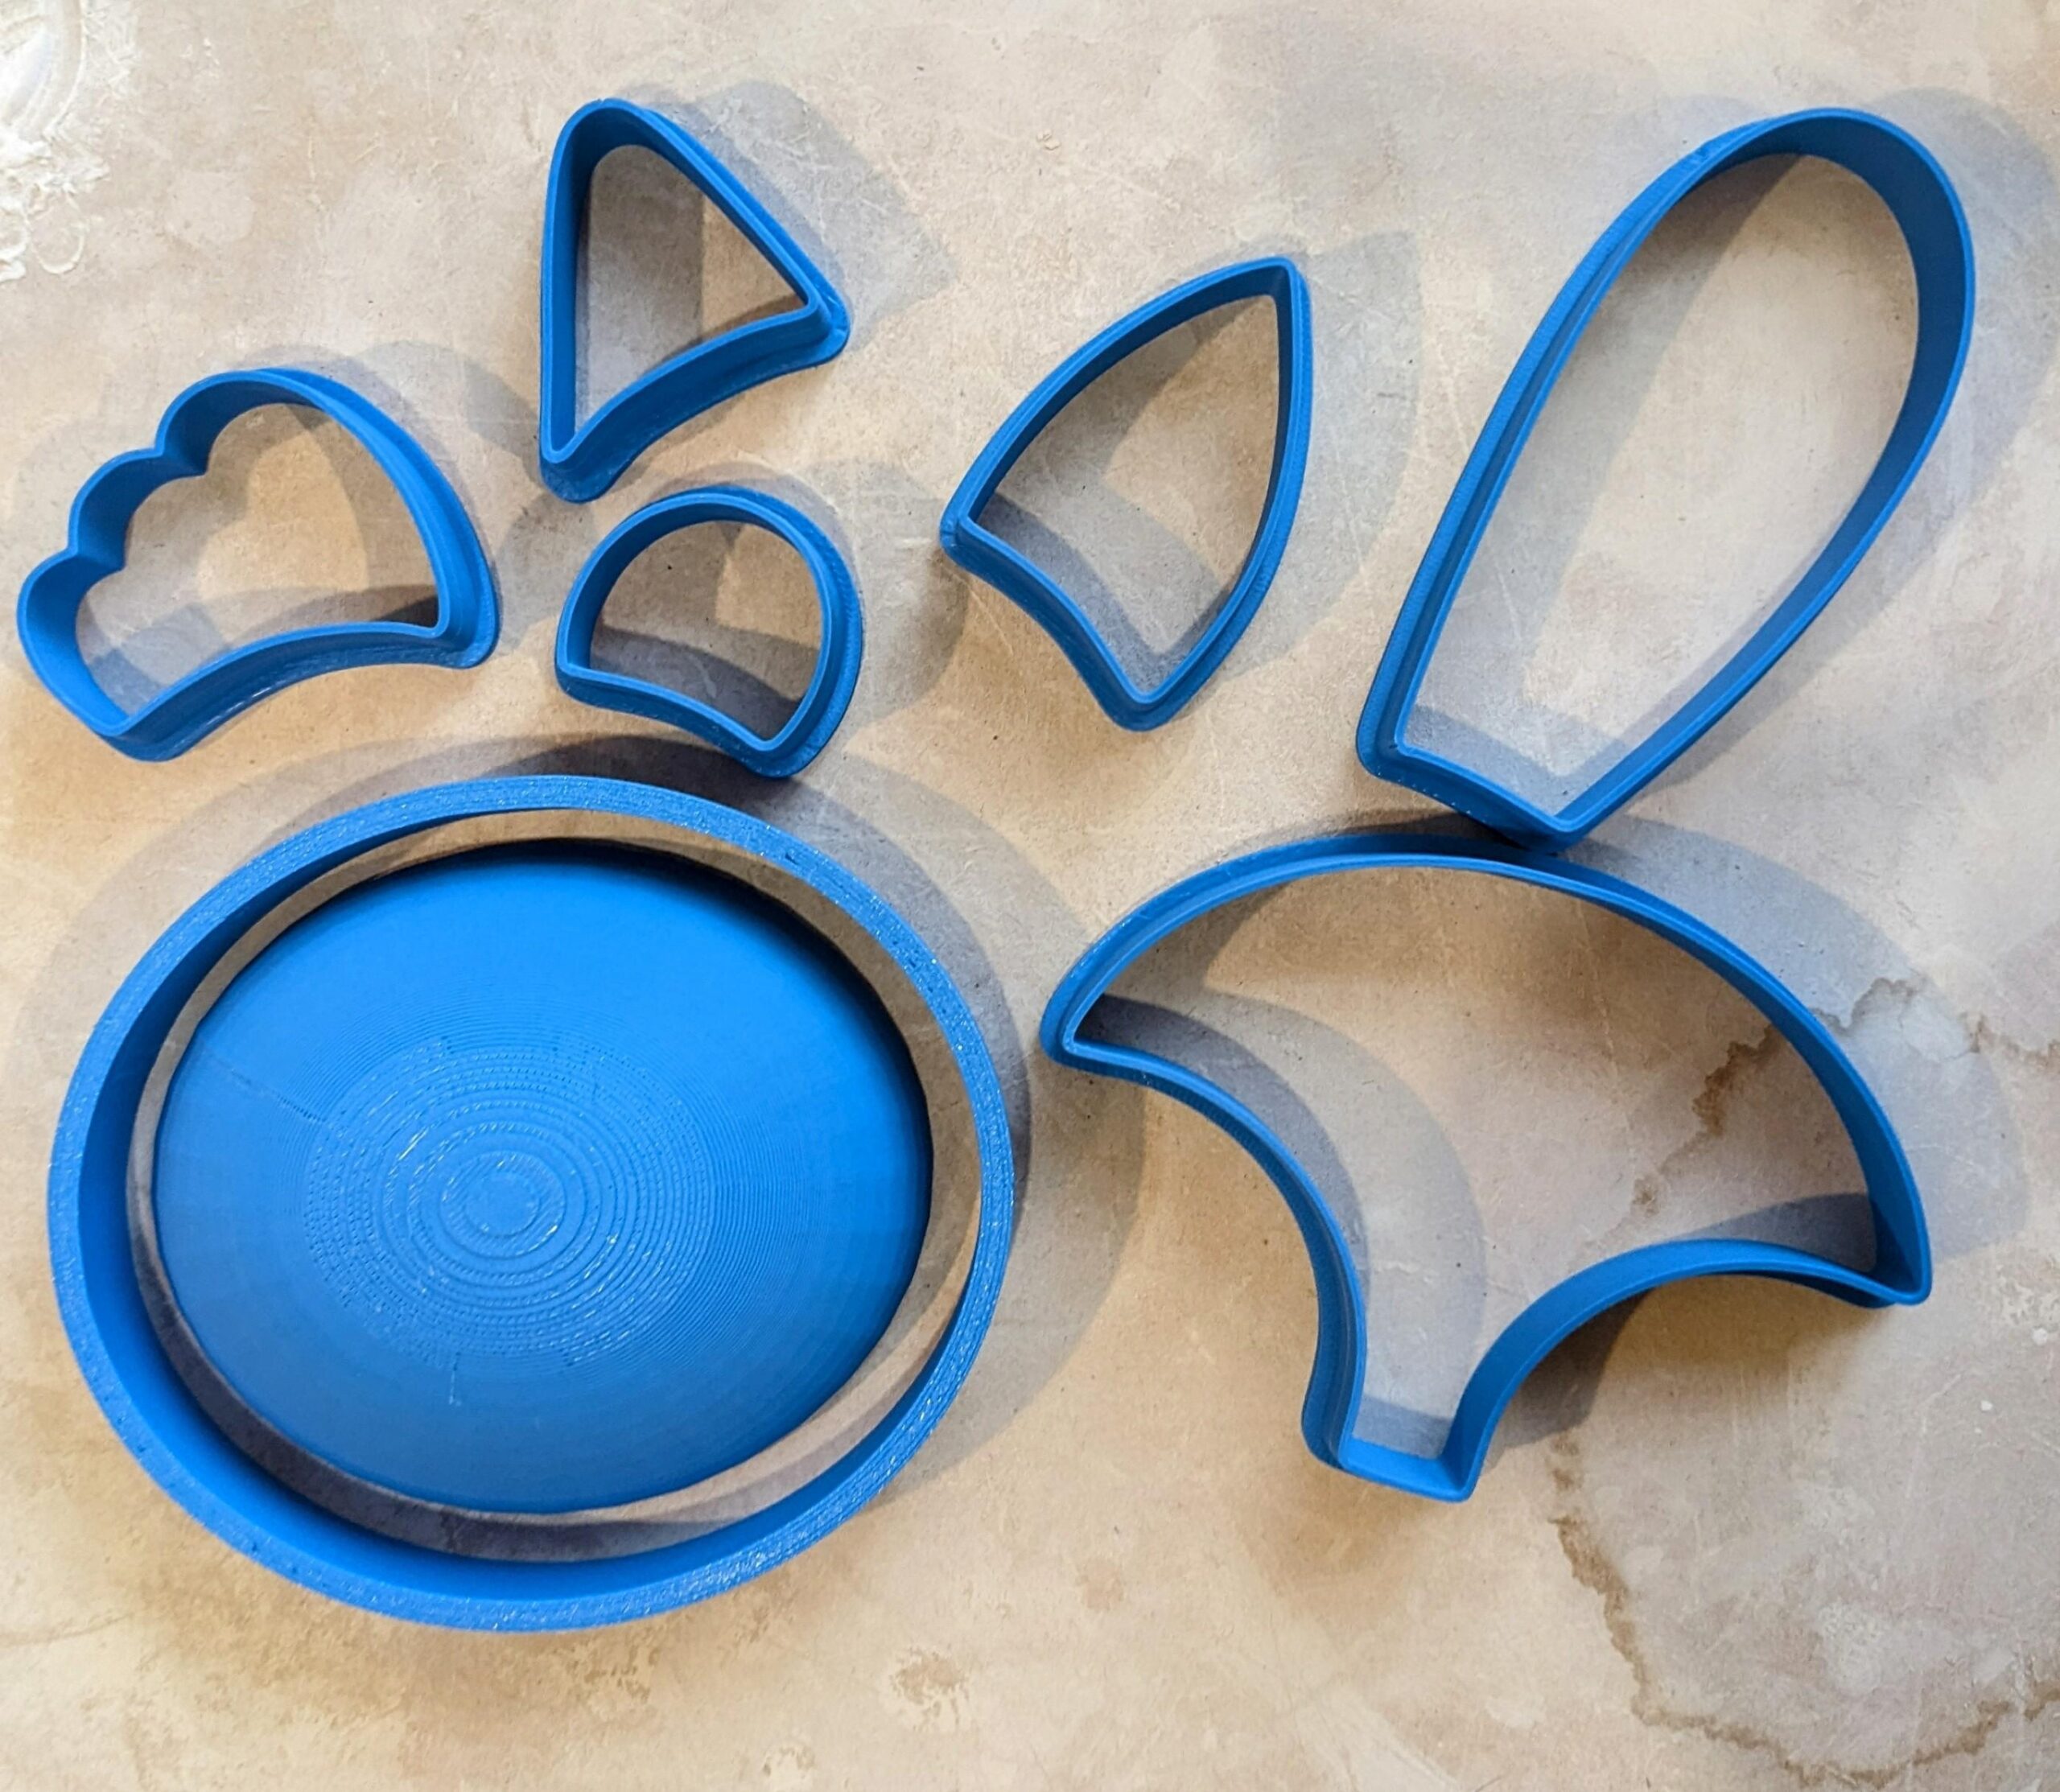
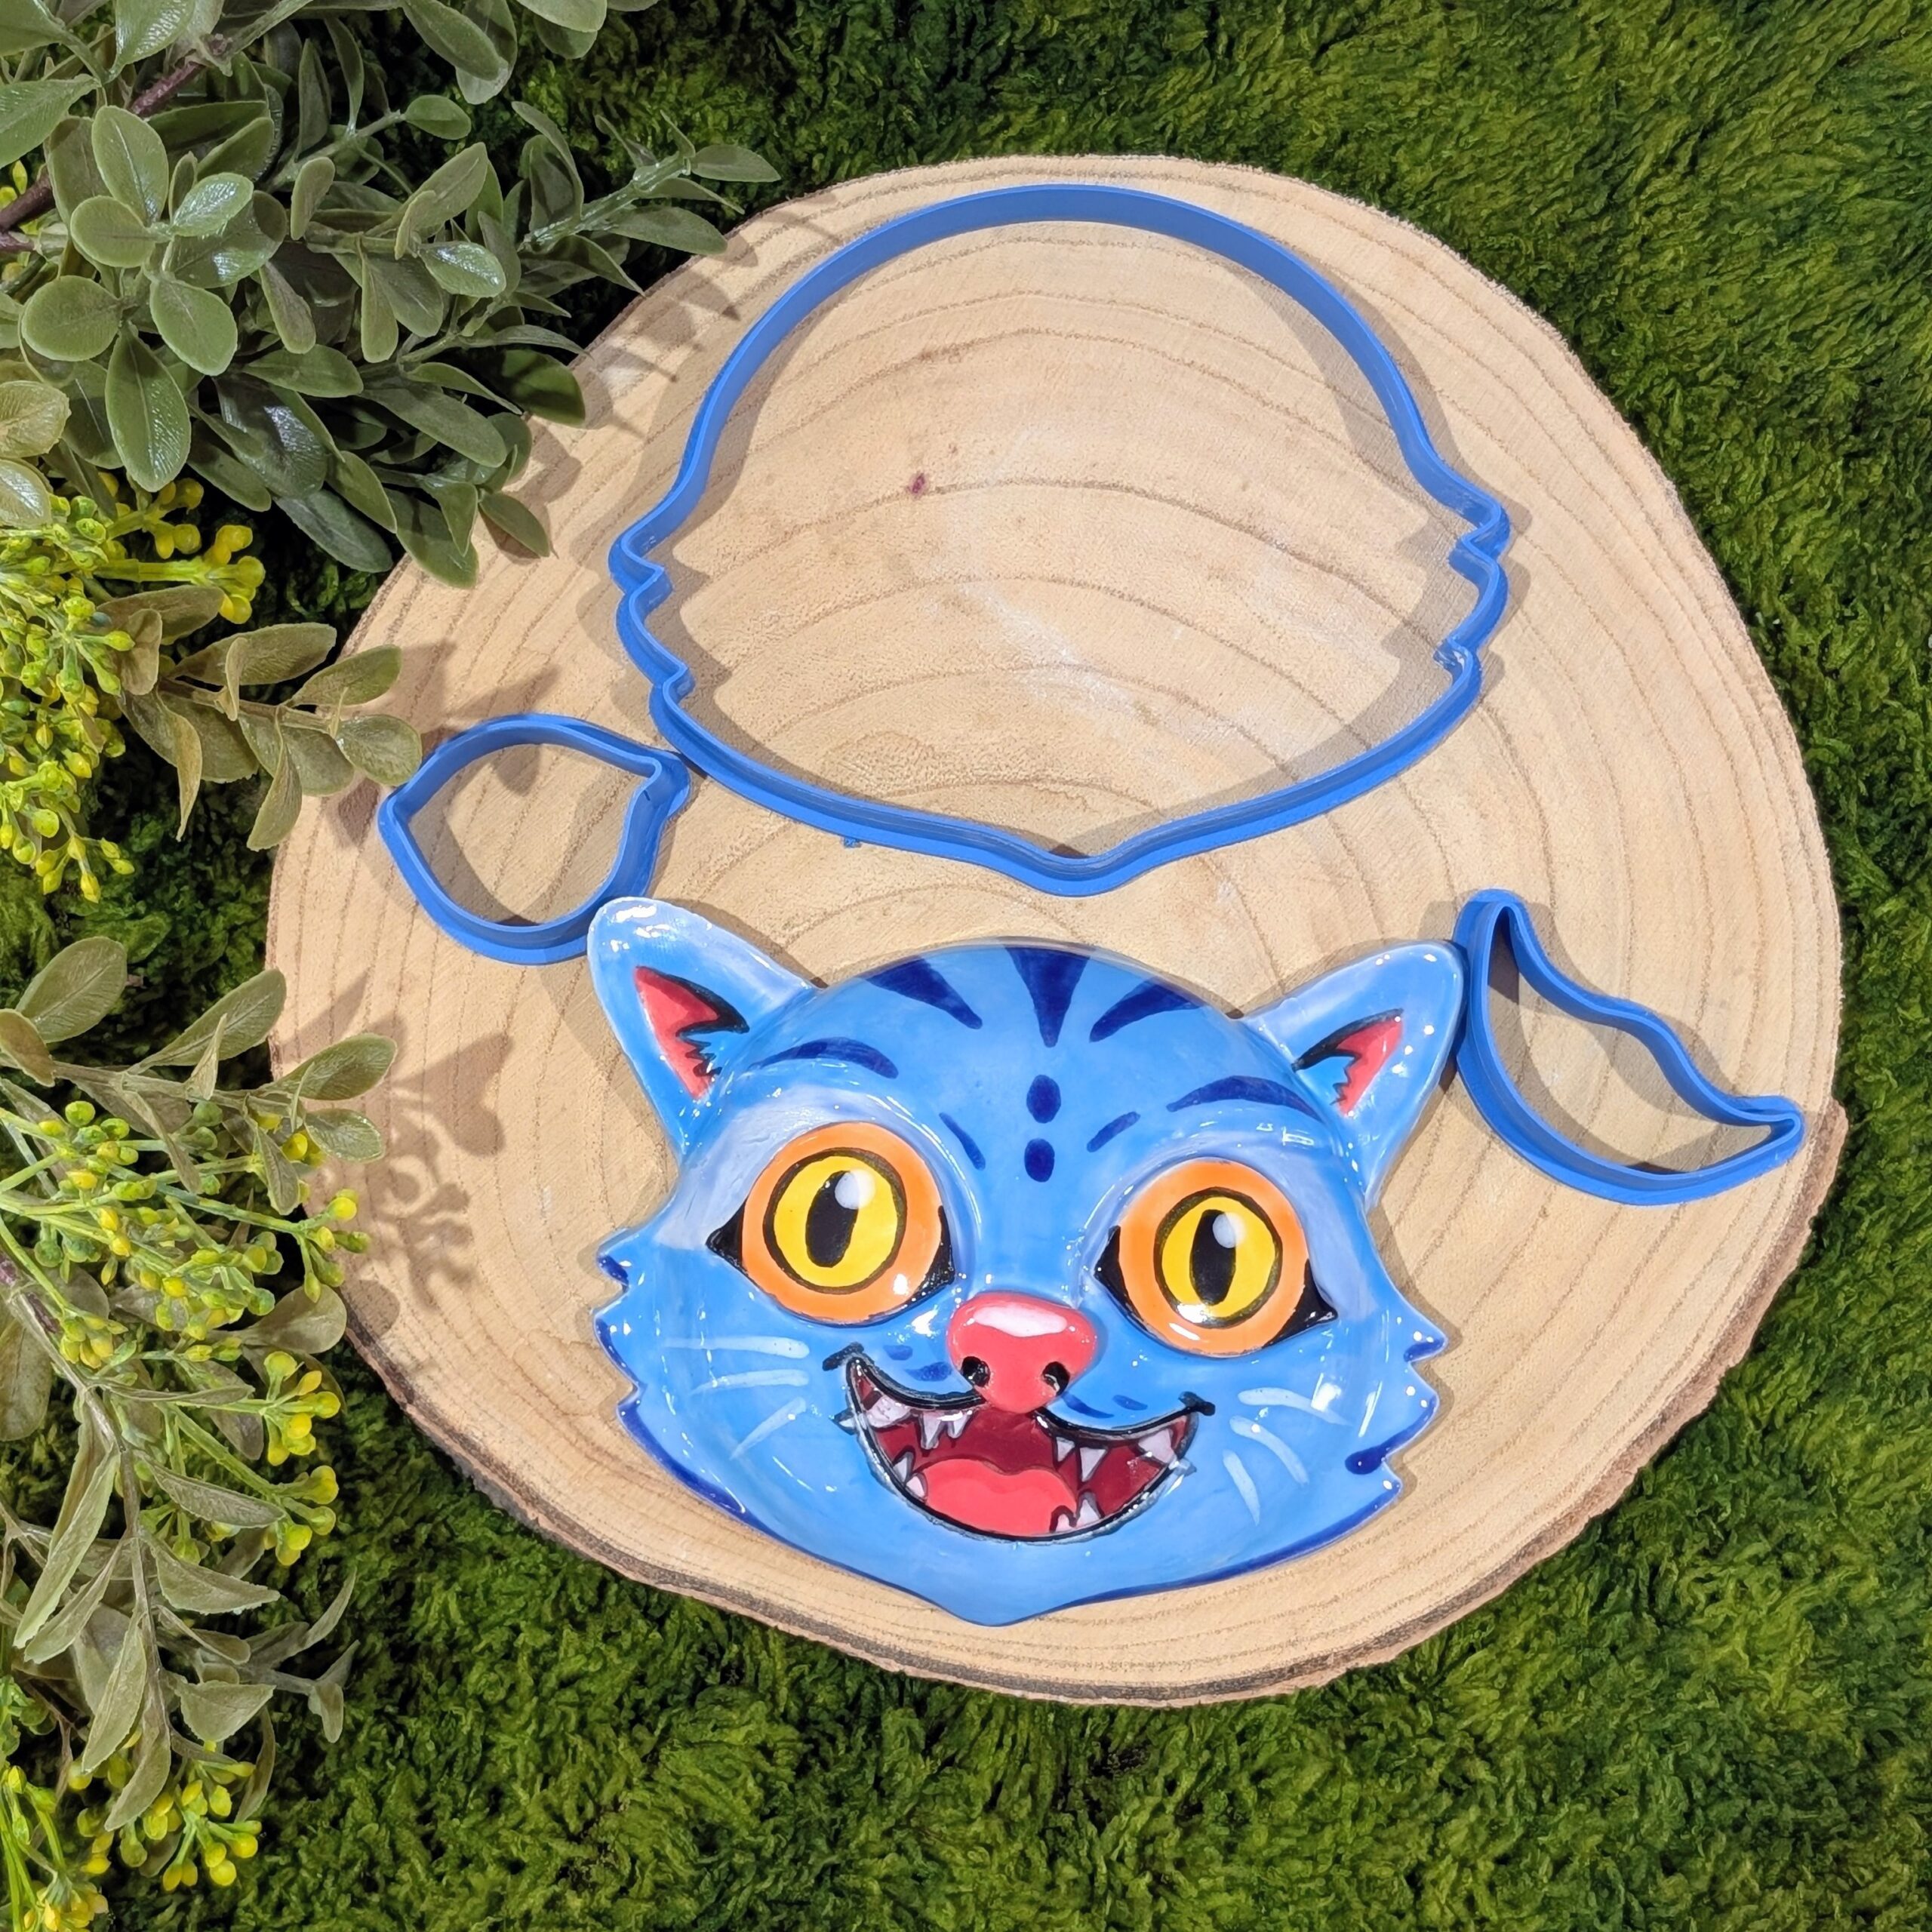
The full set contains an oval hump mould and cutter, a cutter to create the top of the animal’s face, a bunny ear cutter, a deer/giraffe ear cutter, a fox/cat ear cutter, a koala ear cutter and a tiger/bear/badge ear cutter. The animals you can create with the ear shape selection in this set is only limited by your imagination! The full set does not include the blue tiger add on kit.
You are also able to buy each item in this set individually.
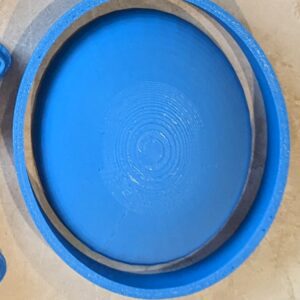
This oval hump mould and cutter set is 10cm/4inches on the longest side, 8.5cm/3.3inches wide and 2.5cm/1inch tall.
This cutter is printed in PLA filament. This item is not food safe. The photo of the bisque item is for inspiration only, this listing is for the 3D printed cutter for you to make the bisque pieces yourself. The colour of your cutters may vary at any time and may be different from that shown in the photo.
Description
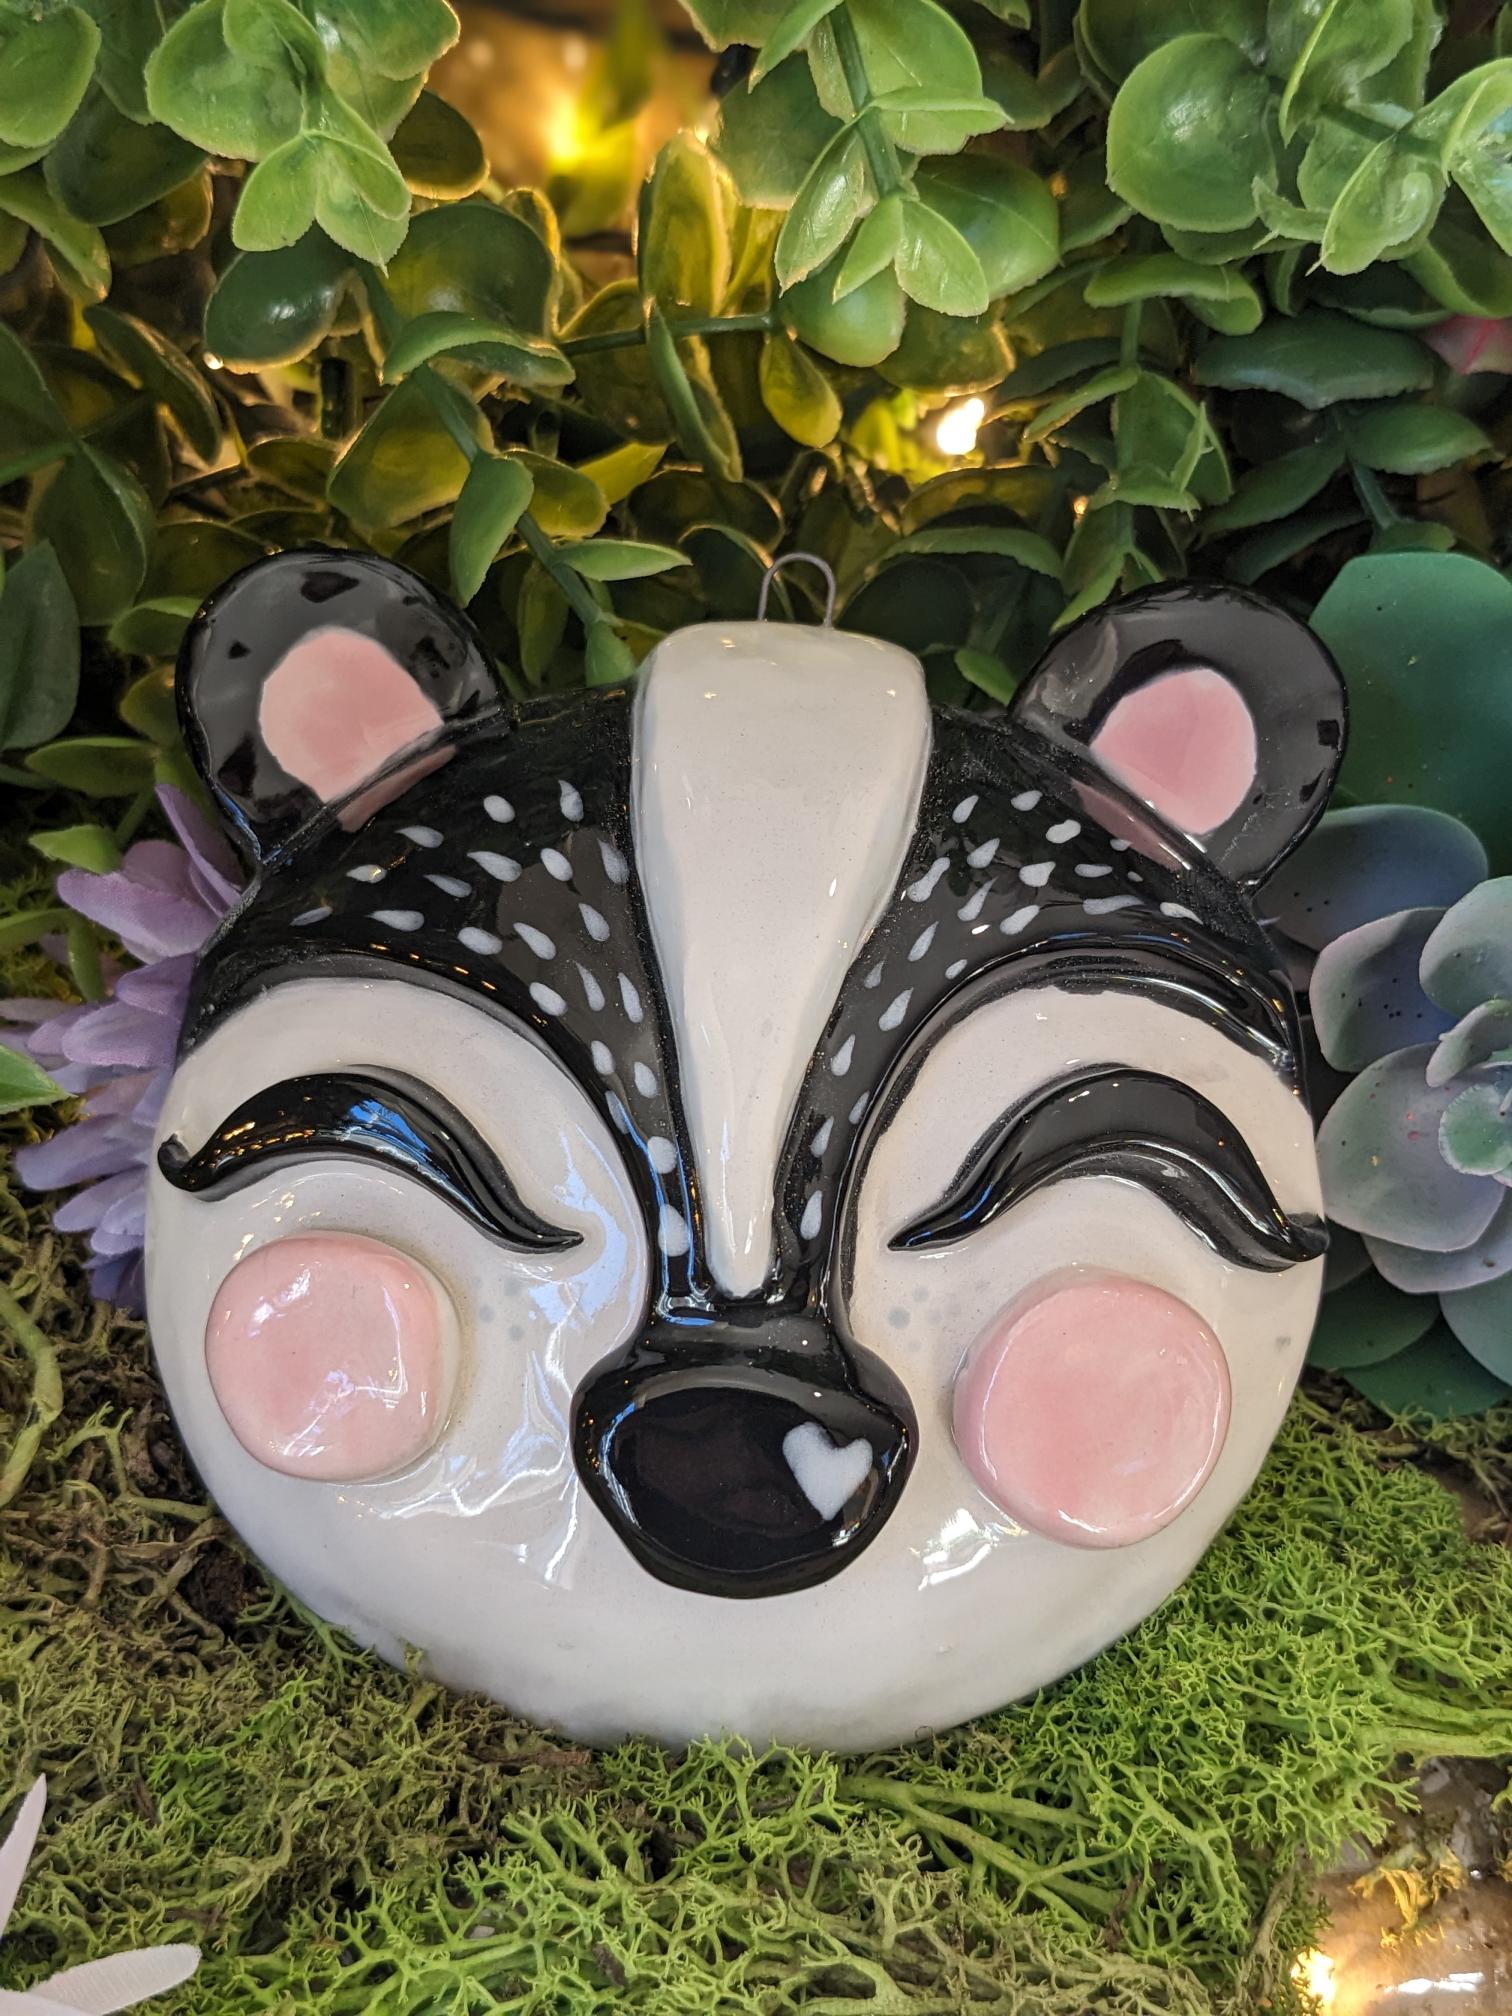
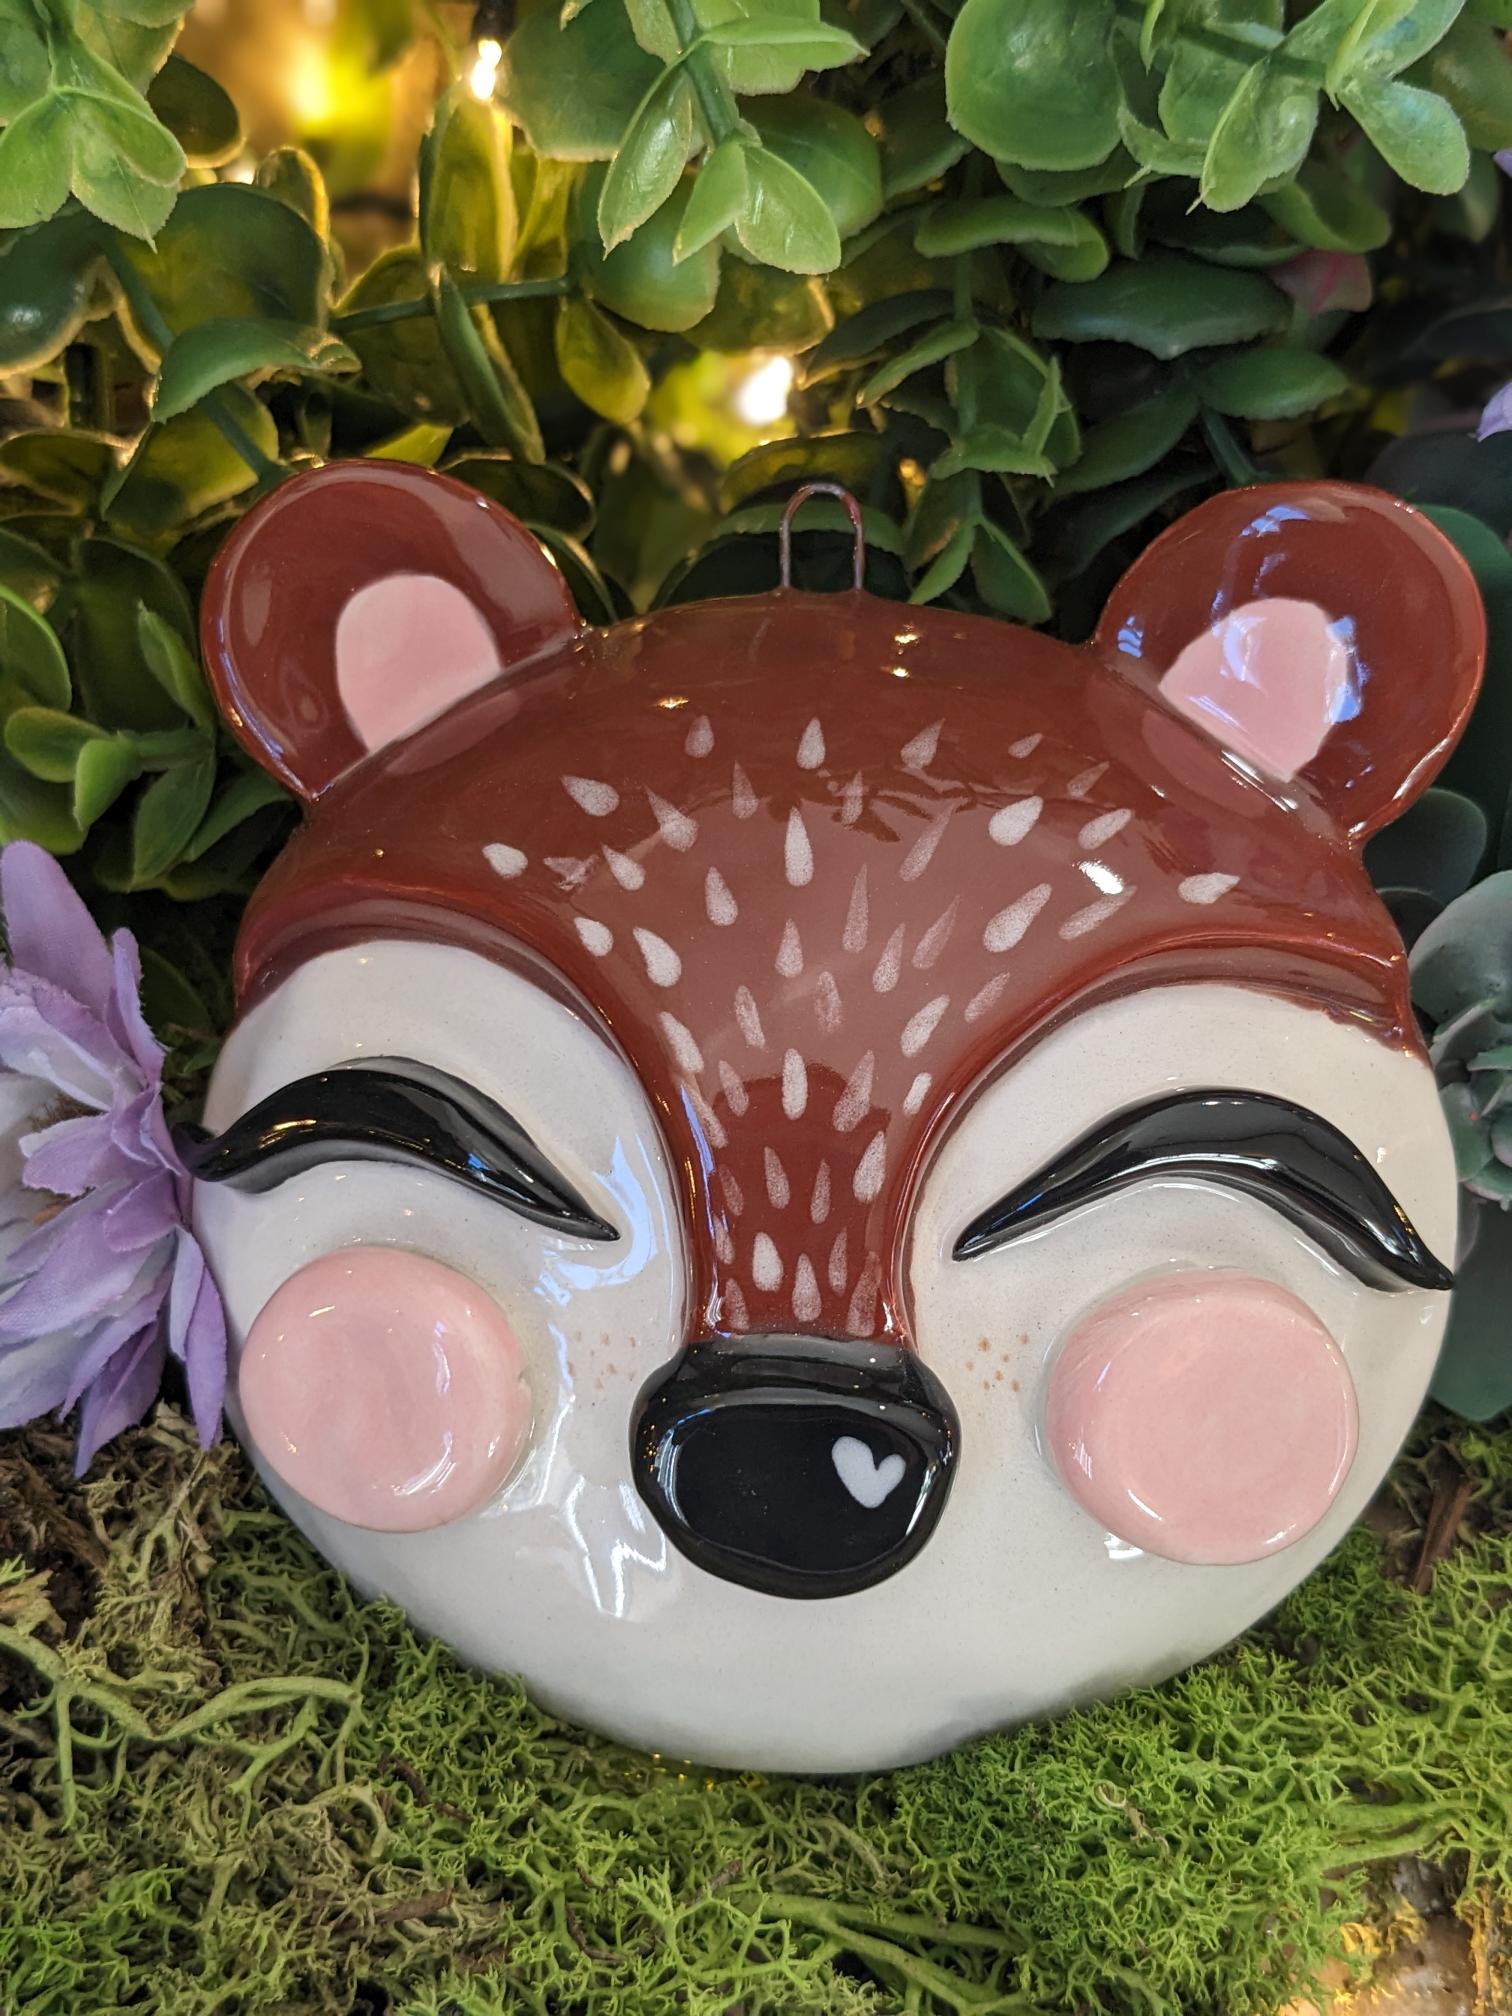
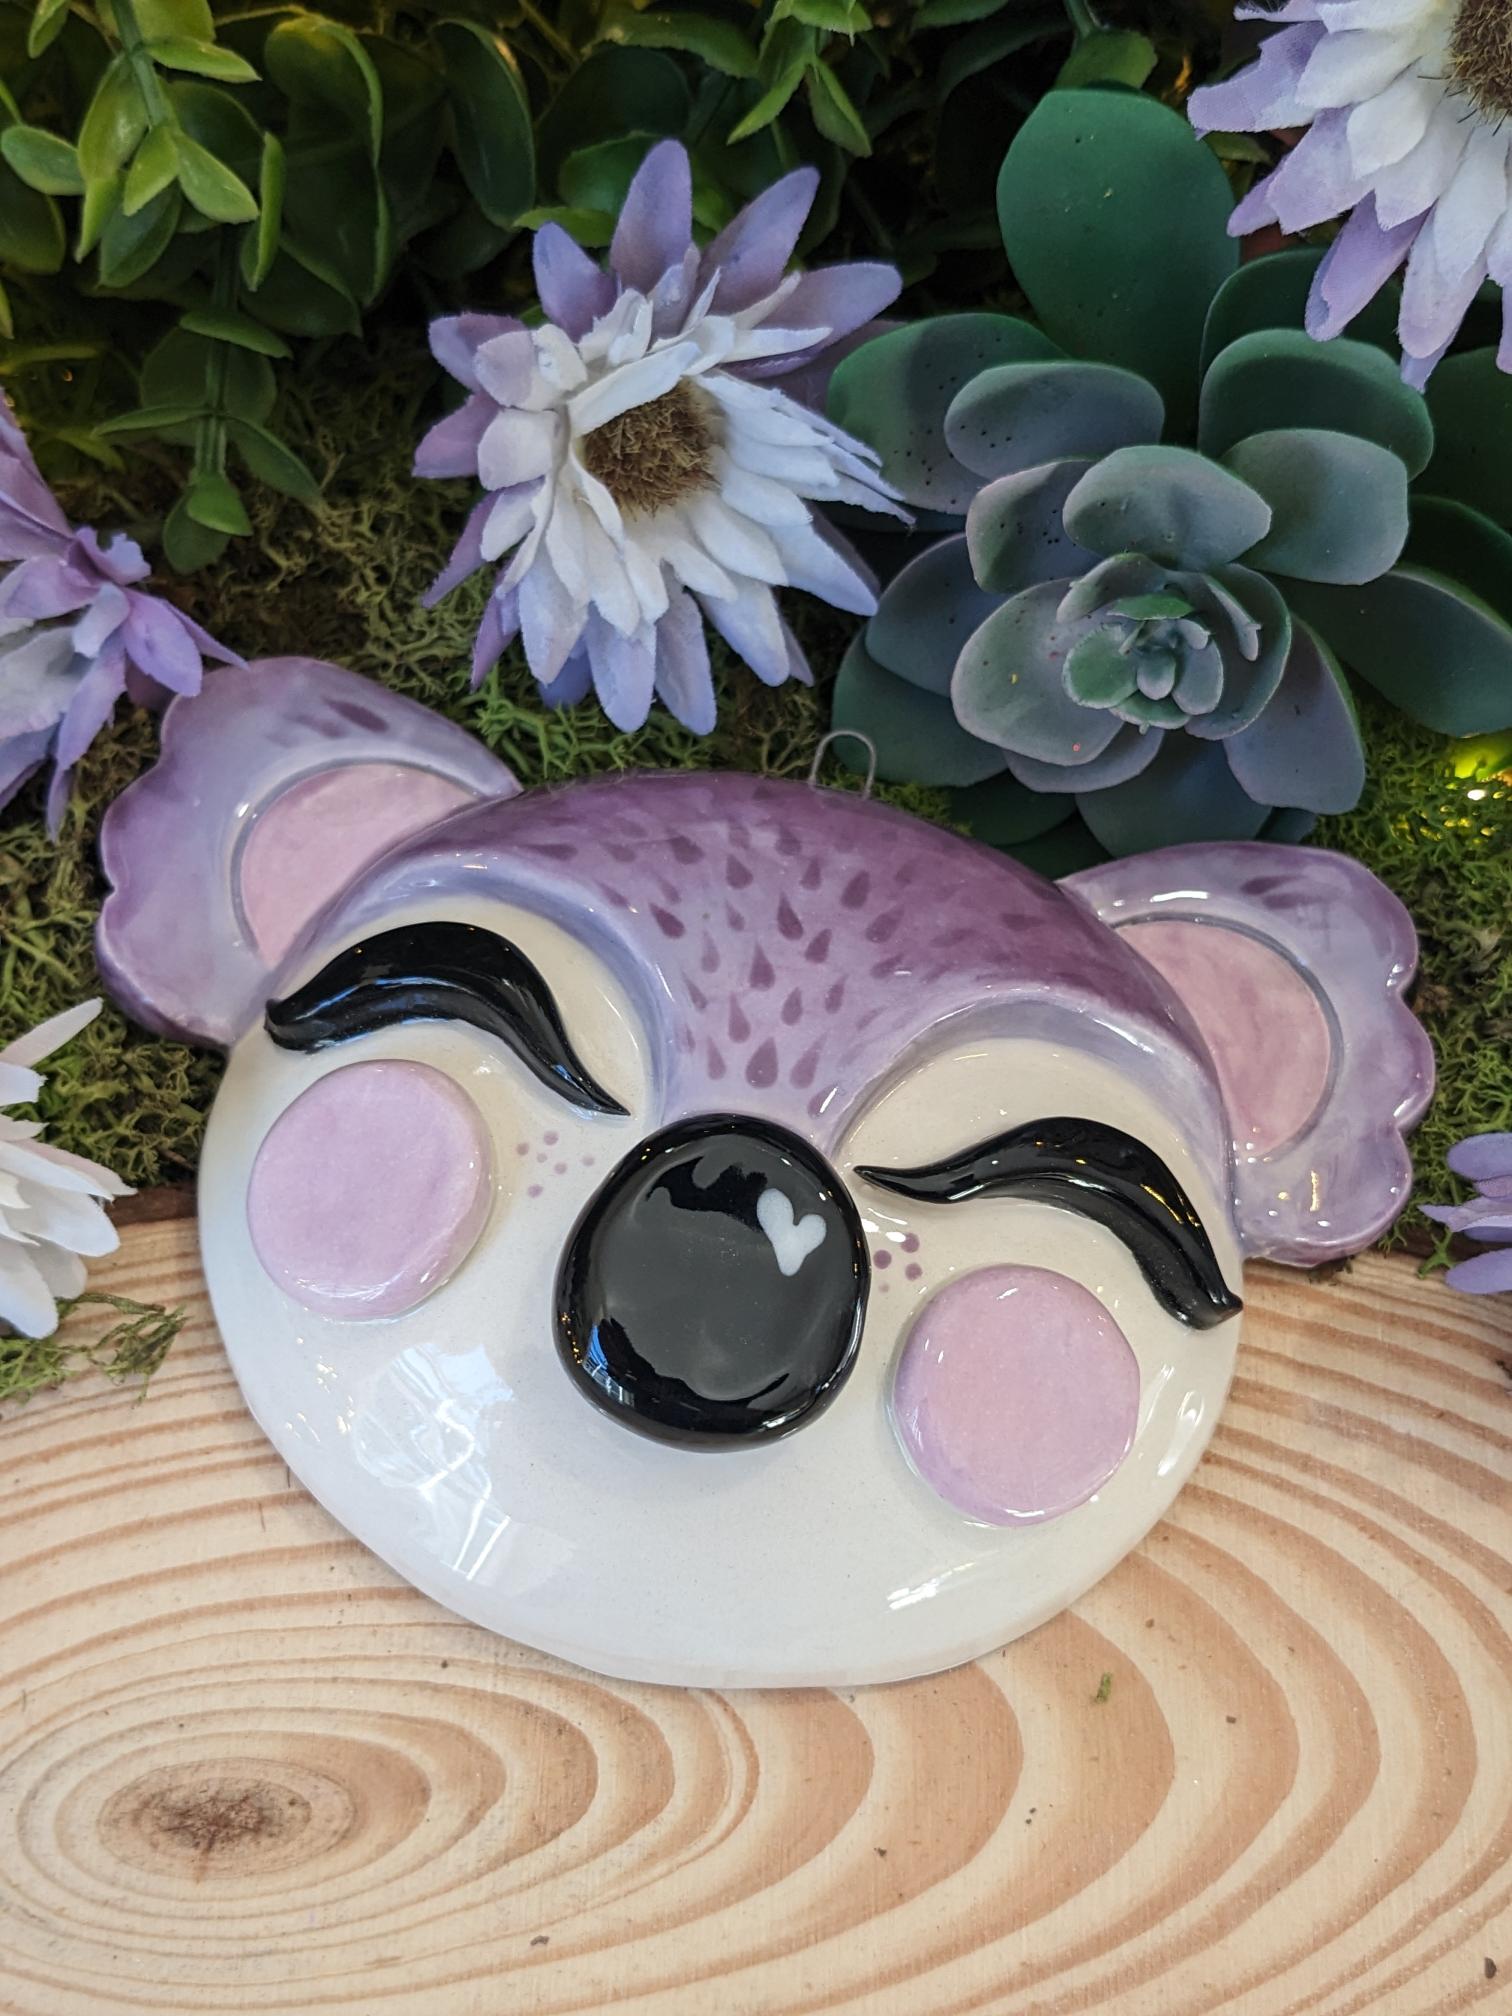
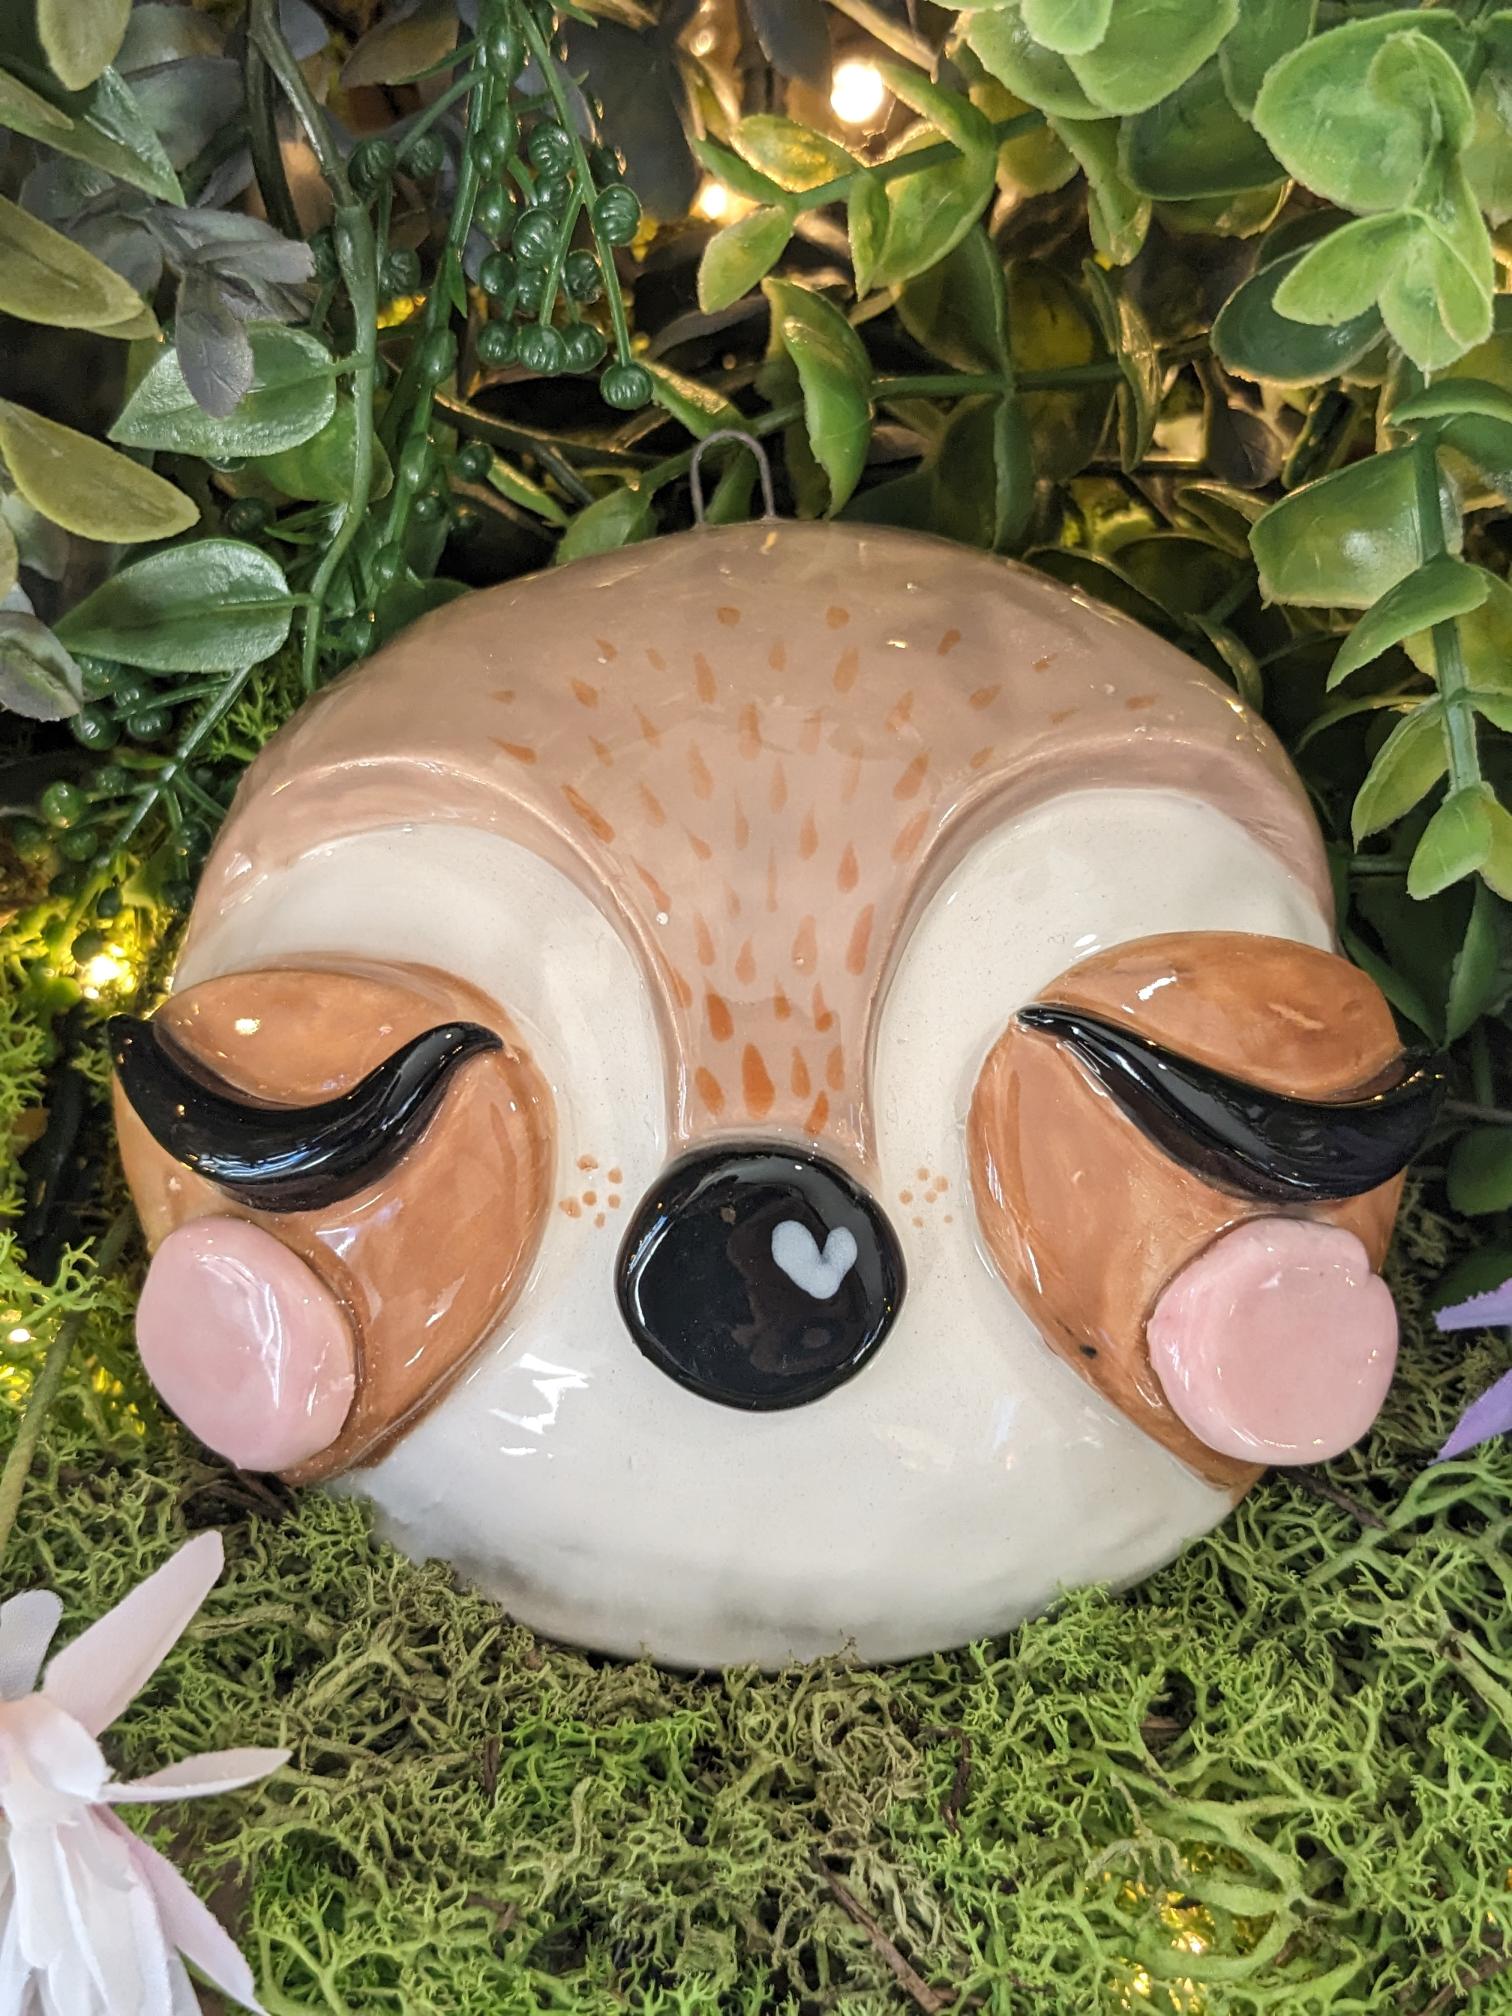
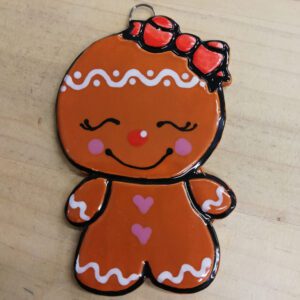
This listing is for an item(s) that is printed with PLA filament using a 3D printer. The photos alongside the main photo will show you bisque fired earthenware clay pieces made with the cutters / stamps and also some painted pieces for inspiration. You will also find extra inspiration in our gallery.
This item is perfect for making your own bisque to sell in your PYOP studio, for use within a pottery studio, or for your own handicrafts…. the only limit is your imagination!
The colour of your cutters and stamps may vary from those shown in the photograph.
After use, rinse in cool water (never use hot water and do not soak) and dry immediately. Store in a cool, dry place.
Instructions to make a cute animal face…
- Roll out clay to 7mm thick
- Dust the mould and cutter with talc or cornflour
- Drape the clay over the mould. Smooth and firm the clay around the mould
- Place the cutter over the mould and press down to cut through the clay
- Cut away excess clay then press the mould and clay up through the cutter
- Turn over the mould and smooth out the edge
- Use the cutter to cut out the top of the face and score and slip in place
- Smooth and stretch the sides to fit around the edge and blend in
- Seal the joins with a damp paintbrush
- Choose the cutter for the ears then cut out 2 so that you have a mirrored pair
- Create an indent for the inner ear if you’d like
- Score and slip the ears in place, securing with extra clay on the back if needed
- Flatten a ball of clay to make the nose and score and slip in place
- Use the small rounded ear cutter to cut out one ear. Remove the cutter, then move it down slightly and cut again to create a crescent shape to use for the eye. Make 2 of these
- Score and slip the eyes in place
- Roll small balls of clay and flatten to make cheeks. Score and slip these in place
- This is your finished cute animal shape unless you’d like to add any extra details. Flip over into the palm of your hand and twist to release and remove the mould
- Add a hook it you want then leave to dry completely before firing
Additional information
| Weight | 0.1 kg |
|---|---|
| Shipping Information | |
| Design Option | blue tiger add on kit, bunny ear cutter, deer/giraffe ear cutter, fox/cat ear cutter, full set, hump mould, koala ear cutter, oval hump mould and cutter, tiger/bear/badger ear cutter, top of face cutter |
You may also like…
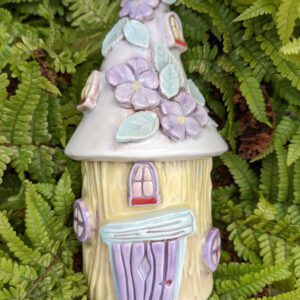
Related products
-

Trophy Stamp And Cutter Set (Various Sizes Available)
Price range: £4.00 through £10.50 Select options This product has multiple variants. The options may be chosen on the product page -
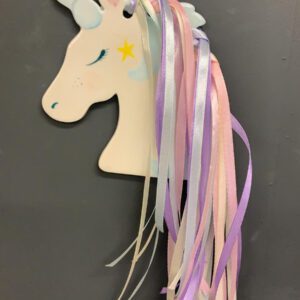
Unicorn Cutter (Various Sizes Available)
Price range: £2.00 through £10.00 Select options This product has multiple variants. The options may be chosen on the product page -
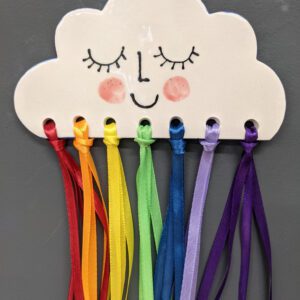
Cloud Cutter (Various Sizes Available)
Price range: £2.00 through £10.00 Select options This product has multiple variants. The options may be chosen on the product page -
Snowgirl/Penguin/Gingerbread Girl Cutter And Stamp Set (Various Sizes Available)
Price range: £4.00 through £10.50 Select options This product has multiple variants. The options may be chosen on the product page
Reviews
There are no reviews yet.