
Witch’s Hat Kit
£14.50
This workshop set to make a witch’s hat includes a 15cm/6inches circle cutter and a 12cm/4.7inches cone cutter.
Perfect for creating items to sell in your PYOP studio or to run as a family friendly workshop!
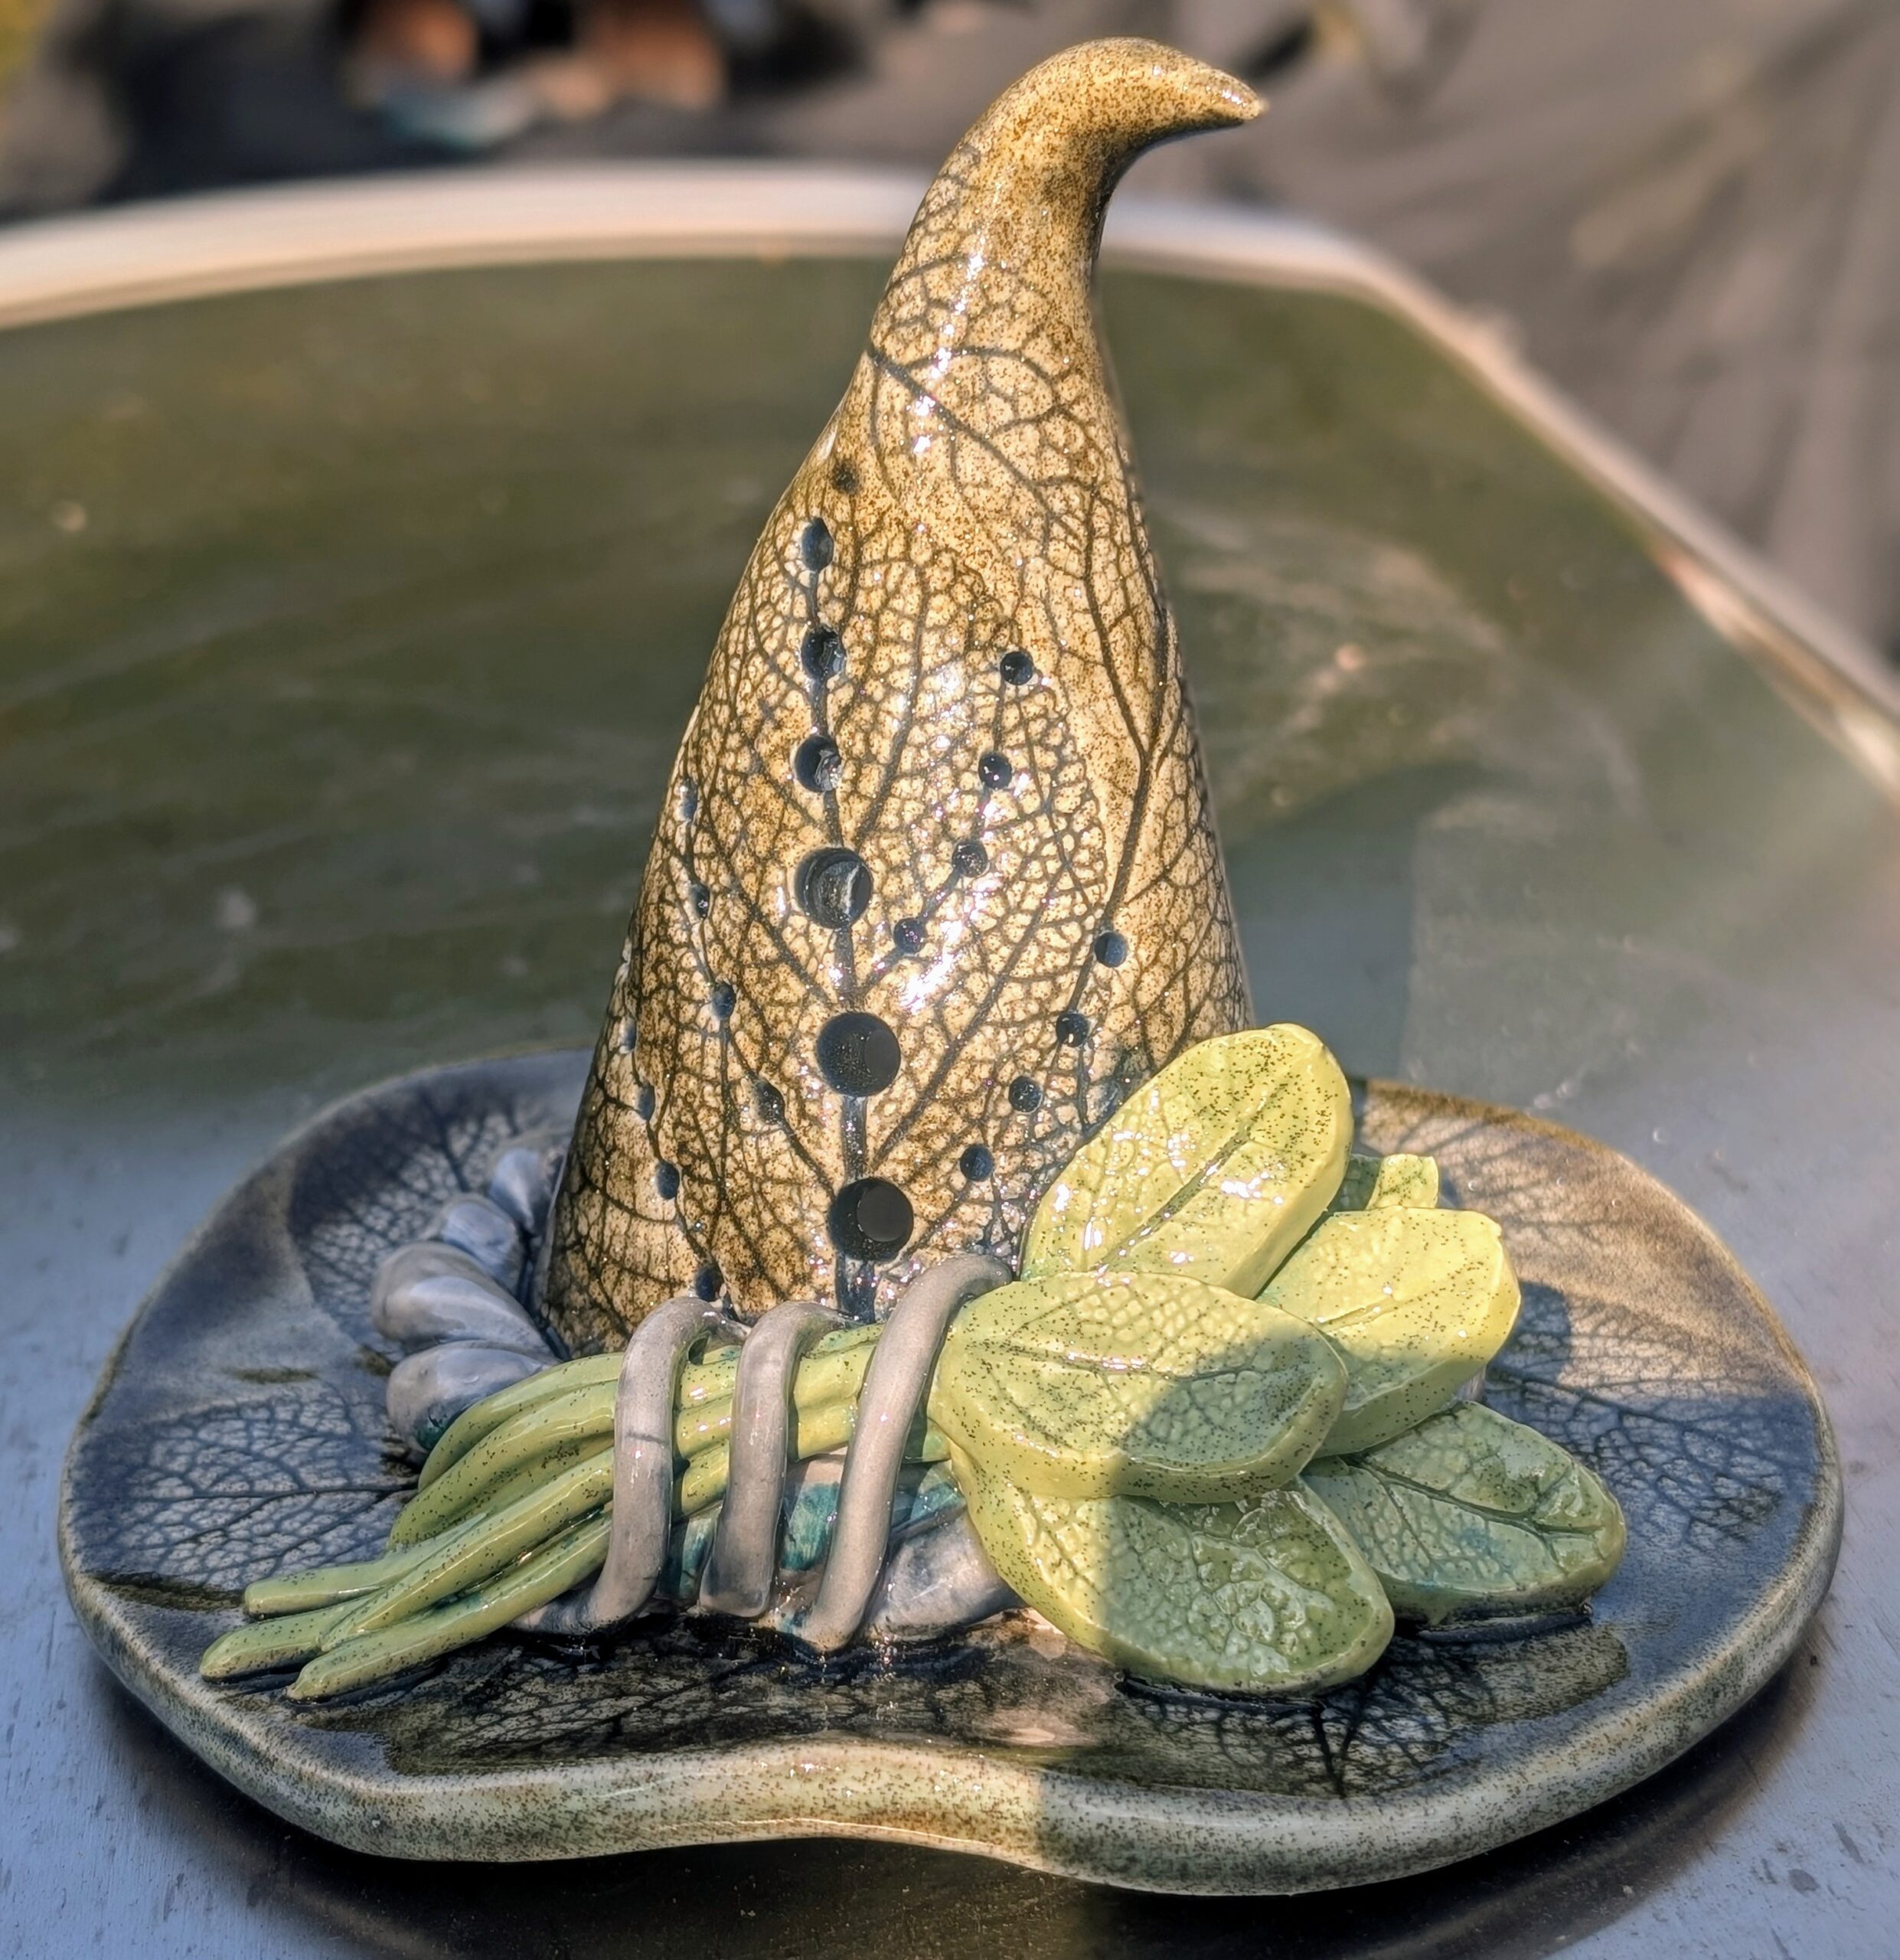
This cutter is printed in PLA filament. This item is not food safe. The photo of the bisque item is for inspiration only, this listing is for the 3D printed cutter for you to make the bisque pieces yourself. The colour of your cutters may vary at any time and may be different from that shown in the photo.
Description
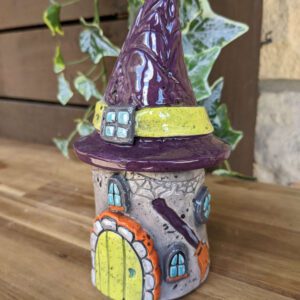
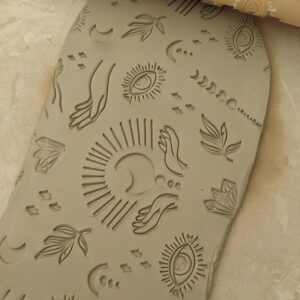
This listing is for an item(s) that is printed with PLA filament using a 3D printer. The photos alongside the main photo will show you bisque fired earthenware clay pieces made with the cutters / stamps and also some painted pieces for inspiration. You will also find extra inspiration in our gallery.
This item is perfect for making your own bisque to sell in your PYOP studio, for use within a pottery studio, or for your own handicrafts…. the only limit is your imagination!
The colour of your cutters and stamps may vary from those shown in the photograph.
After use, rinse in cool water (never use hot water and do not soak) and dry immediately. Store in a cool, dry place.
Instructions to make a witch’s hat…
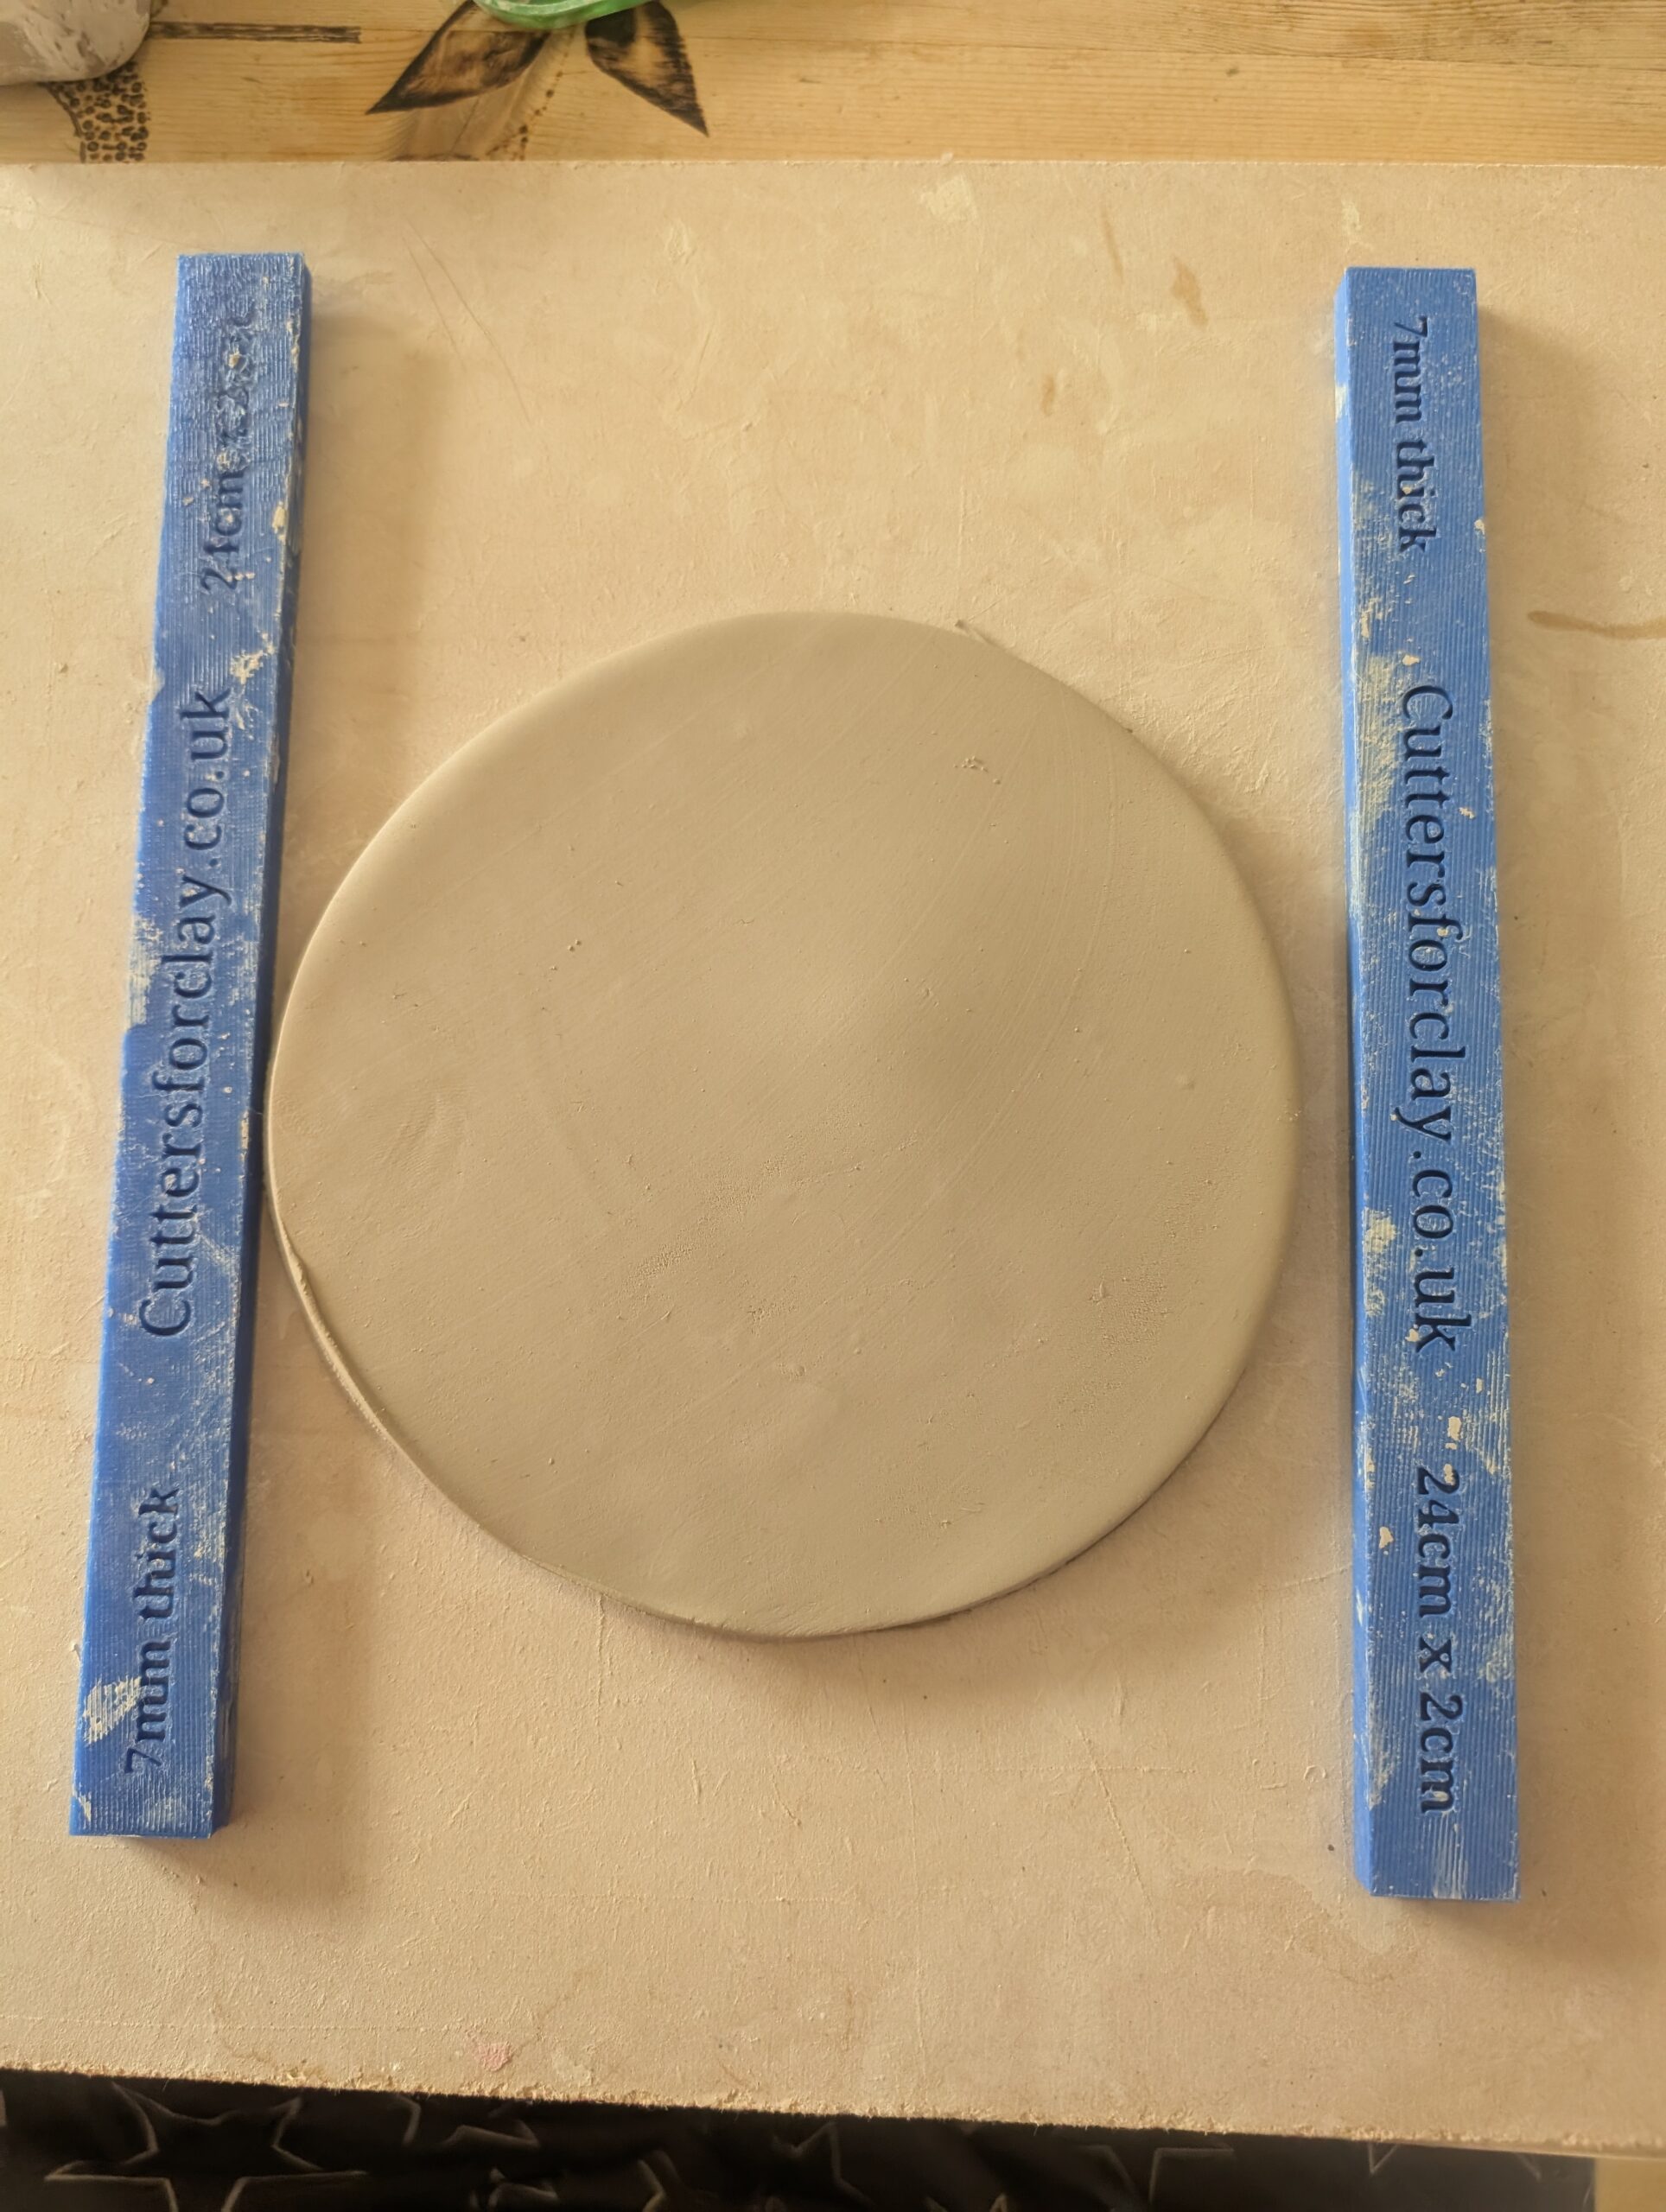
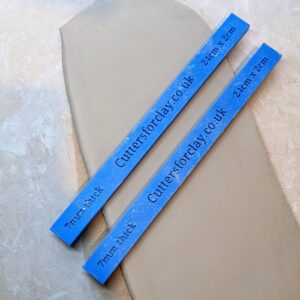
- Roll out clay to 7mm thick
- If you want to add texture, do this now before cutting out 1 circle and 1 cone piece
- Cut a small circle out from the centre of the circle base piece – if you want the hat to be a lantern, make sure the hole is large enough to fit a candle
- Score the 2 straight edges of the cone piece and paint on slip
- Roll the straight edges in towards each other to join and make a cone shape, firm together
- Add a thin sausage of clay to the join line on the outside and inside of the cone and blend to smooth in
- Score around the smaller inner circle where you will attach the cone
- Score and slip the base of the cone
- Firm the cone in place onto the base
- Roll out 2 long sausages of clay and lay them side by side. Roll together so they twist together like a rope
- Paint slip around where the cone and base meet
- Wrap the twisted rope of clay around the base of the cone and cut to size. Smooth where the ends meet
- Use a damp paintbrush to smooth out the twisted rope of clay
- Make whatever additional decoration you want to add to your witch’s hat
- Decorate the hat however you’d like. Just remember to score and slip everything you attach
- Leave to dry completely before firing
Additional information
| Weight | 0.1 kg |
|---|---|
| Shipping Information | |
| Size | 16cm/6.3inches, 18cm/7inches, 20cm/7.9inches, 22cm/8.6inches, 24cm/9.4inches |
You may also like…
Related products
-
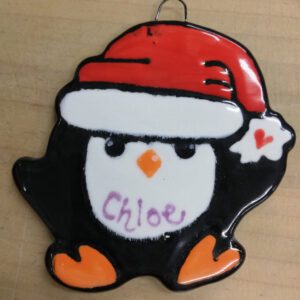
Penguin With Santa Hat Cutter And Stamp Set (Various Sizes Available)
Price range: £4.00 through £10.50 Select options This product has multiple variants. The options may be chosen on the product page -
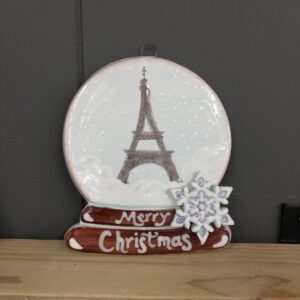
Snow Globe Cutter And Stamp Set (Various Sizes Available)
Price range: £4.00 through £10.50 Select options This product has multiple variants. The options may be chosen on the product page -
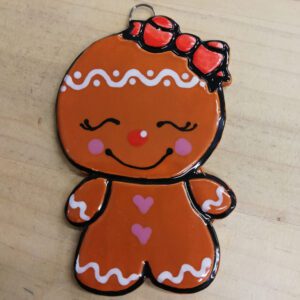
Snowgirl/Penguin/Gingerbread Girl Cutter And Stamp Set (Various Sizes Available)
Price range: £4.00 through £10.50 Select options This product has multiple variants. The options may be chosen on the product page -
Christmas Toppers Cutters And Stamp Set 2
£20.00 Add to basket
Reviews
There are no reviews yet.