
Poinsettia Cutter Set
£15.00
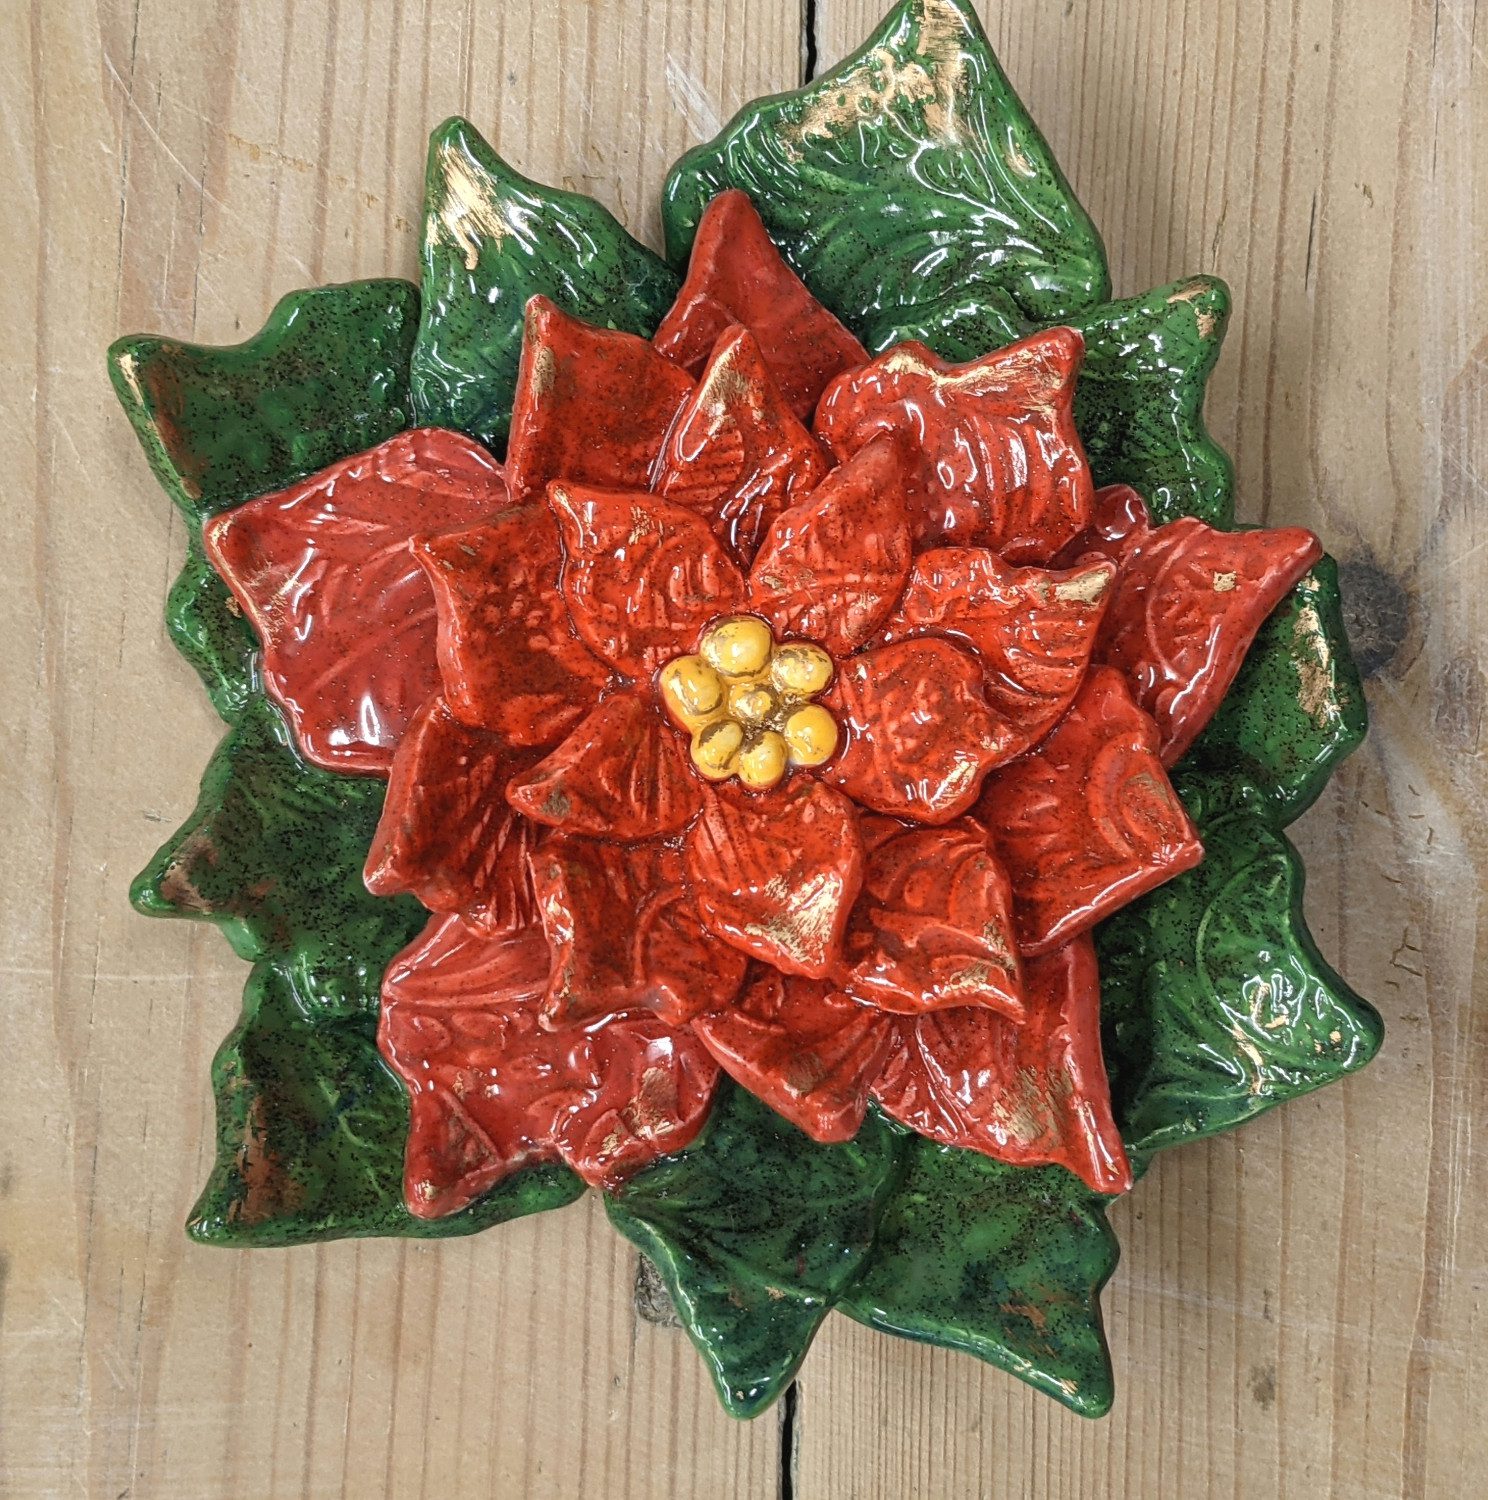
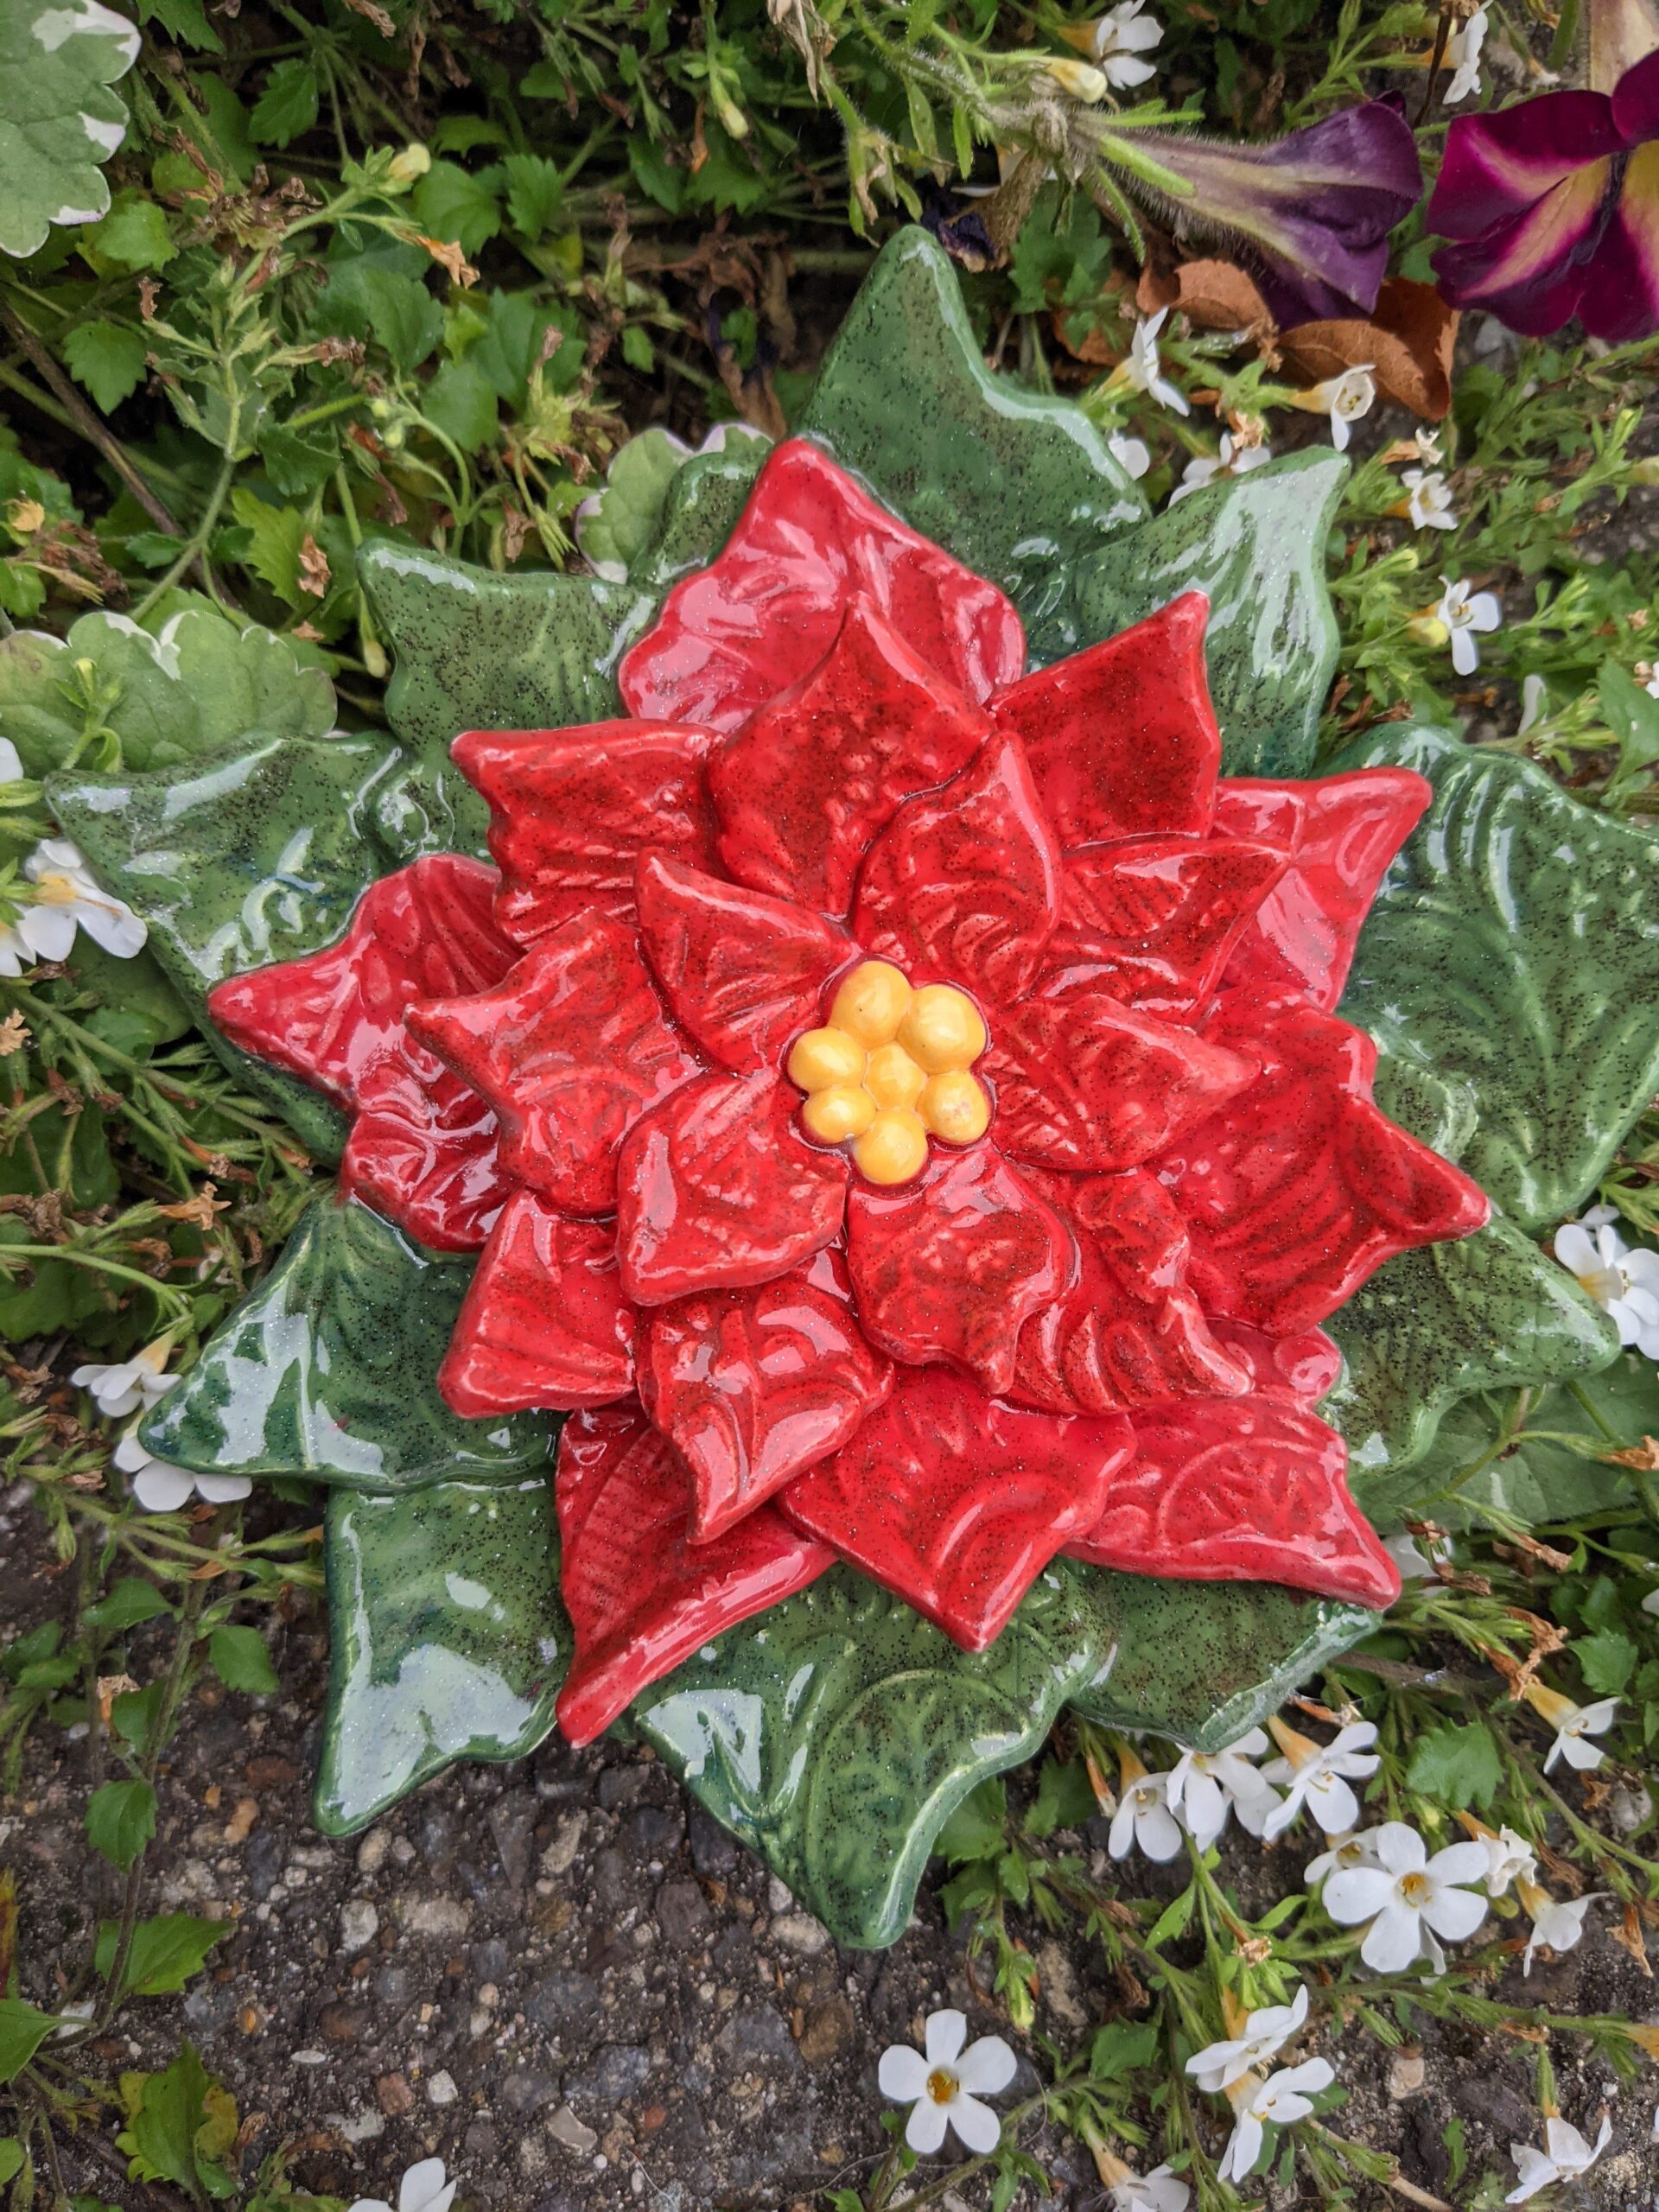
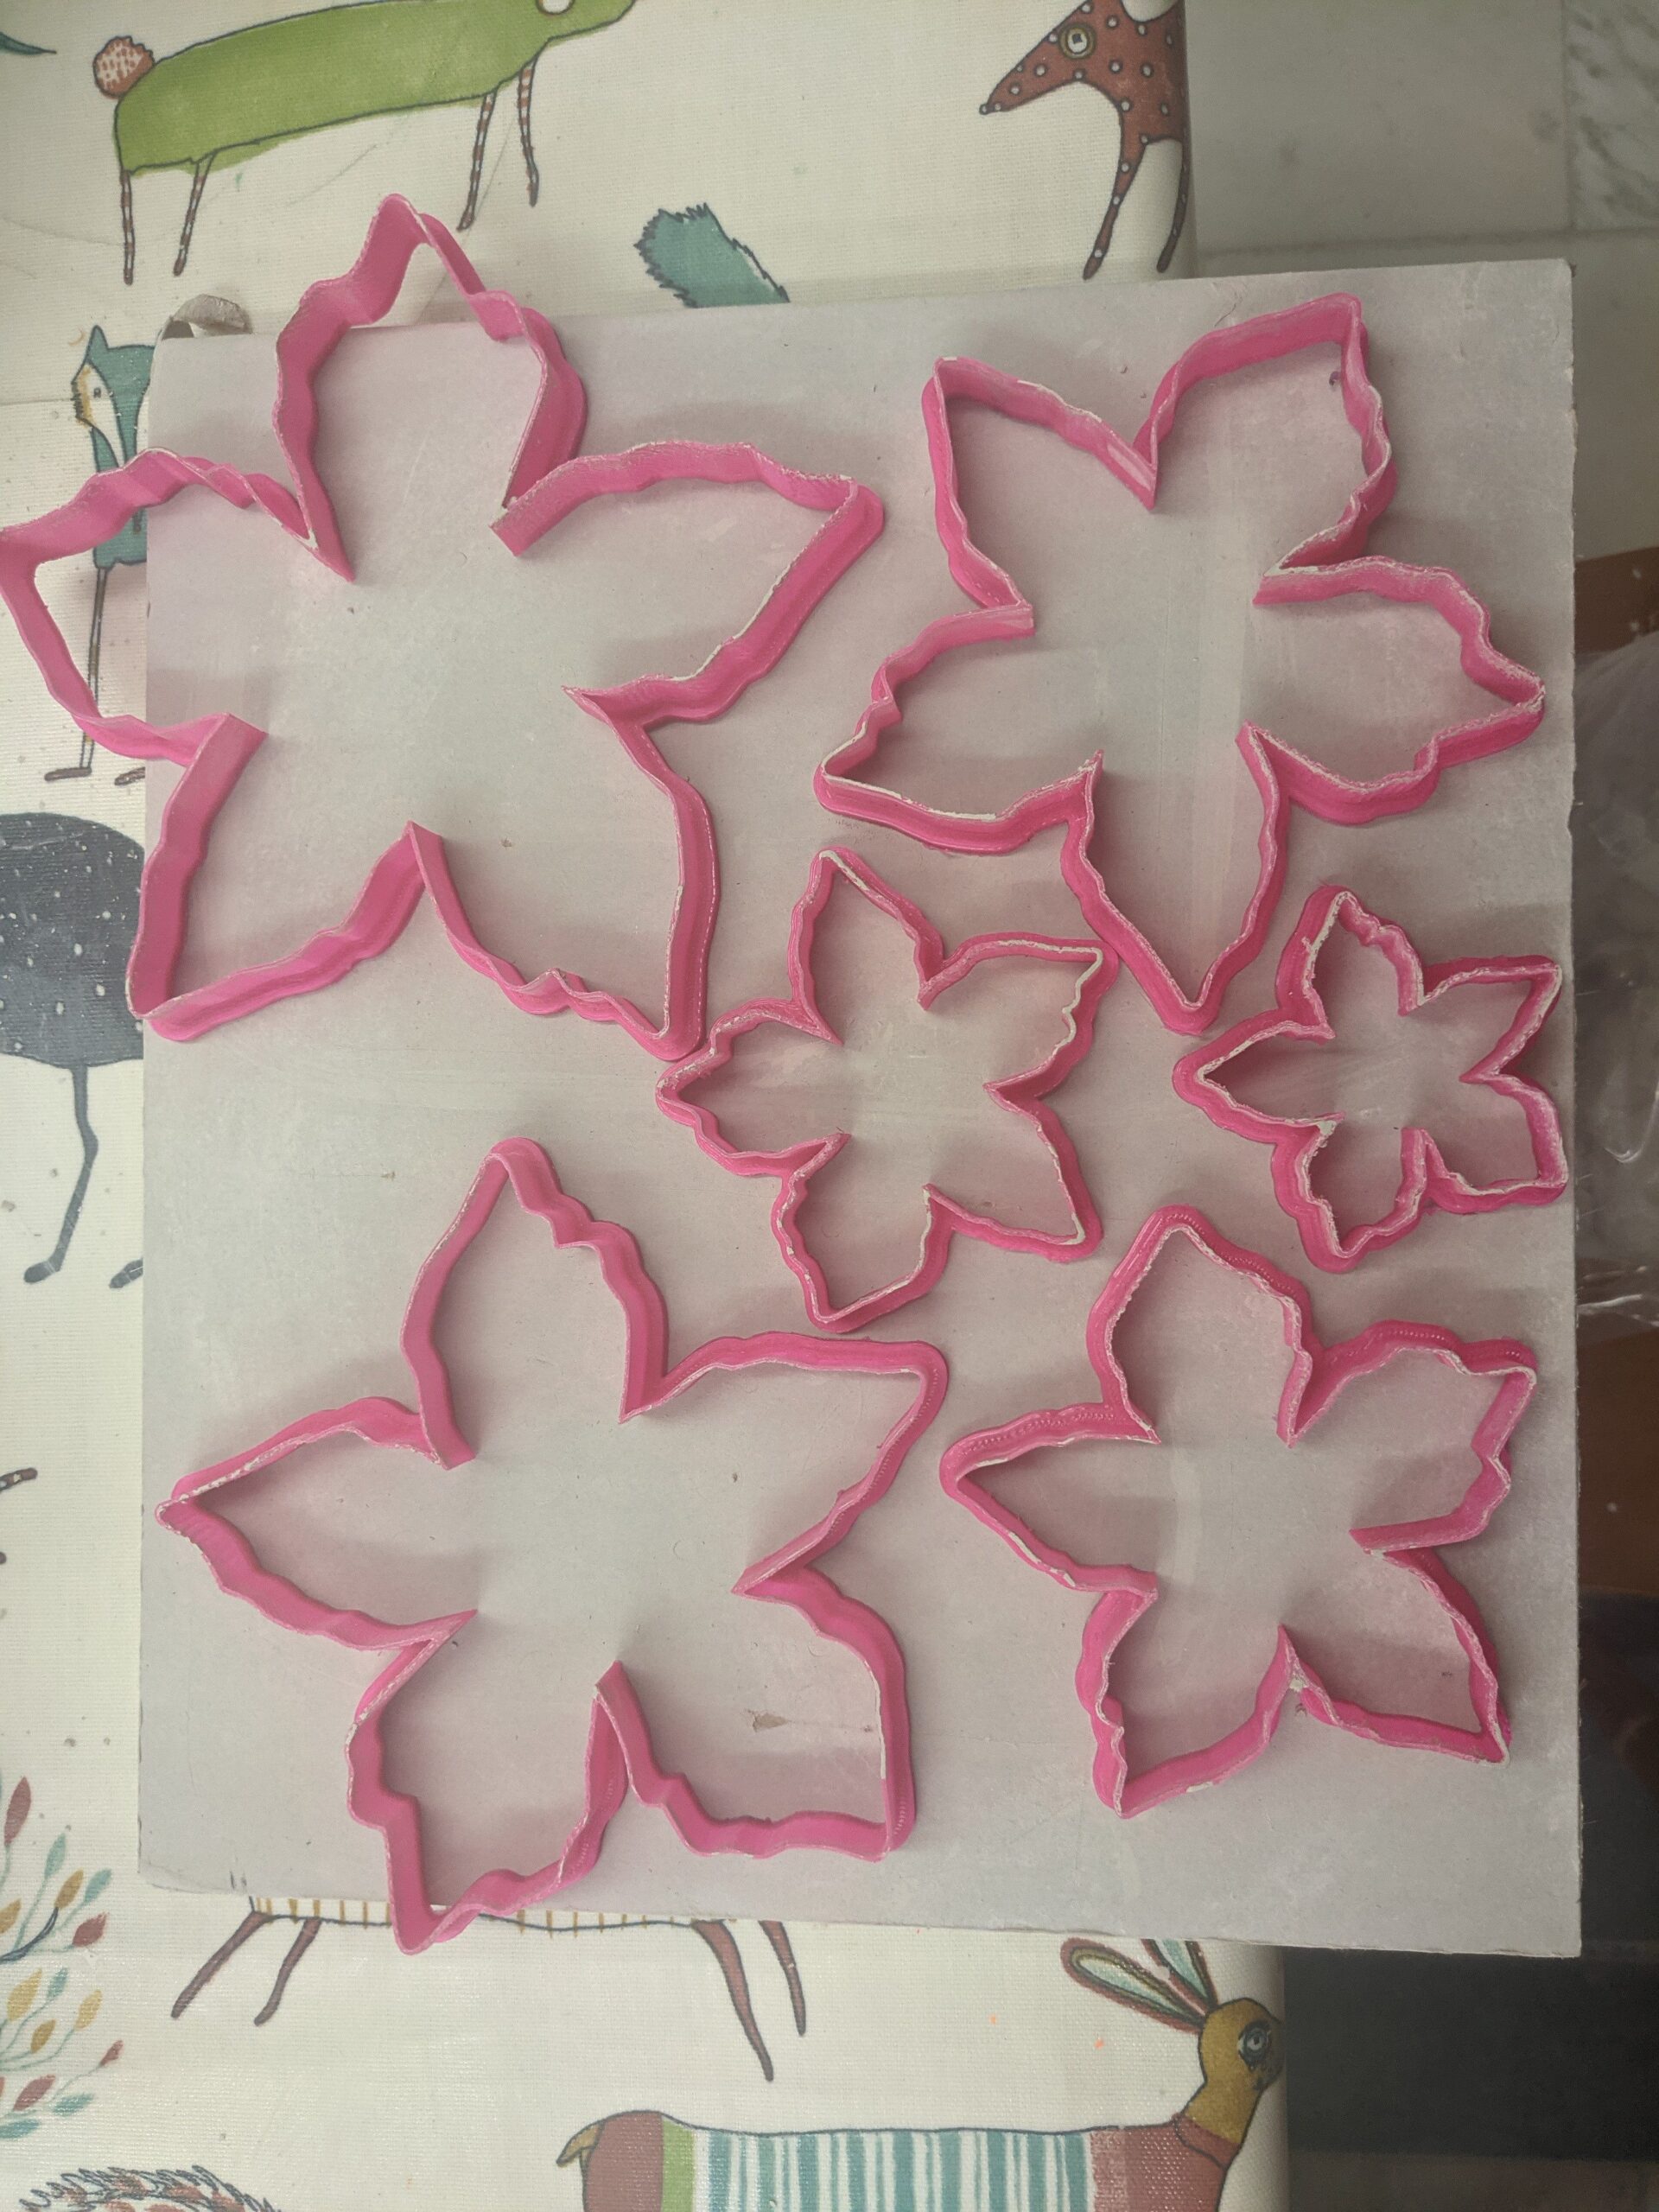
This item is for a 3D printed cutter set to make a poinsettia flower.
This set consists of 6 different sized cutters. You can use all 6 to cut out clay petals and layer up to make one large full flower or you can make smaller flowers using different sizes put together. For example, using the 3 smallest cutters to make a small poinsettia to pop on a wreath.
This cutter is printed in PLA filament. This item is not food safe. The photo of the bisque item is for inspiration only, this listing is for the 3D printed cutter for you to make the bisque pieces yourself. The colour of your cutters may vary at any time and may be different from that shown in the photo.
Description
This listing is for an item(s) that is printed with PLA filament using a 3D printer. The photos alongside the main photo will show you bisque fired earthenware clay pieces made with the cutters / stamps and also some painted pieces for inspiration. You will also find extra inspiration in our gallery.
This item is perfect for making your own bisque to sell in your PYOP studio, for use within a pottery studio, or for your own handicrafts…. the only limit is your imagination!
The colour of your cutters and stamps may vary from those shown in the photograph.
After use, rinse in cool water (never use hot water and do not soak) and dry immediately. Store in a cool, dry place.
Instructions to make a poinsettia…
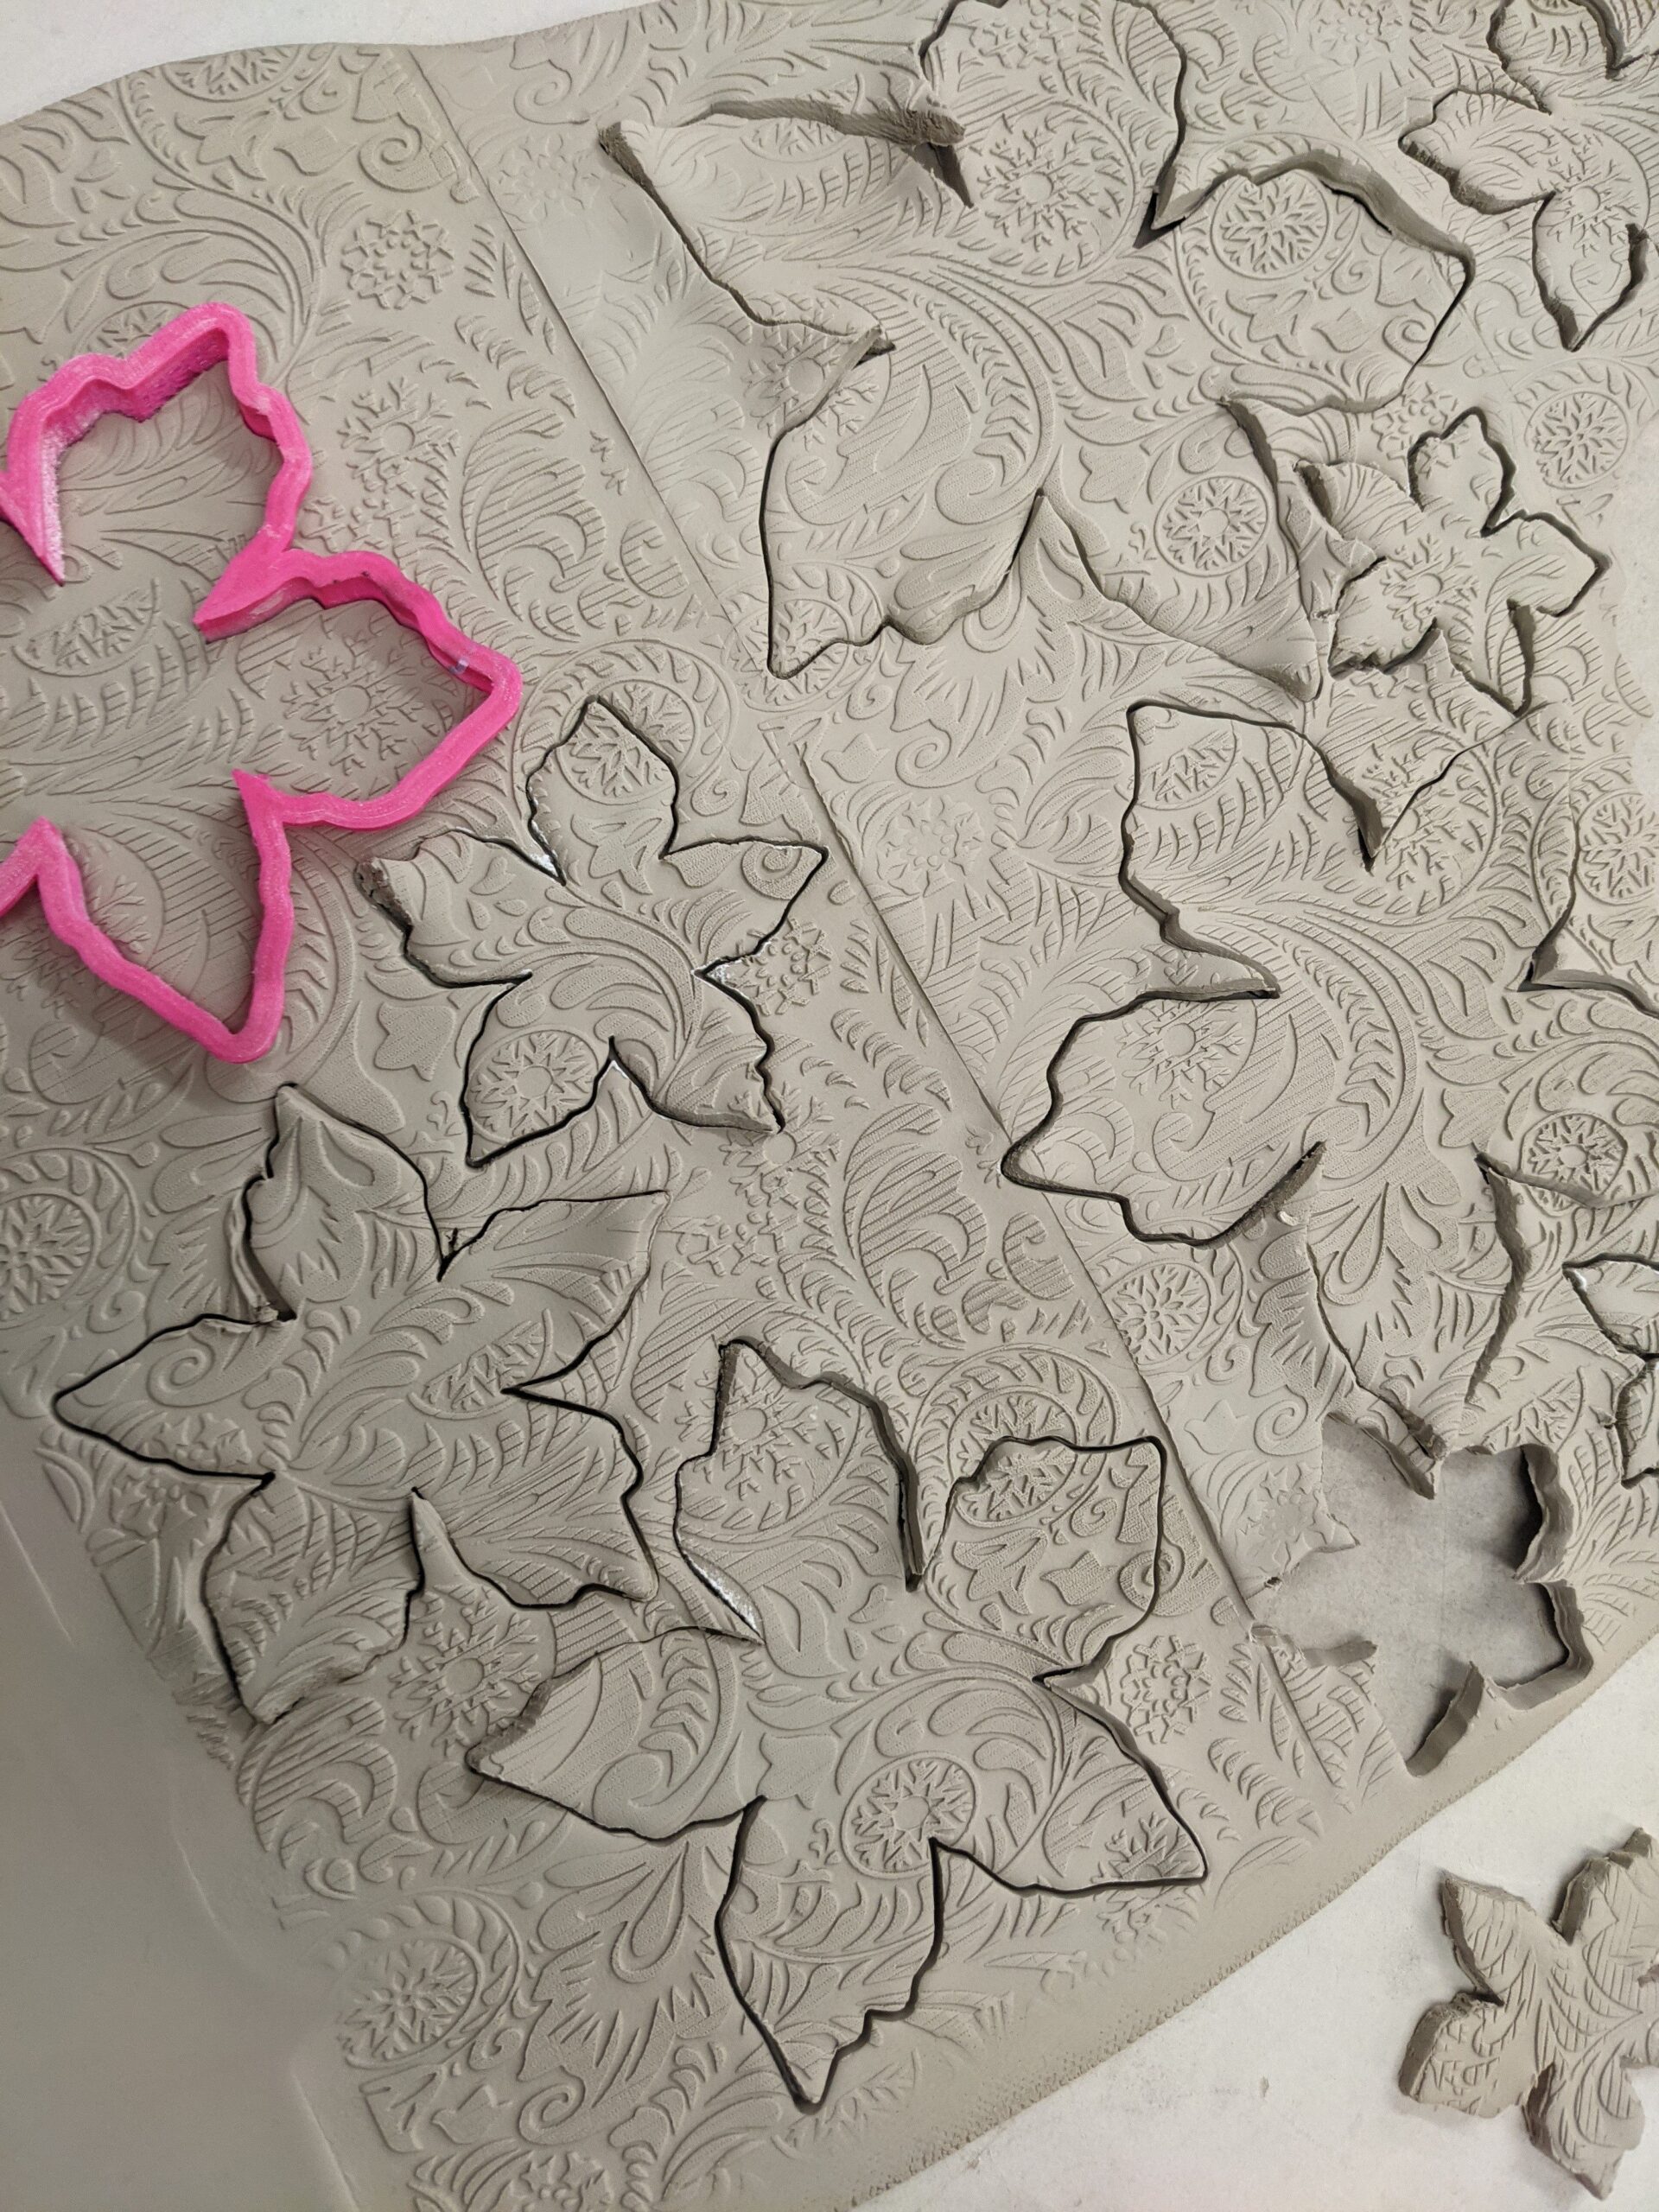
- Roll out clay to 7mm thick
- Texture you clay if you want to then use the cutters to cut out 1 of each size of the poinsettia petal layers
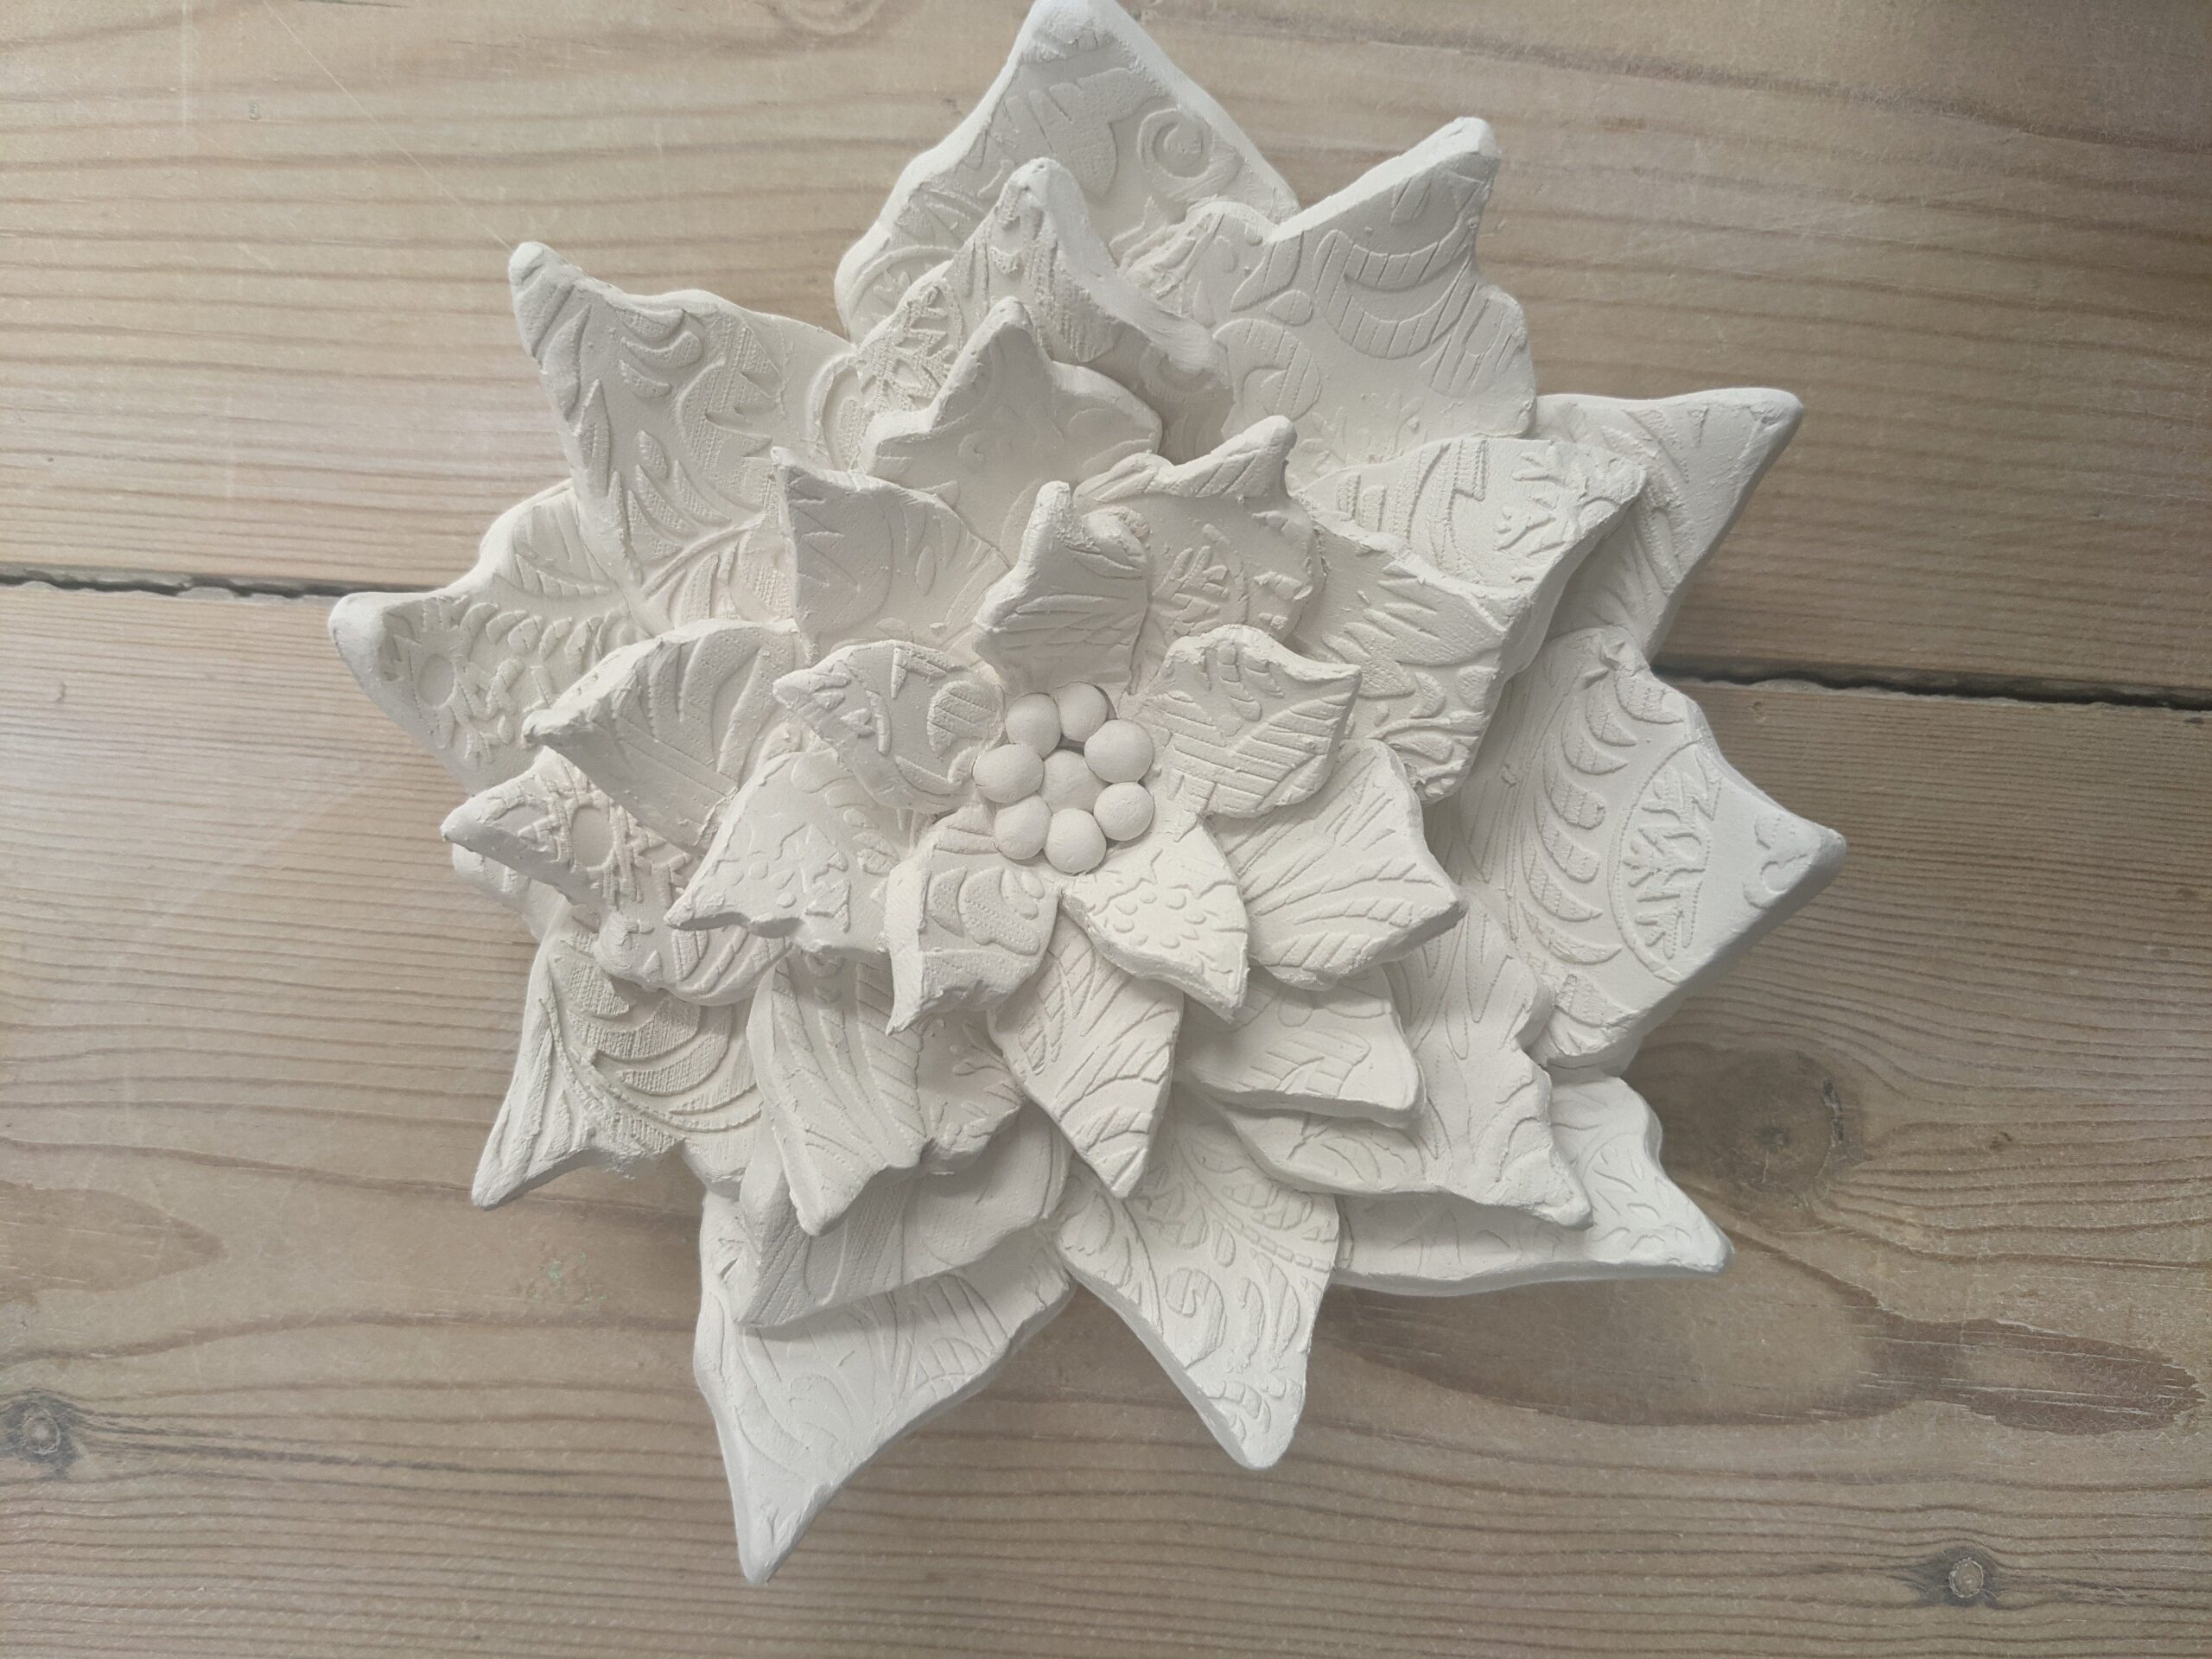
- Gently neaten up the edges of the 6 layers
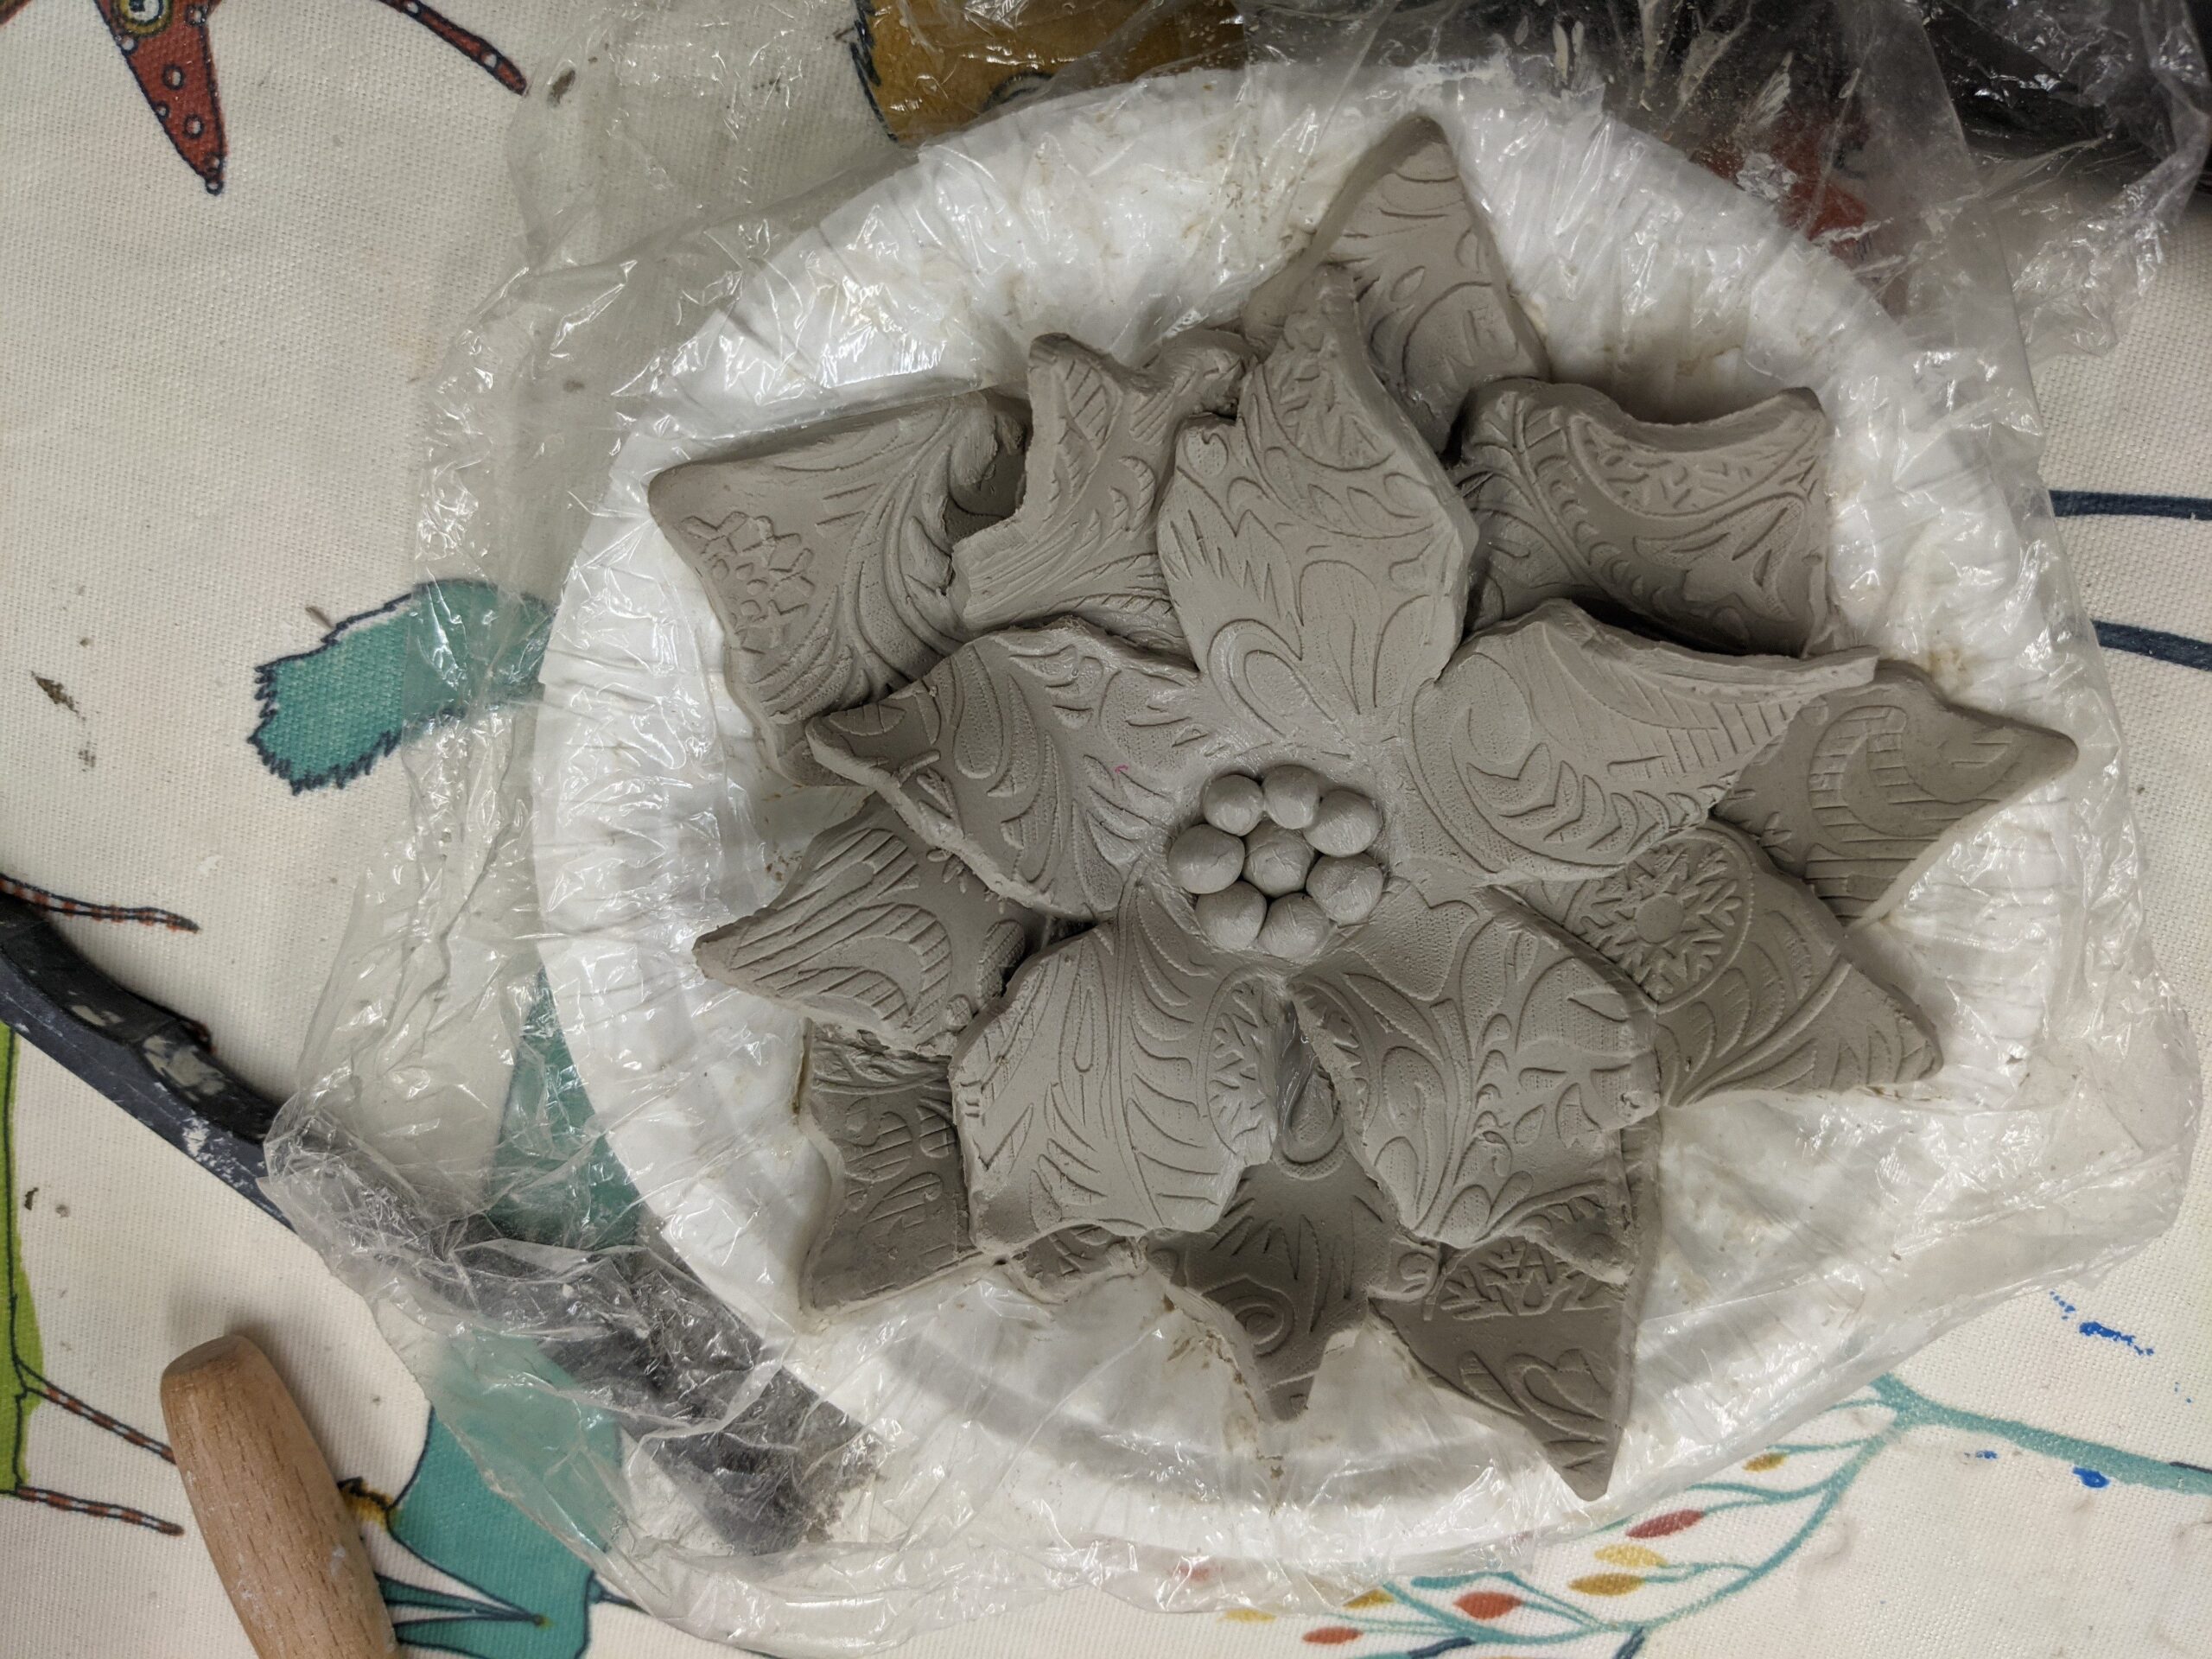
- Line a shallow bowl with cling film and place the largest petal layer in the bottom then score and slip the middle area
- Score and slip the back of the next largest layer. Flip over and lay onto the first layer so that the petals line up in the gaps
- Made a hole in the middle of those 2 layers if you’d like to be able to hang your poinsettia
- Repeat with the remaining layers, in size order, scoring and adding slip between each layer
- Don’t cut a hole through the middle of the enxt 4 layers, just firm in the middle so that it creates a dent
- After adding your final layer, score and slip the middle of the poinsettia
- Attach pea sized balls of clay to the centre of the poinsettia
- Leave to dry slightly until it’s firm enough to hold its shape then remove from the bowl and cling film and allow to dry completely on a bisque tile or kiln shelf
Additional information
| Weight | 0.1 kg |
|---|---|
| Shipping Information |
You may also like…
-
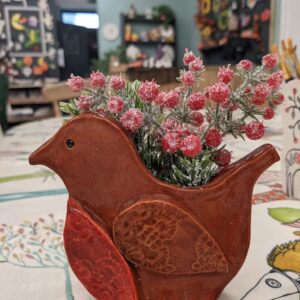
Robin Pot Cutter Set
£16.00 Add to basket -
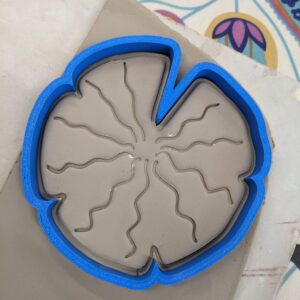
Lily Pad Cutter And Stamp Set (Various Sizes Available)
Price range: £4.00 through £10.50 Select options This product has multiple variants. The options may be chosen on the product page -

Bow Cutter Set (Various Sizes Available)
Price range: £3.00 through £8.00 Select options This product has multiple variants. The options may be chosen on the product page
Related products
-

Cloud Cutter (Various Sizes Available)
Price range: £2.00 through £10.00 Select options This product has multiple variants. The options may be chosen on the product page -
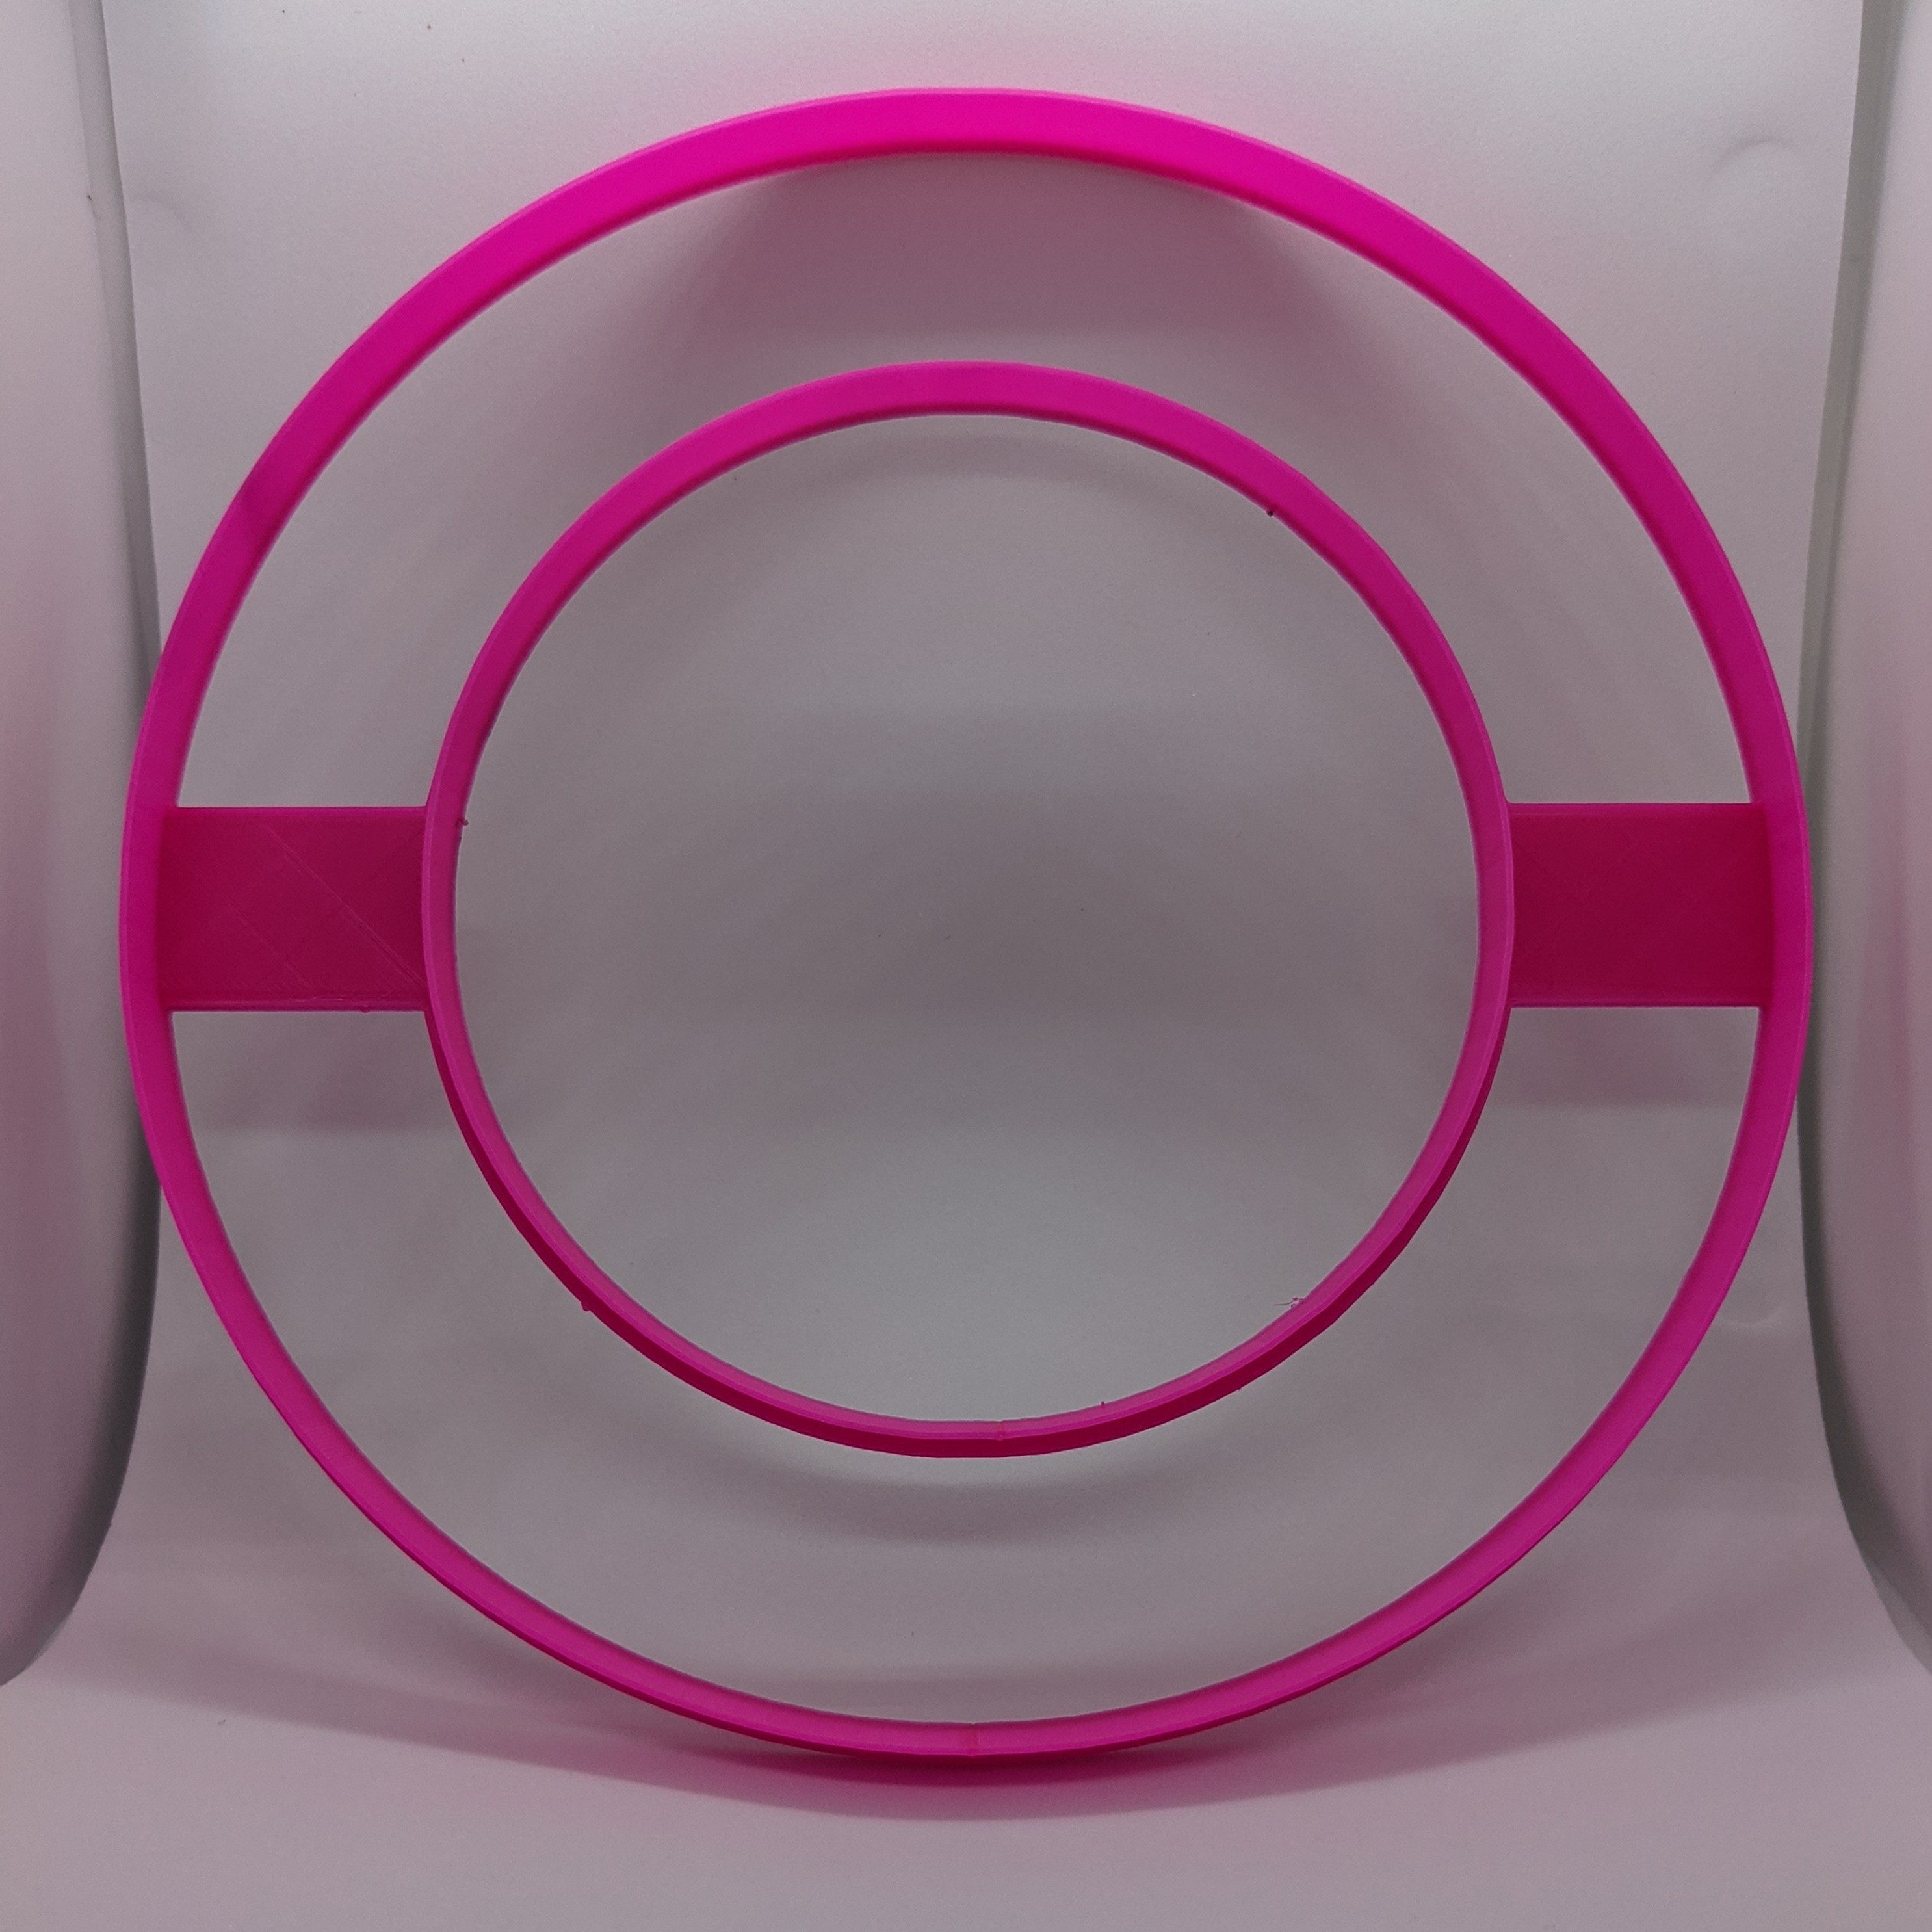
Round Wreath Base Cutter (Various Sizes Available)
Price range: £7.00 through £12.00 Select options This product has multiple variants. The options may be chosen on the product page -
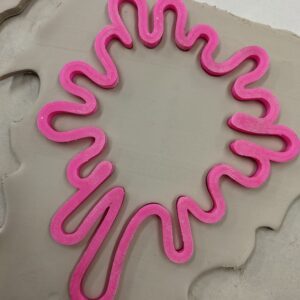
Paint Splatter Cutter
£7.50 Add to basket -
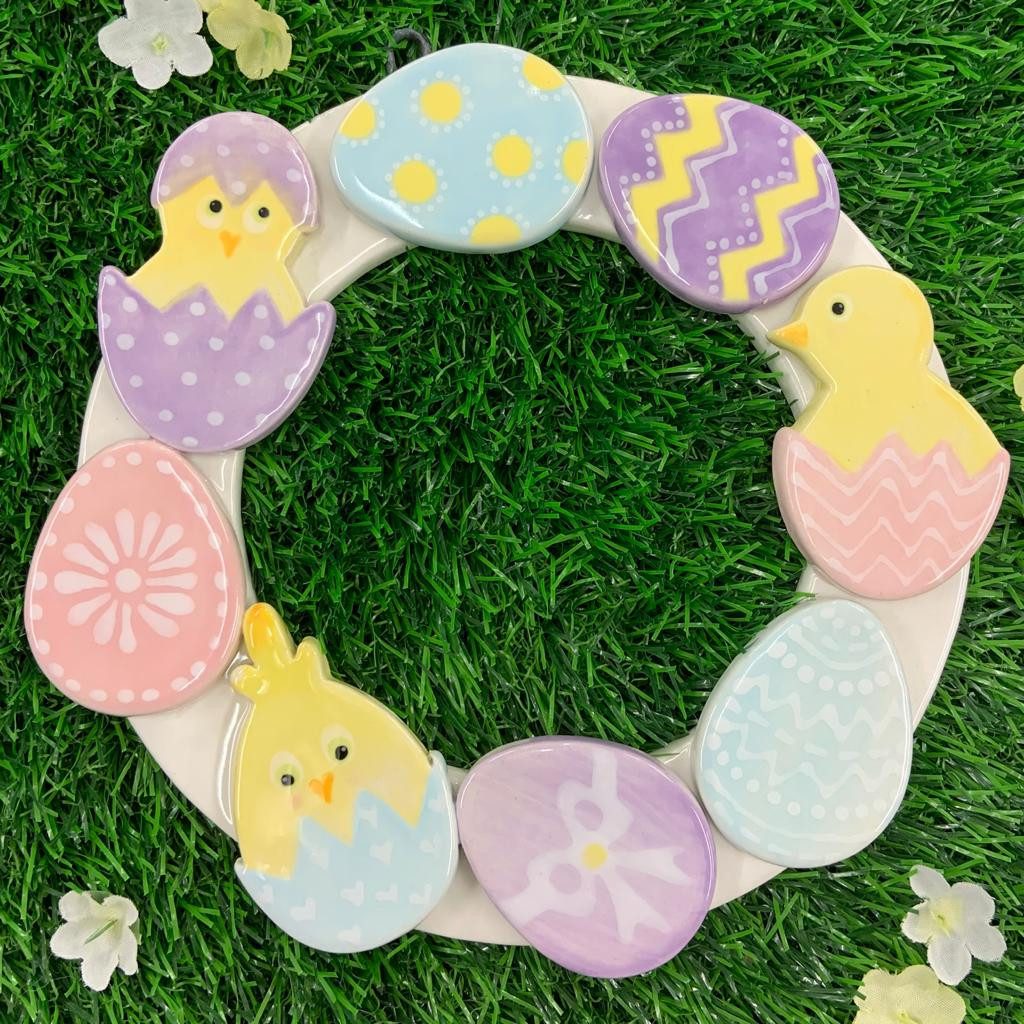
Spring Cutters Set – Eggs & Chicks (Various Sizes Available)
Price range: £8.00 through £40.00 Select options This product has multiple variants. The options may be chosen on the product page
Reviews
There are no reviews yet.