


Village House Cutter Set
Price range: £12.00 through £53.00
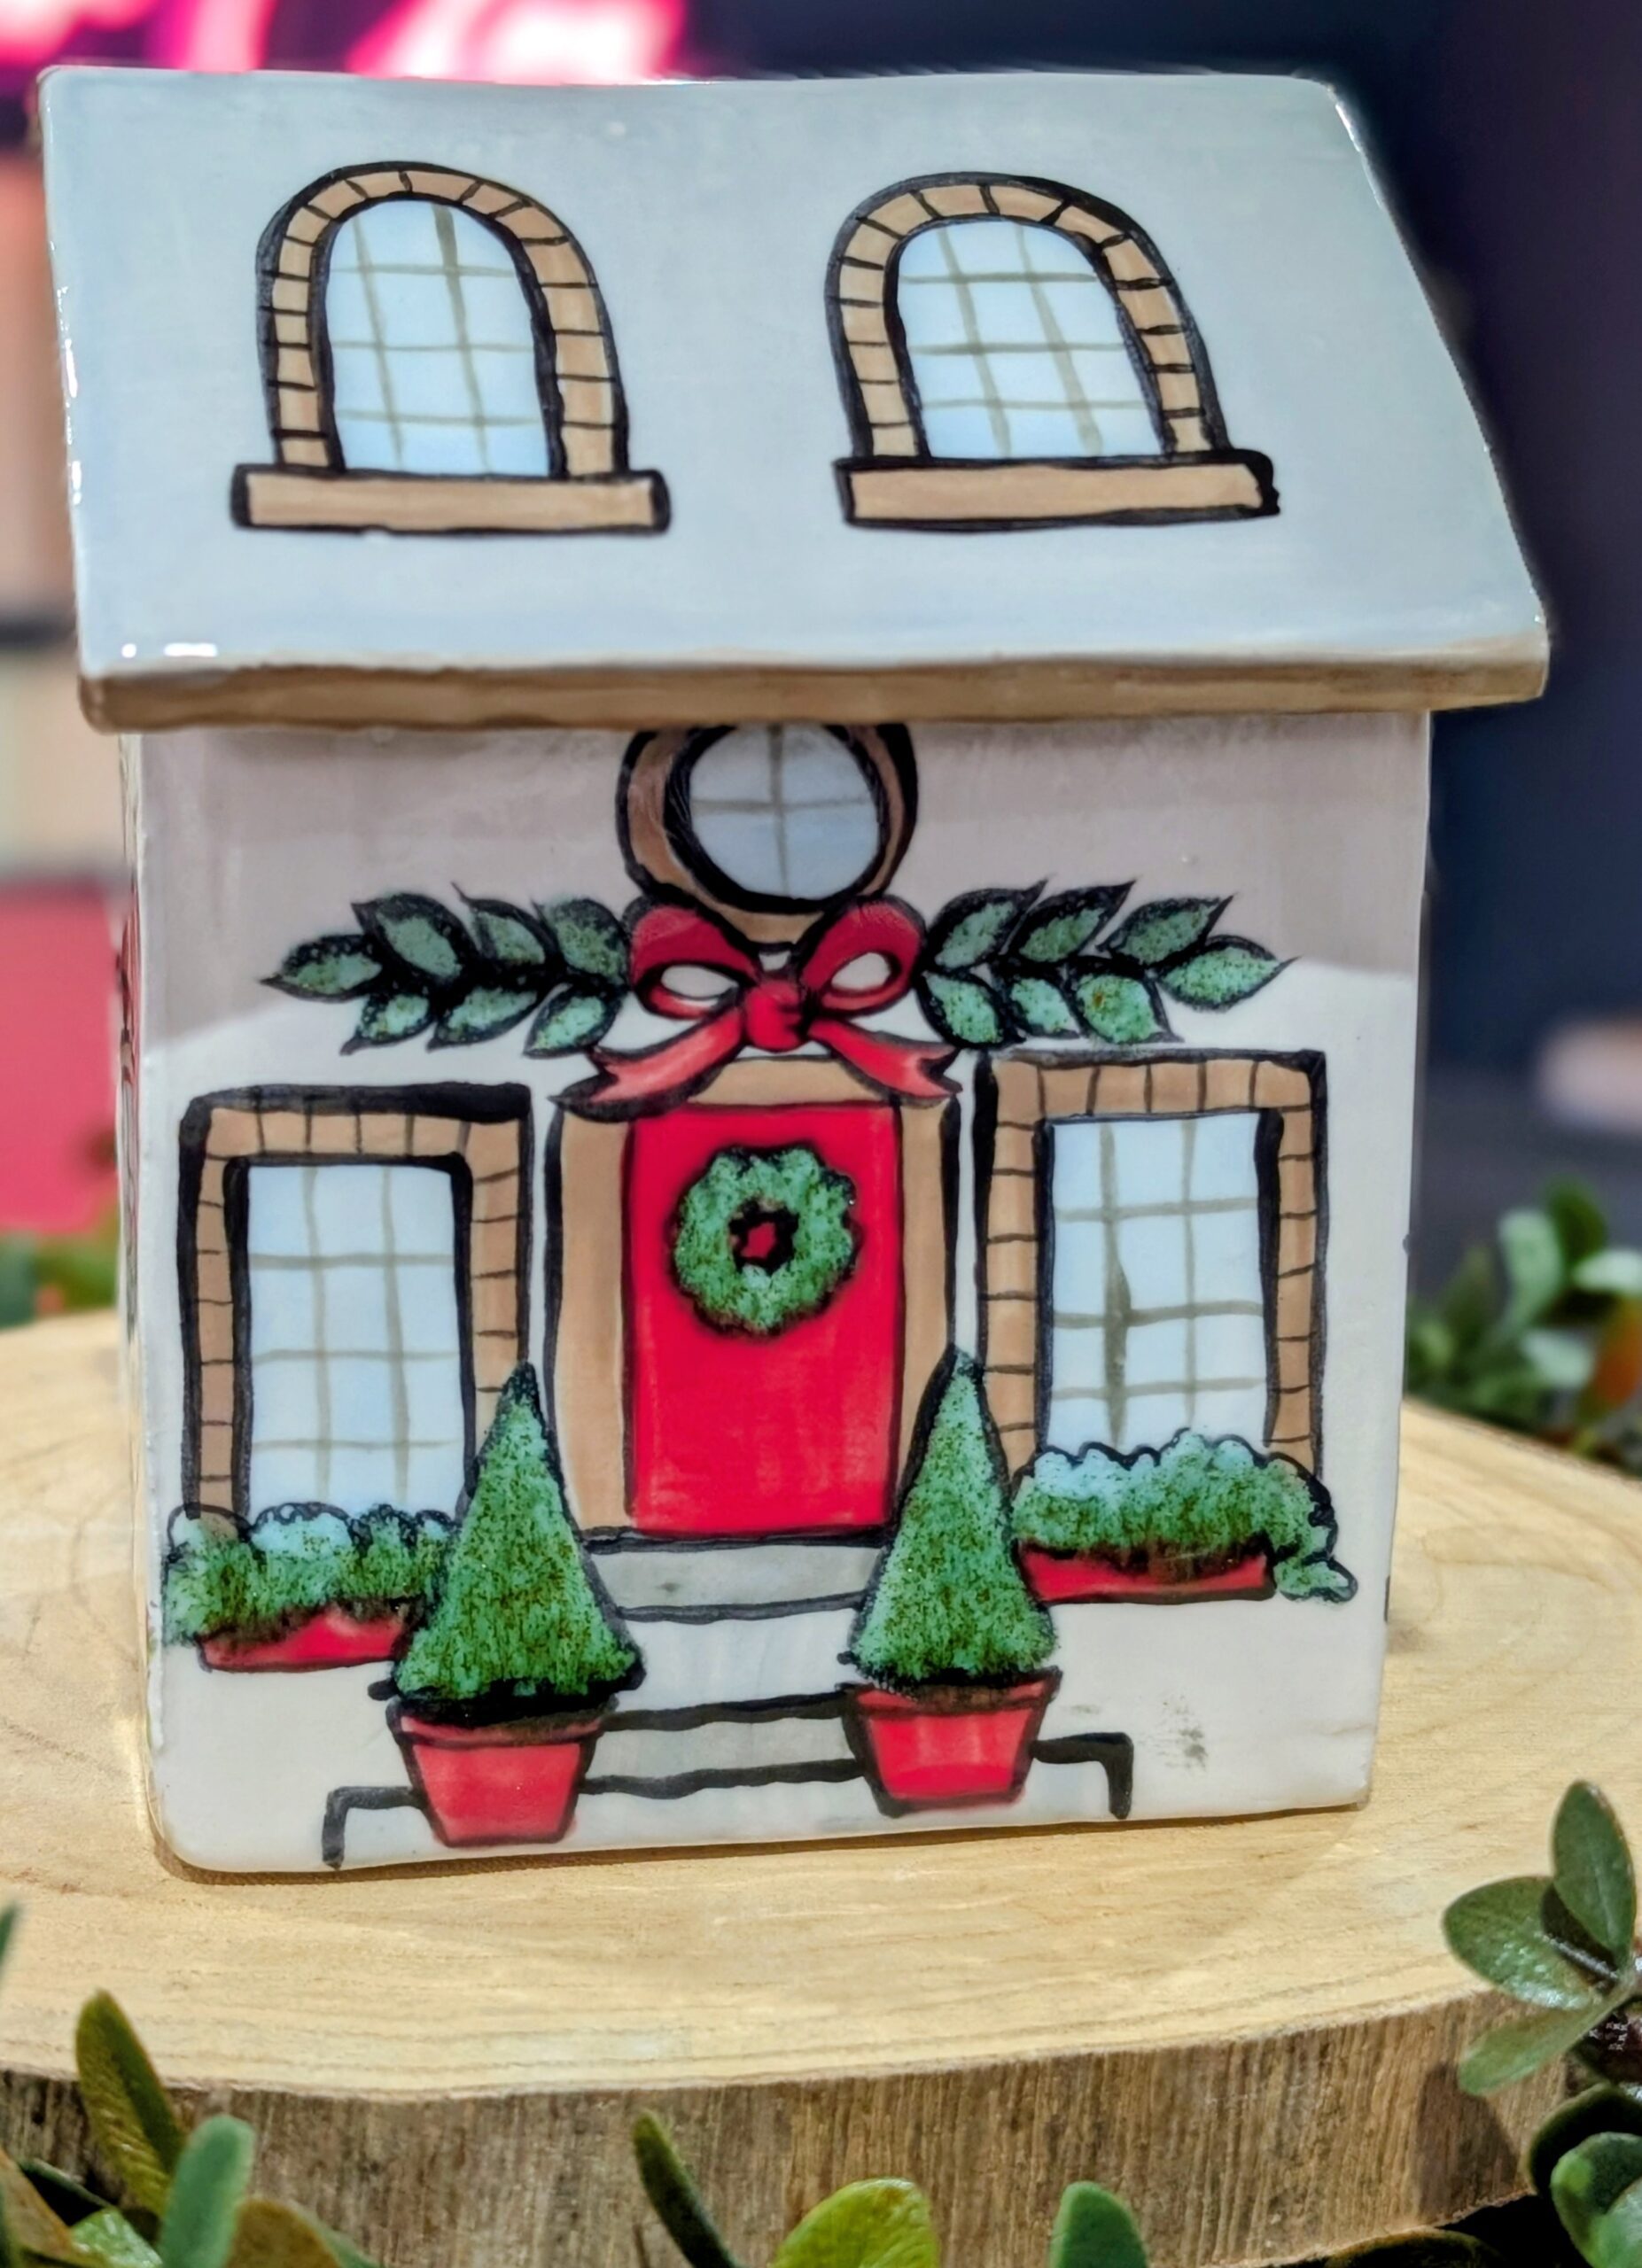
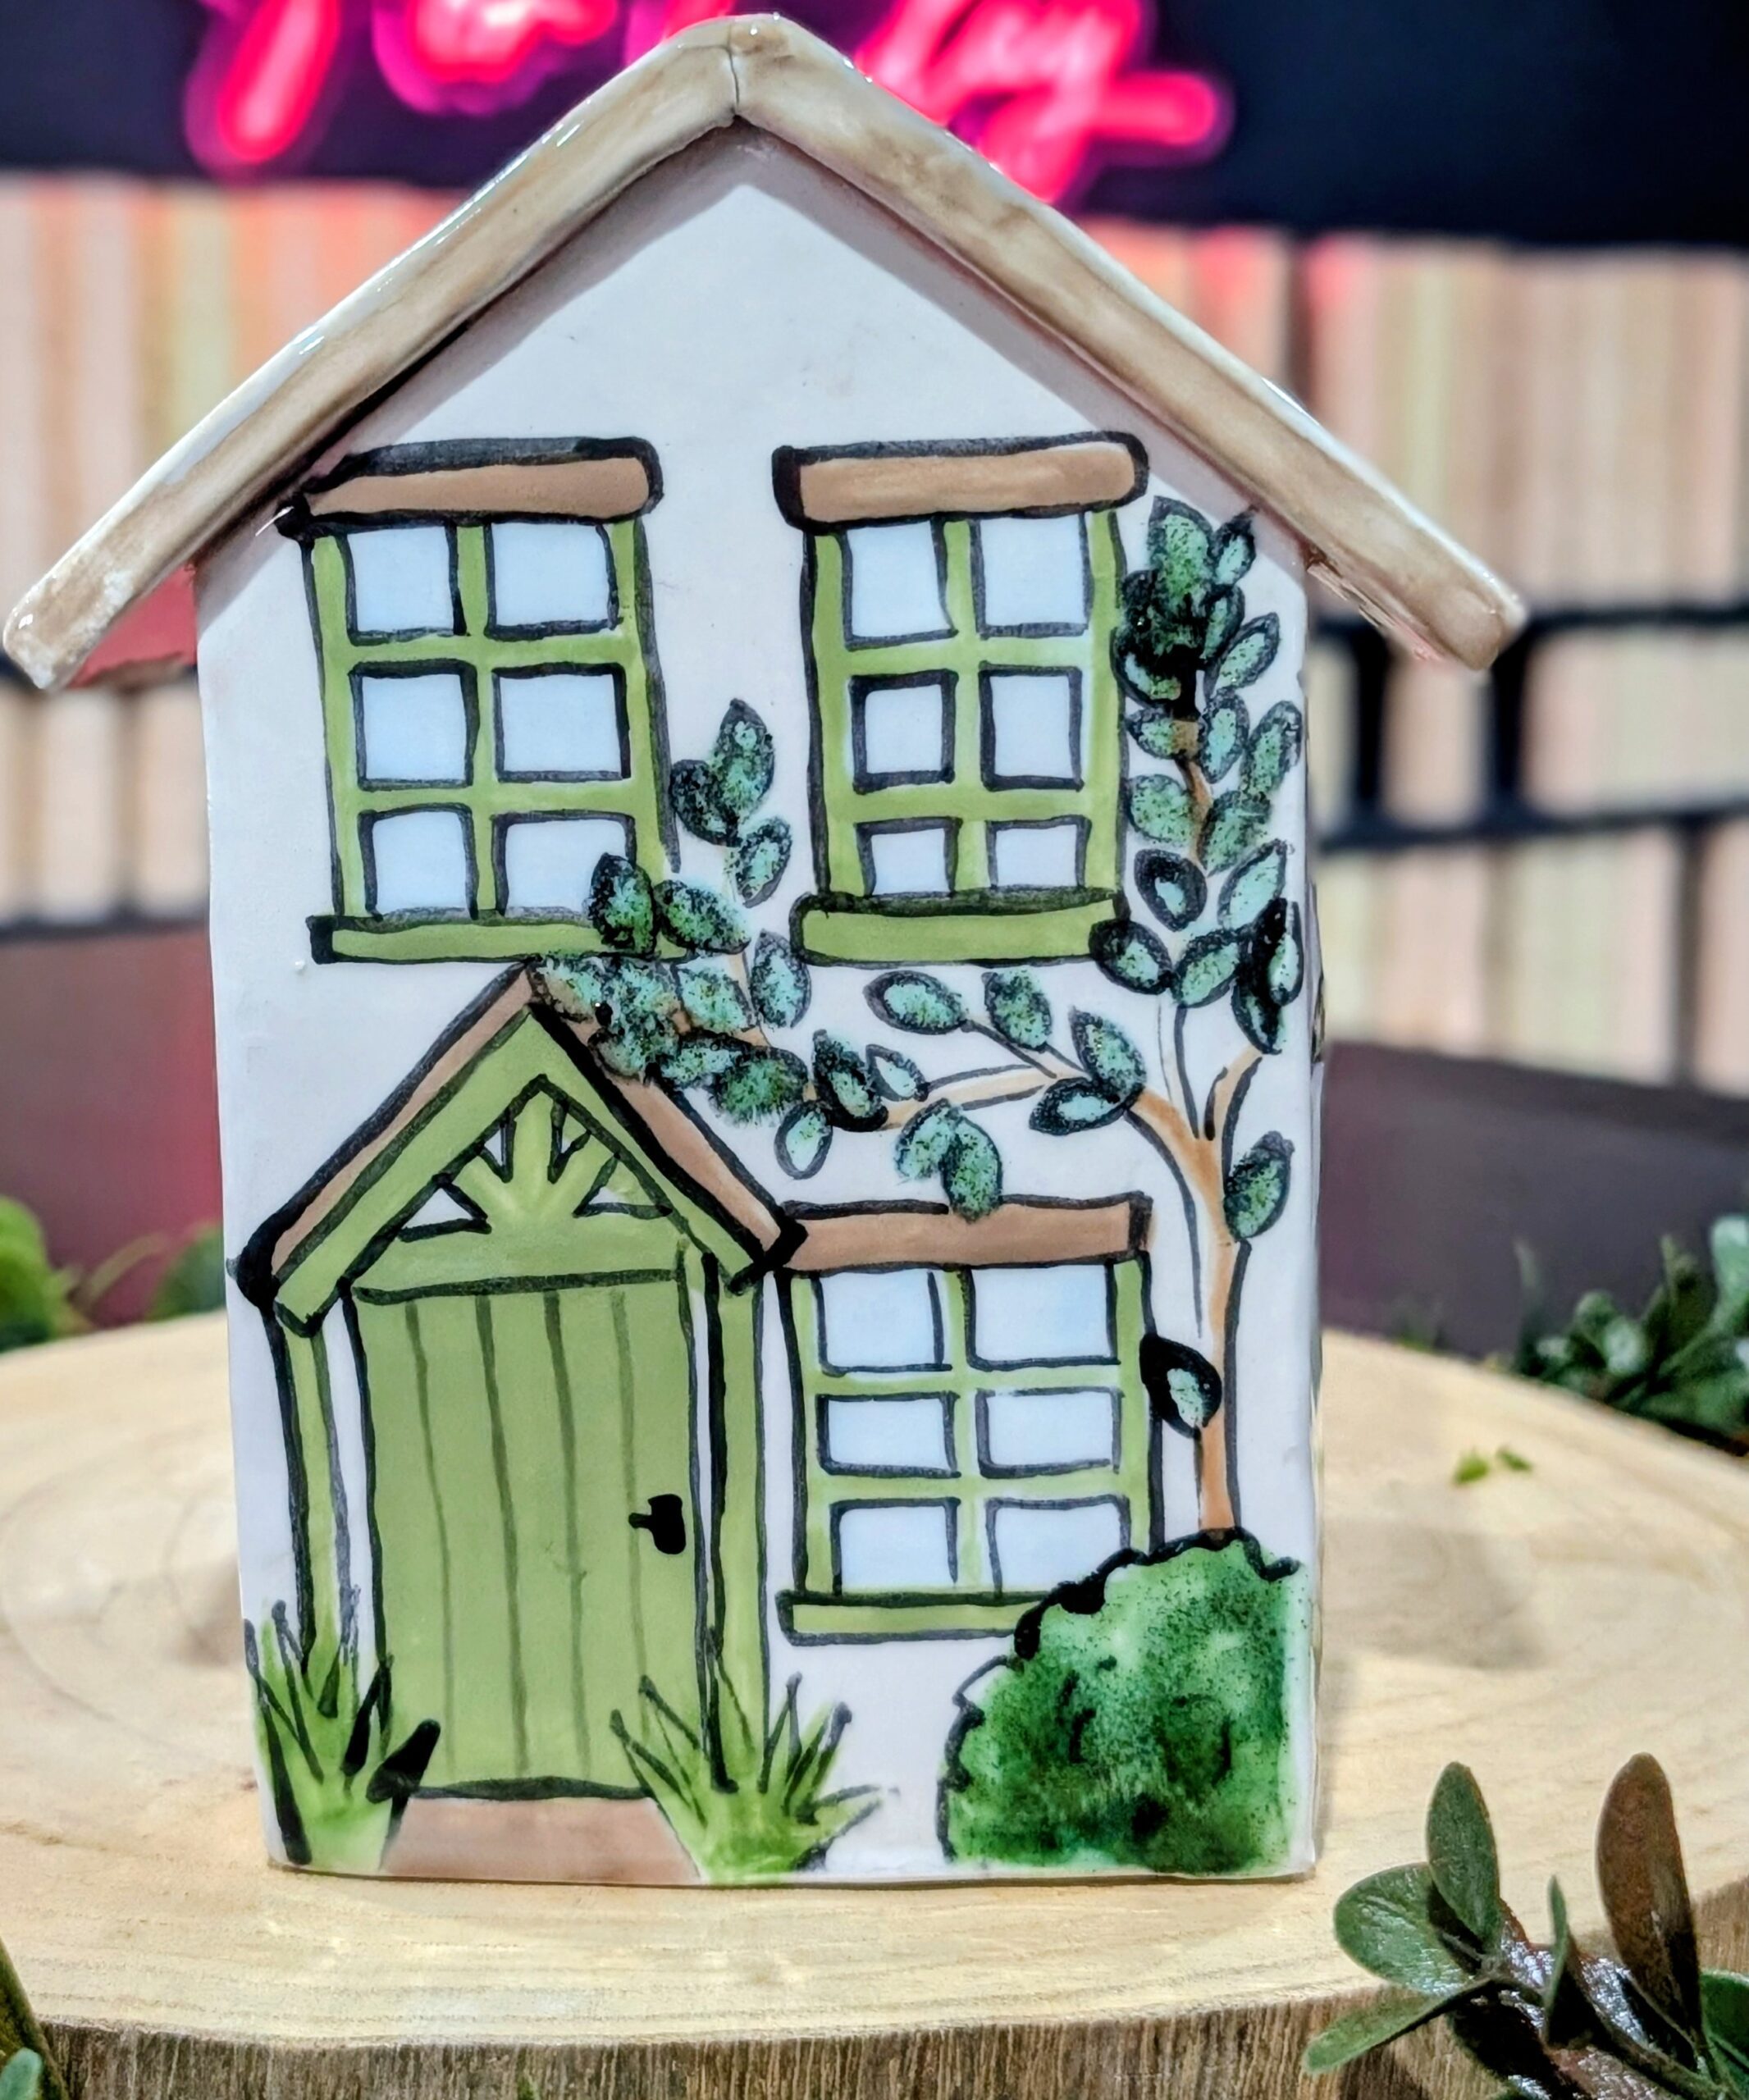
This listing is for our cutter set to make your own house or shop. Your finished house will be approximately 15cm/6 inches tall.
There are a few bundle options available.
- Just House Cutters – this includes the Village House Cutter Set only to make a village house or shop
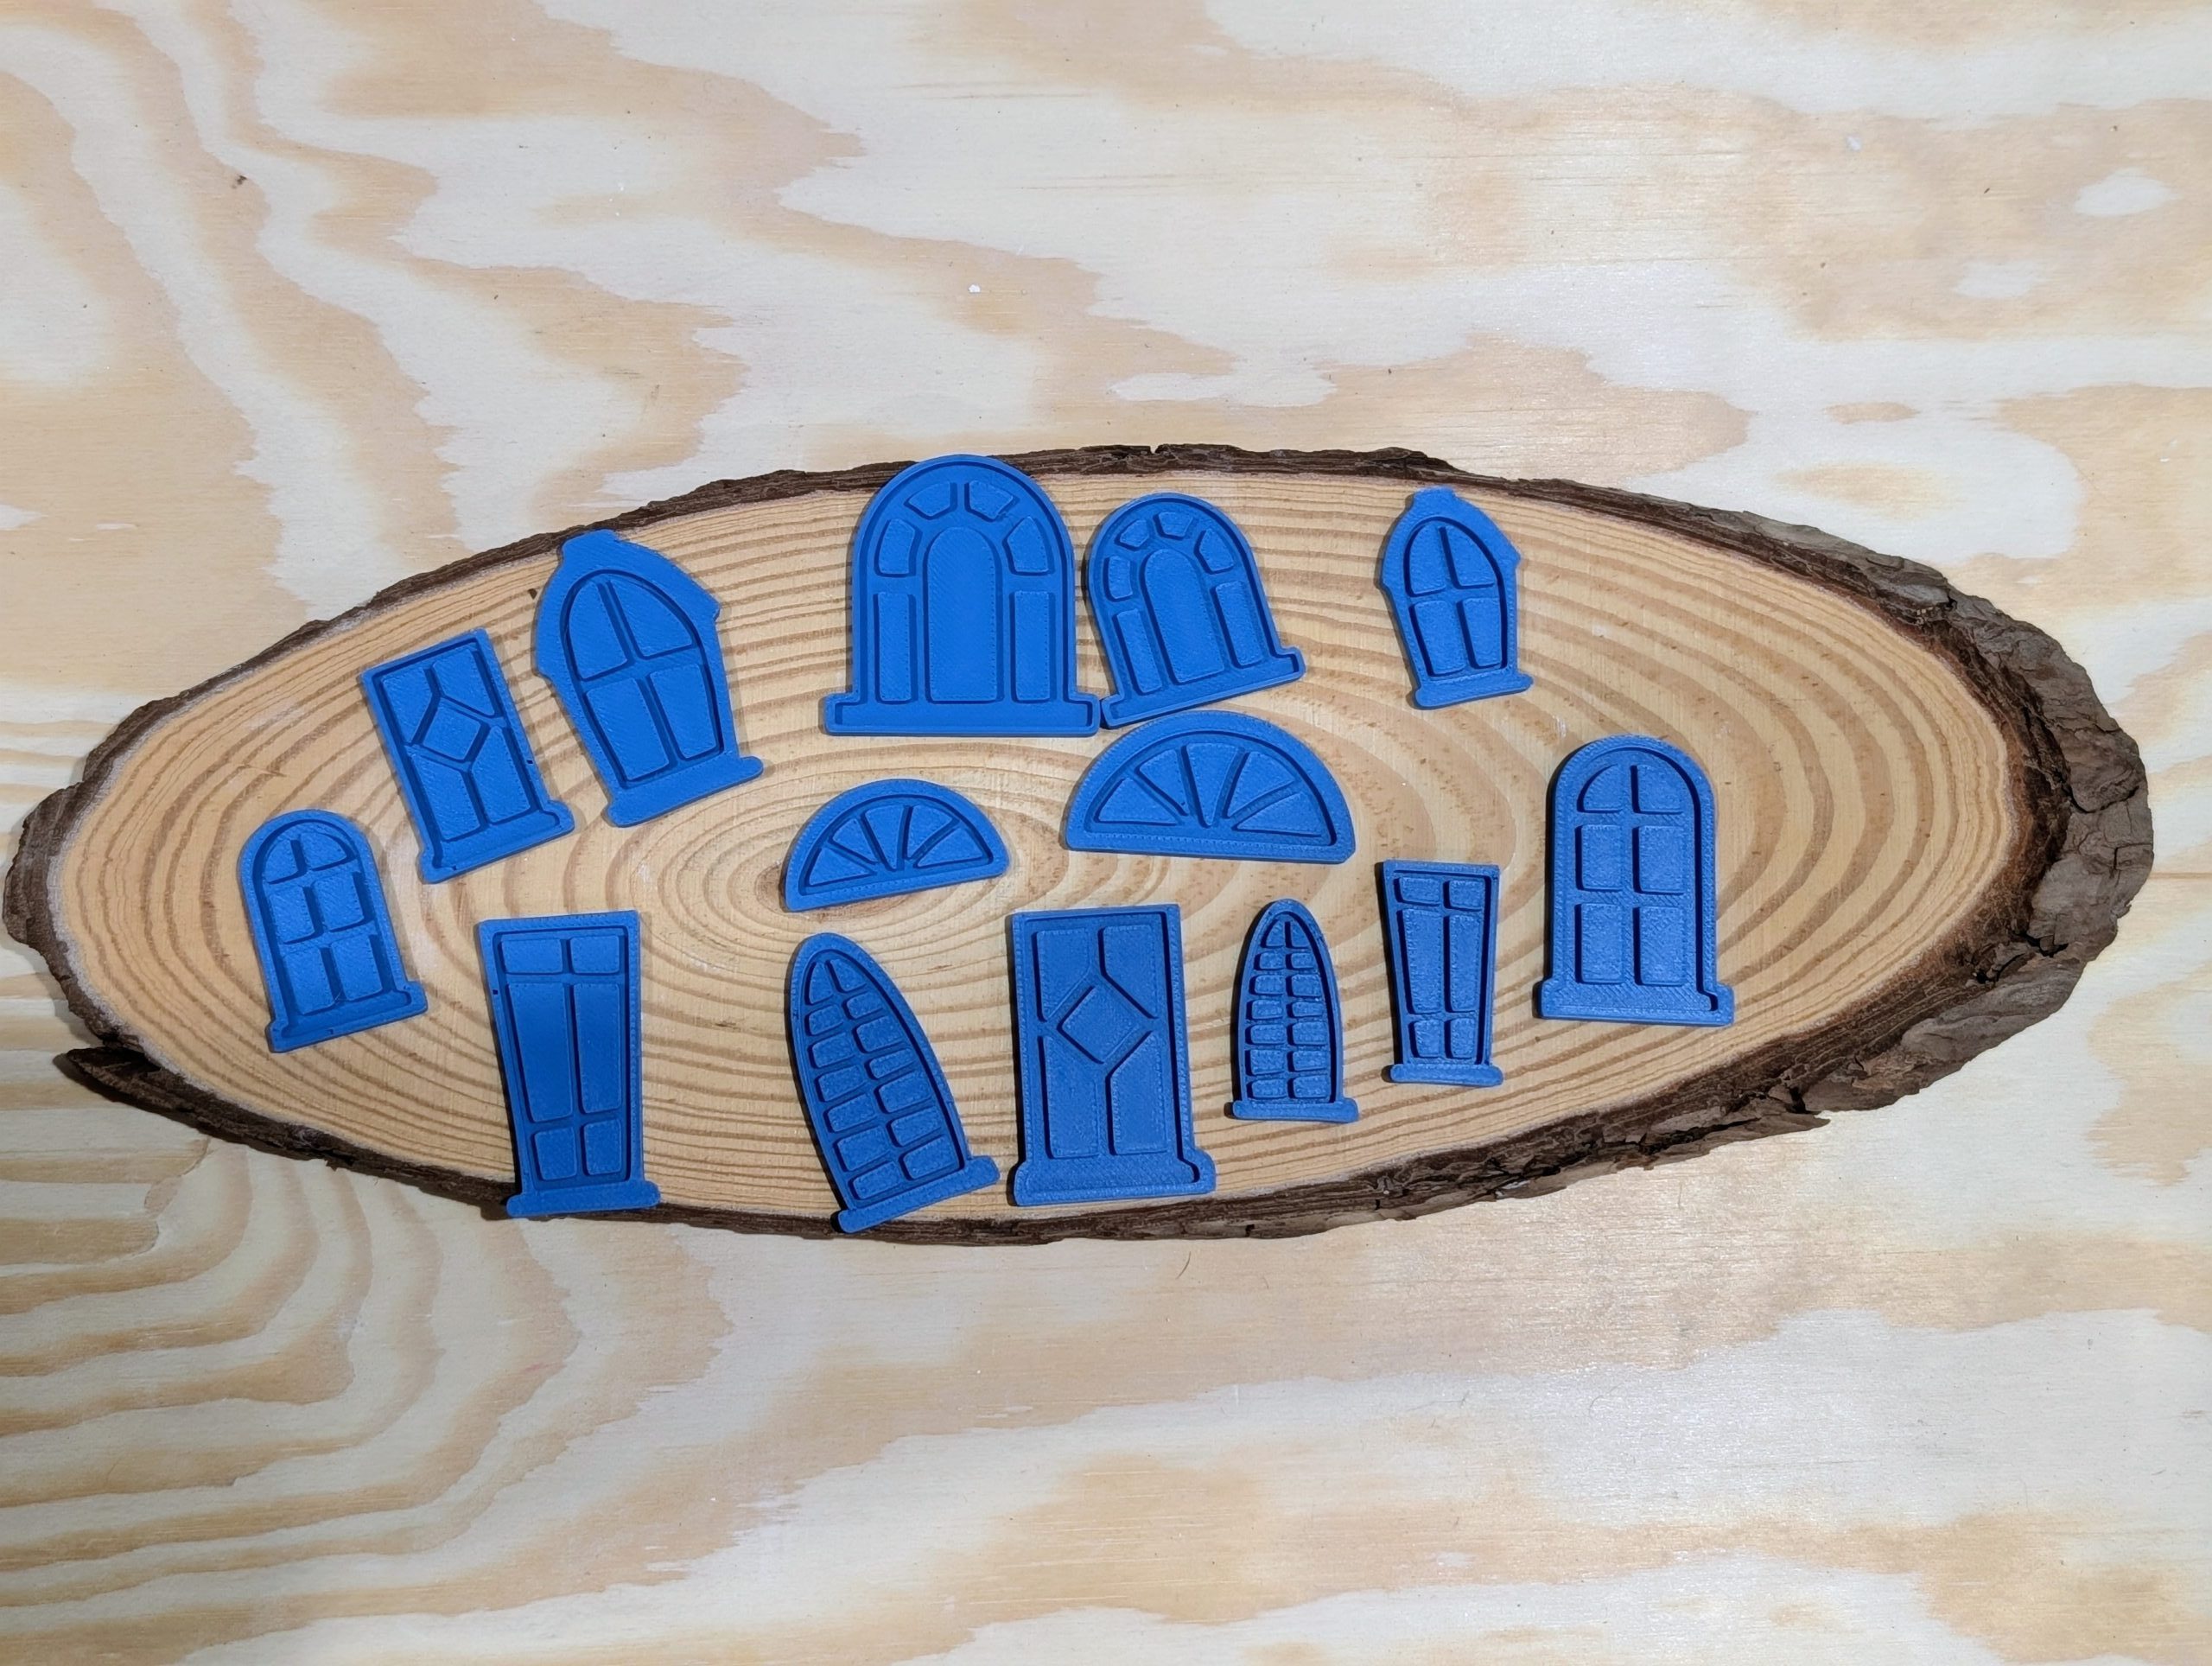
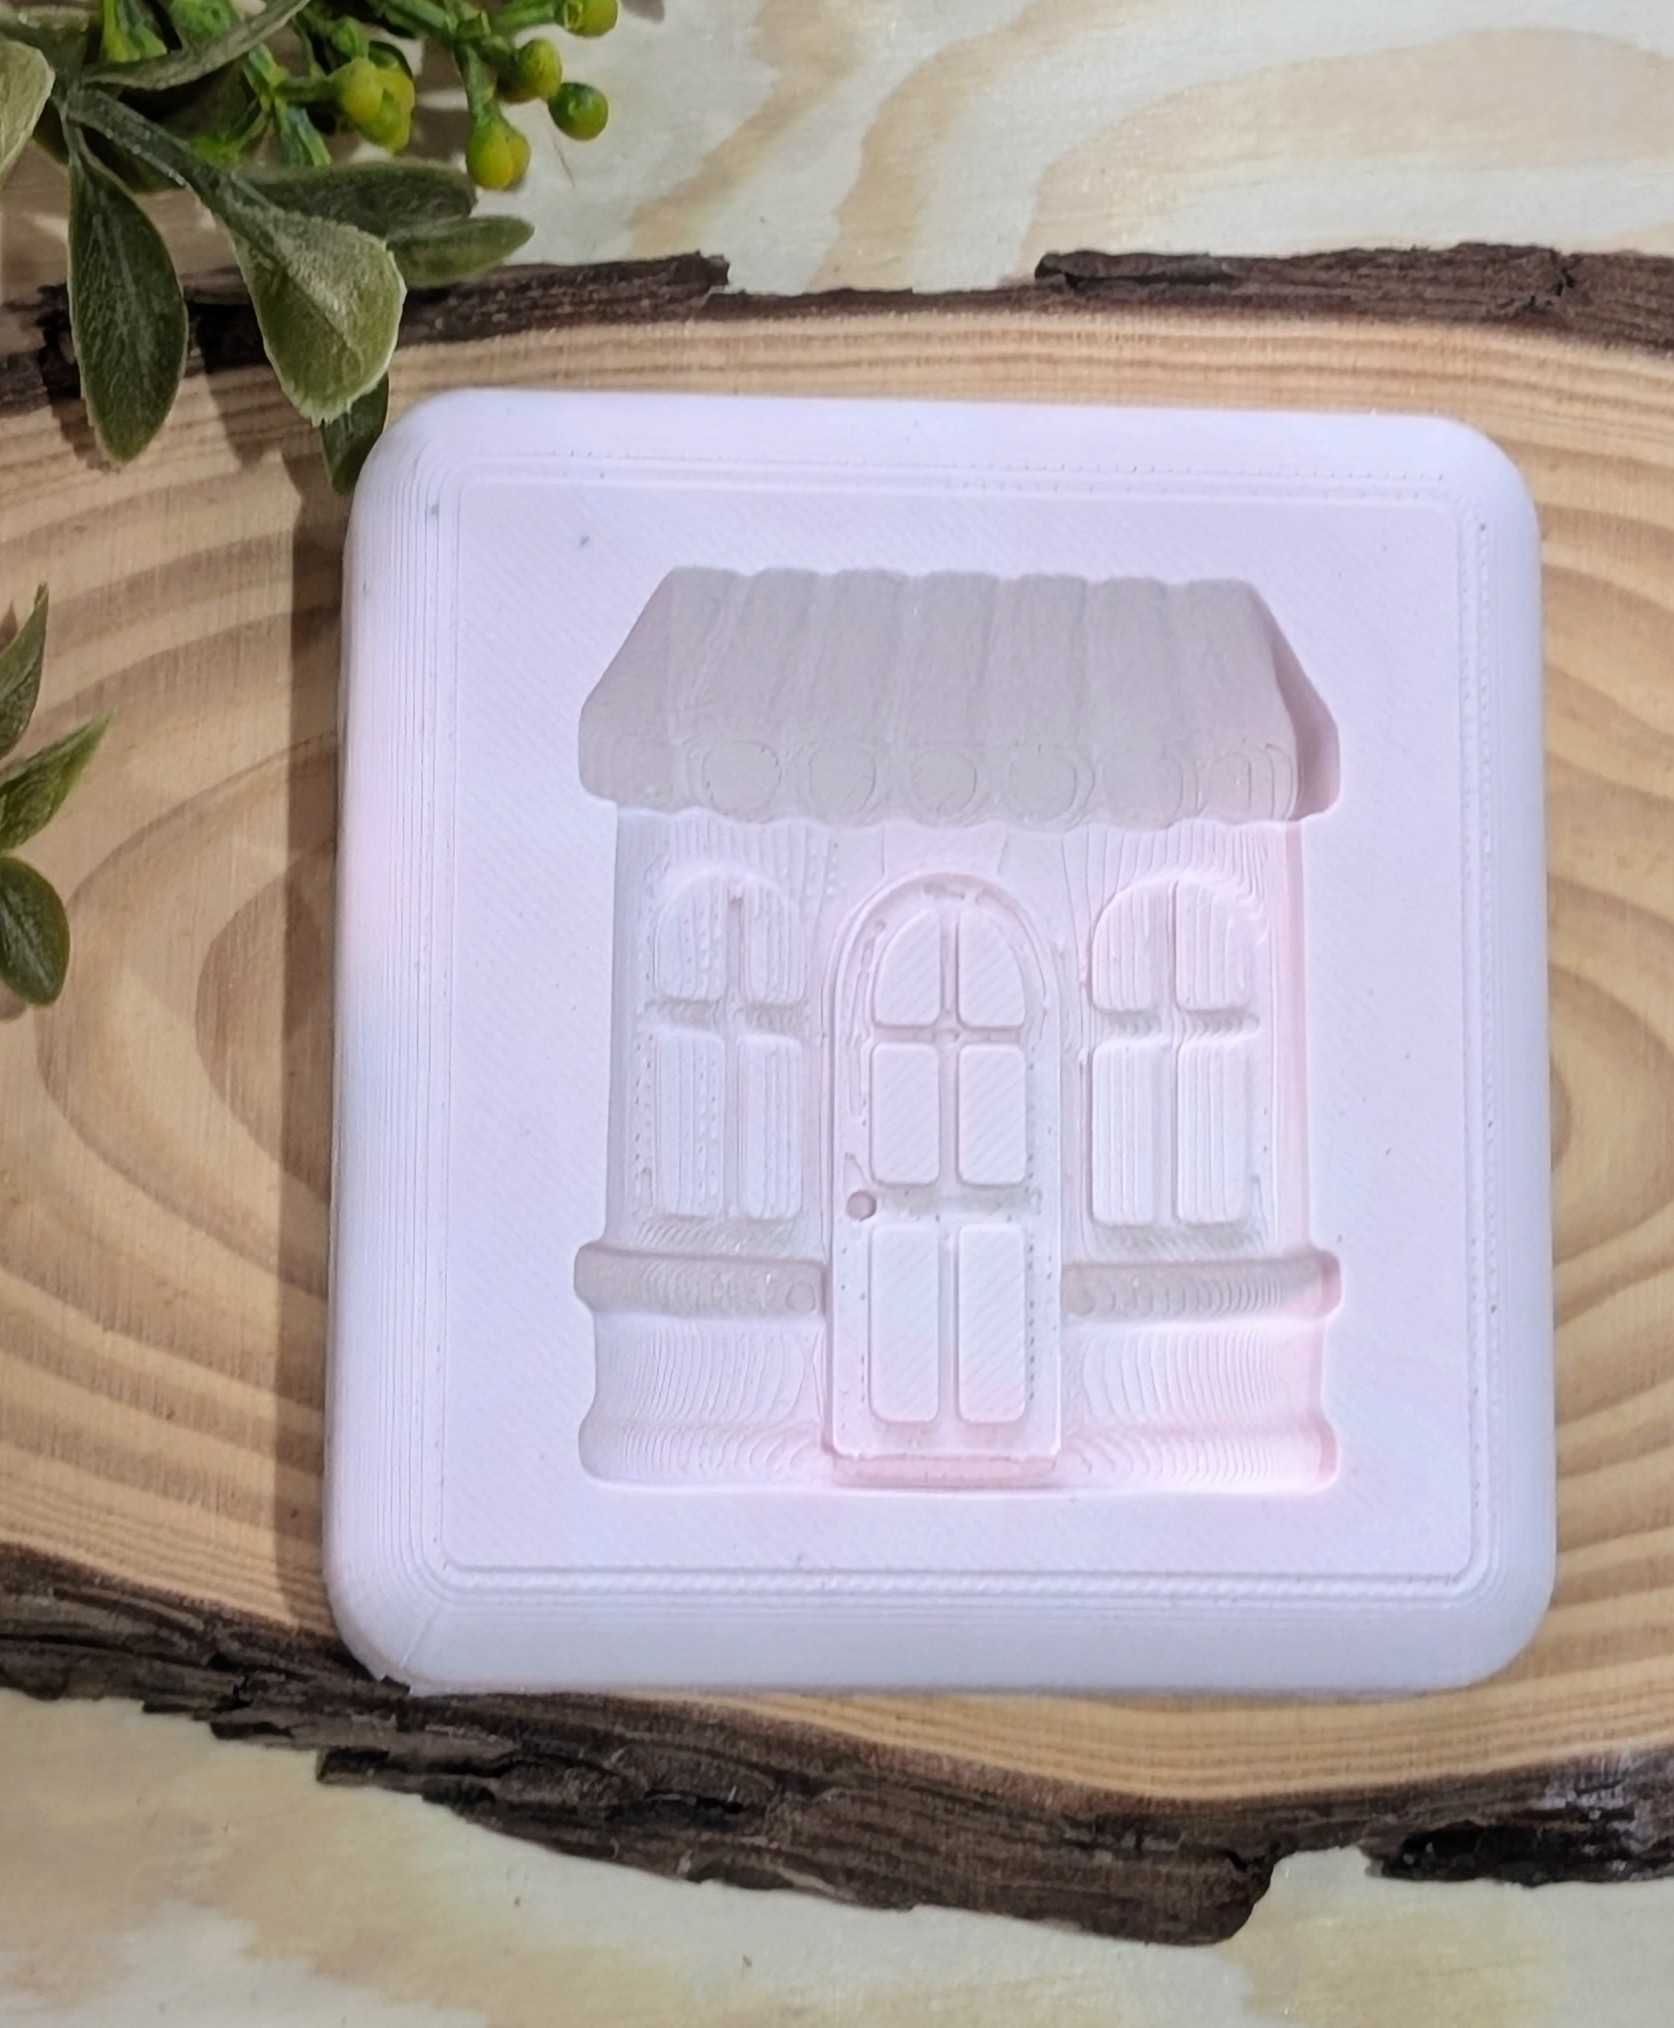
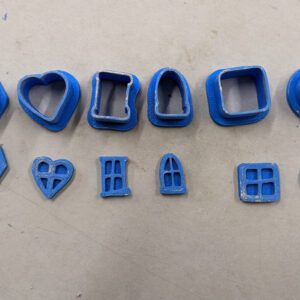
- + Window Stamps – this option includes the Village House Cutter Set + 14 Window Stamps
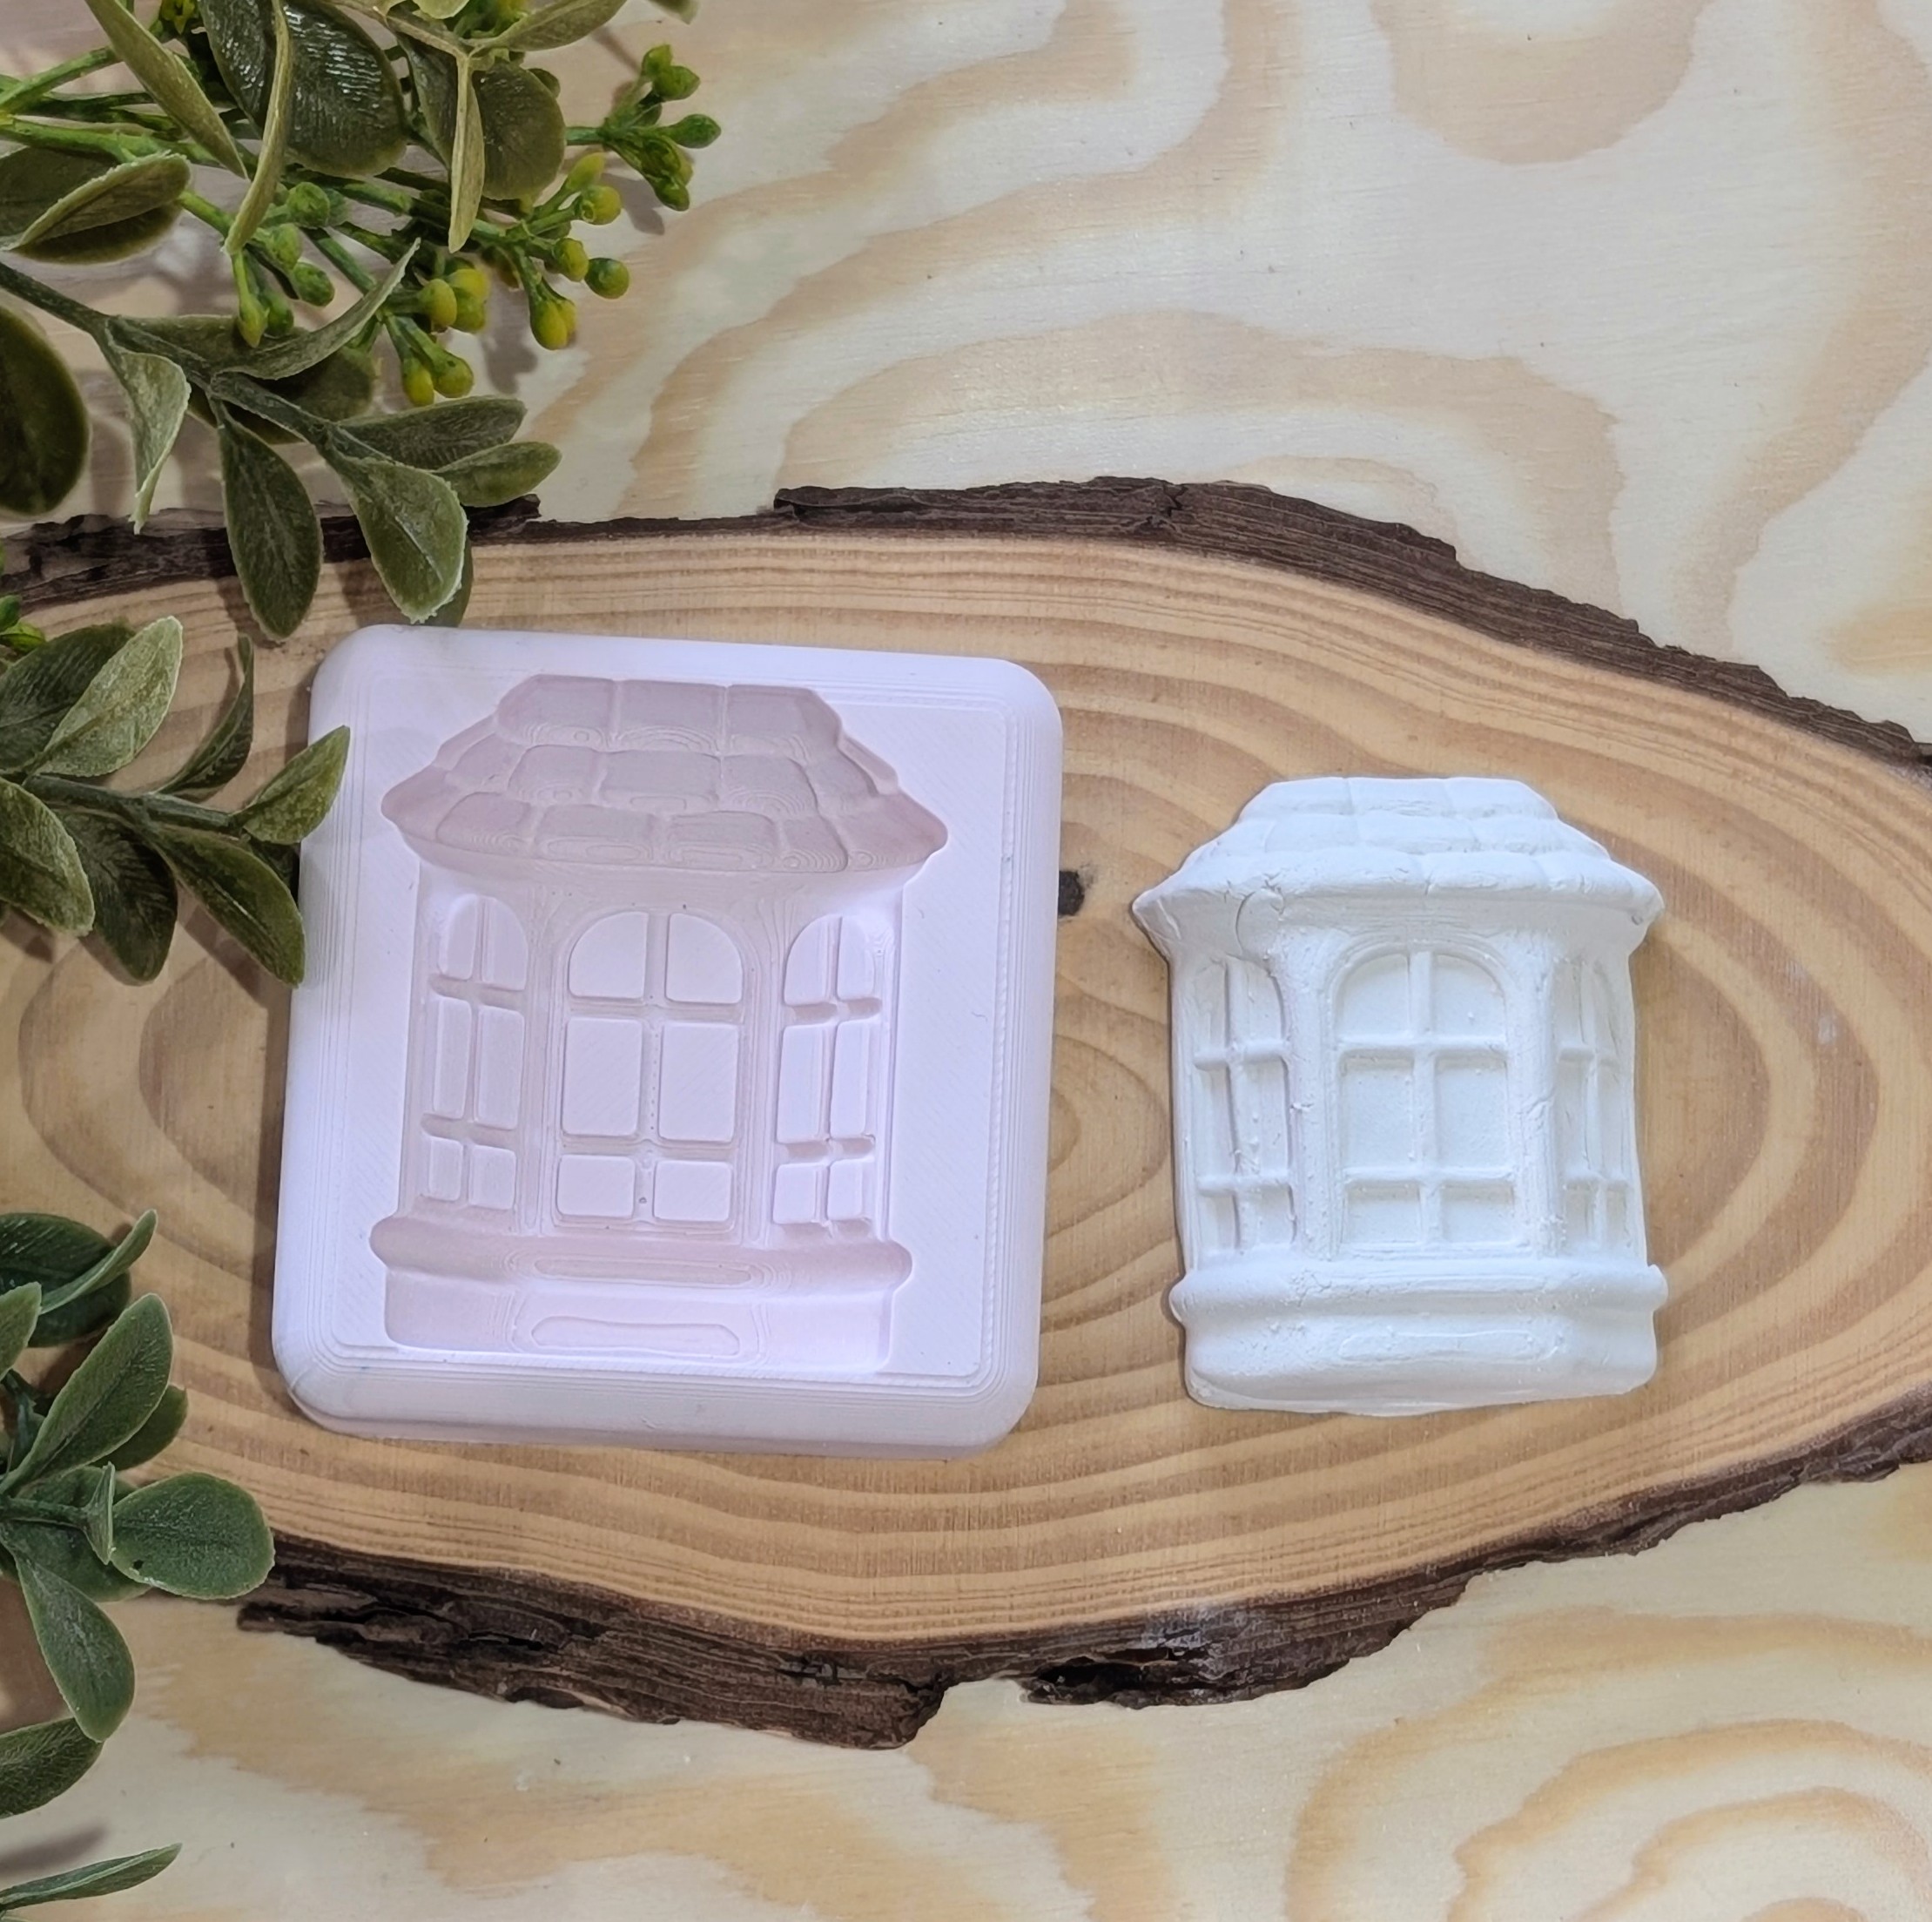
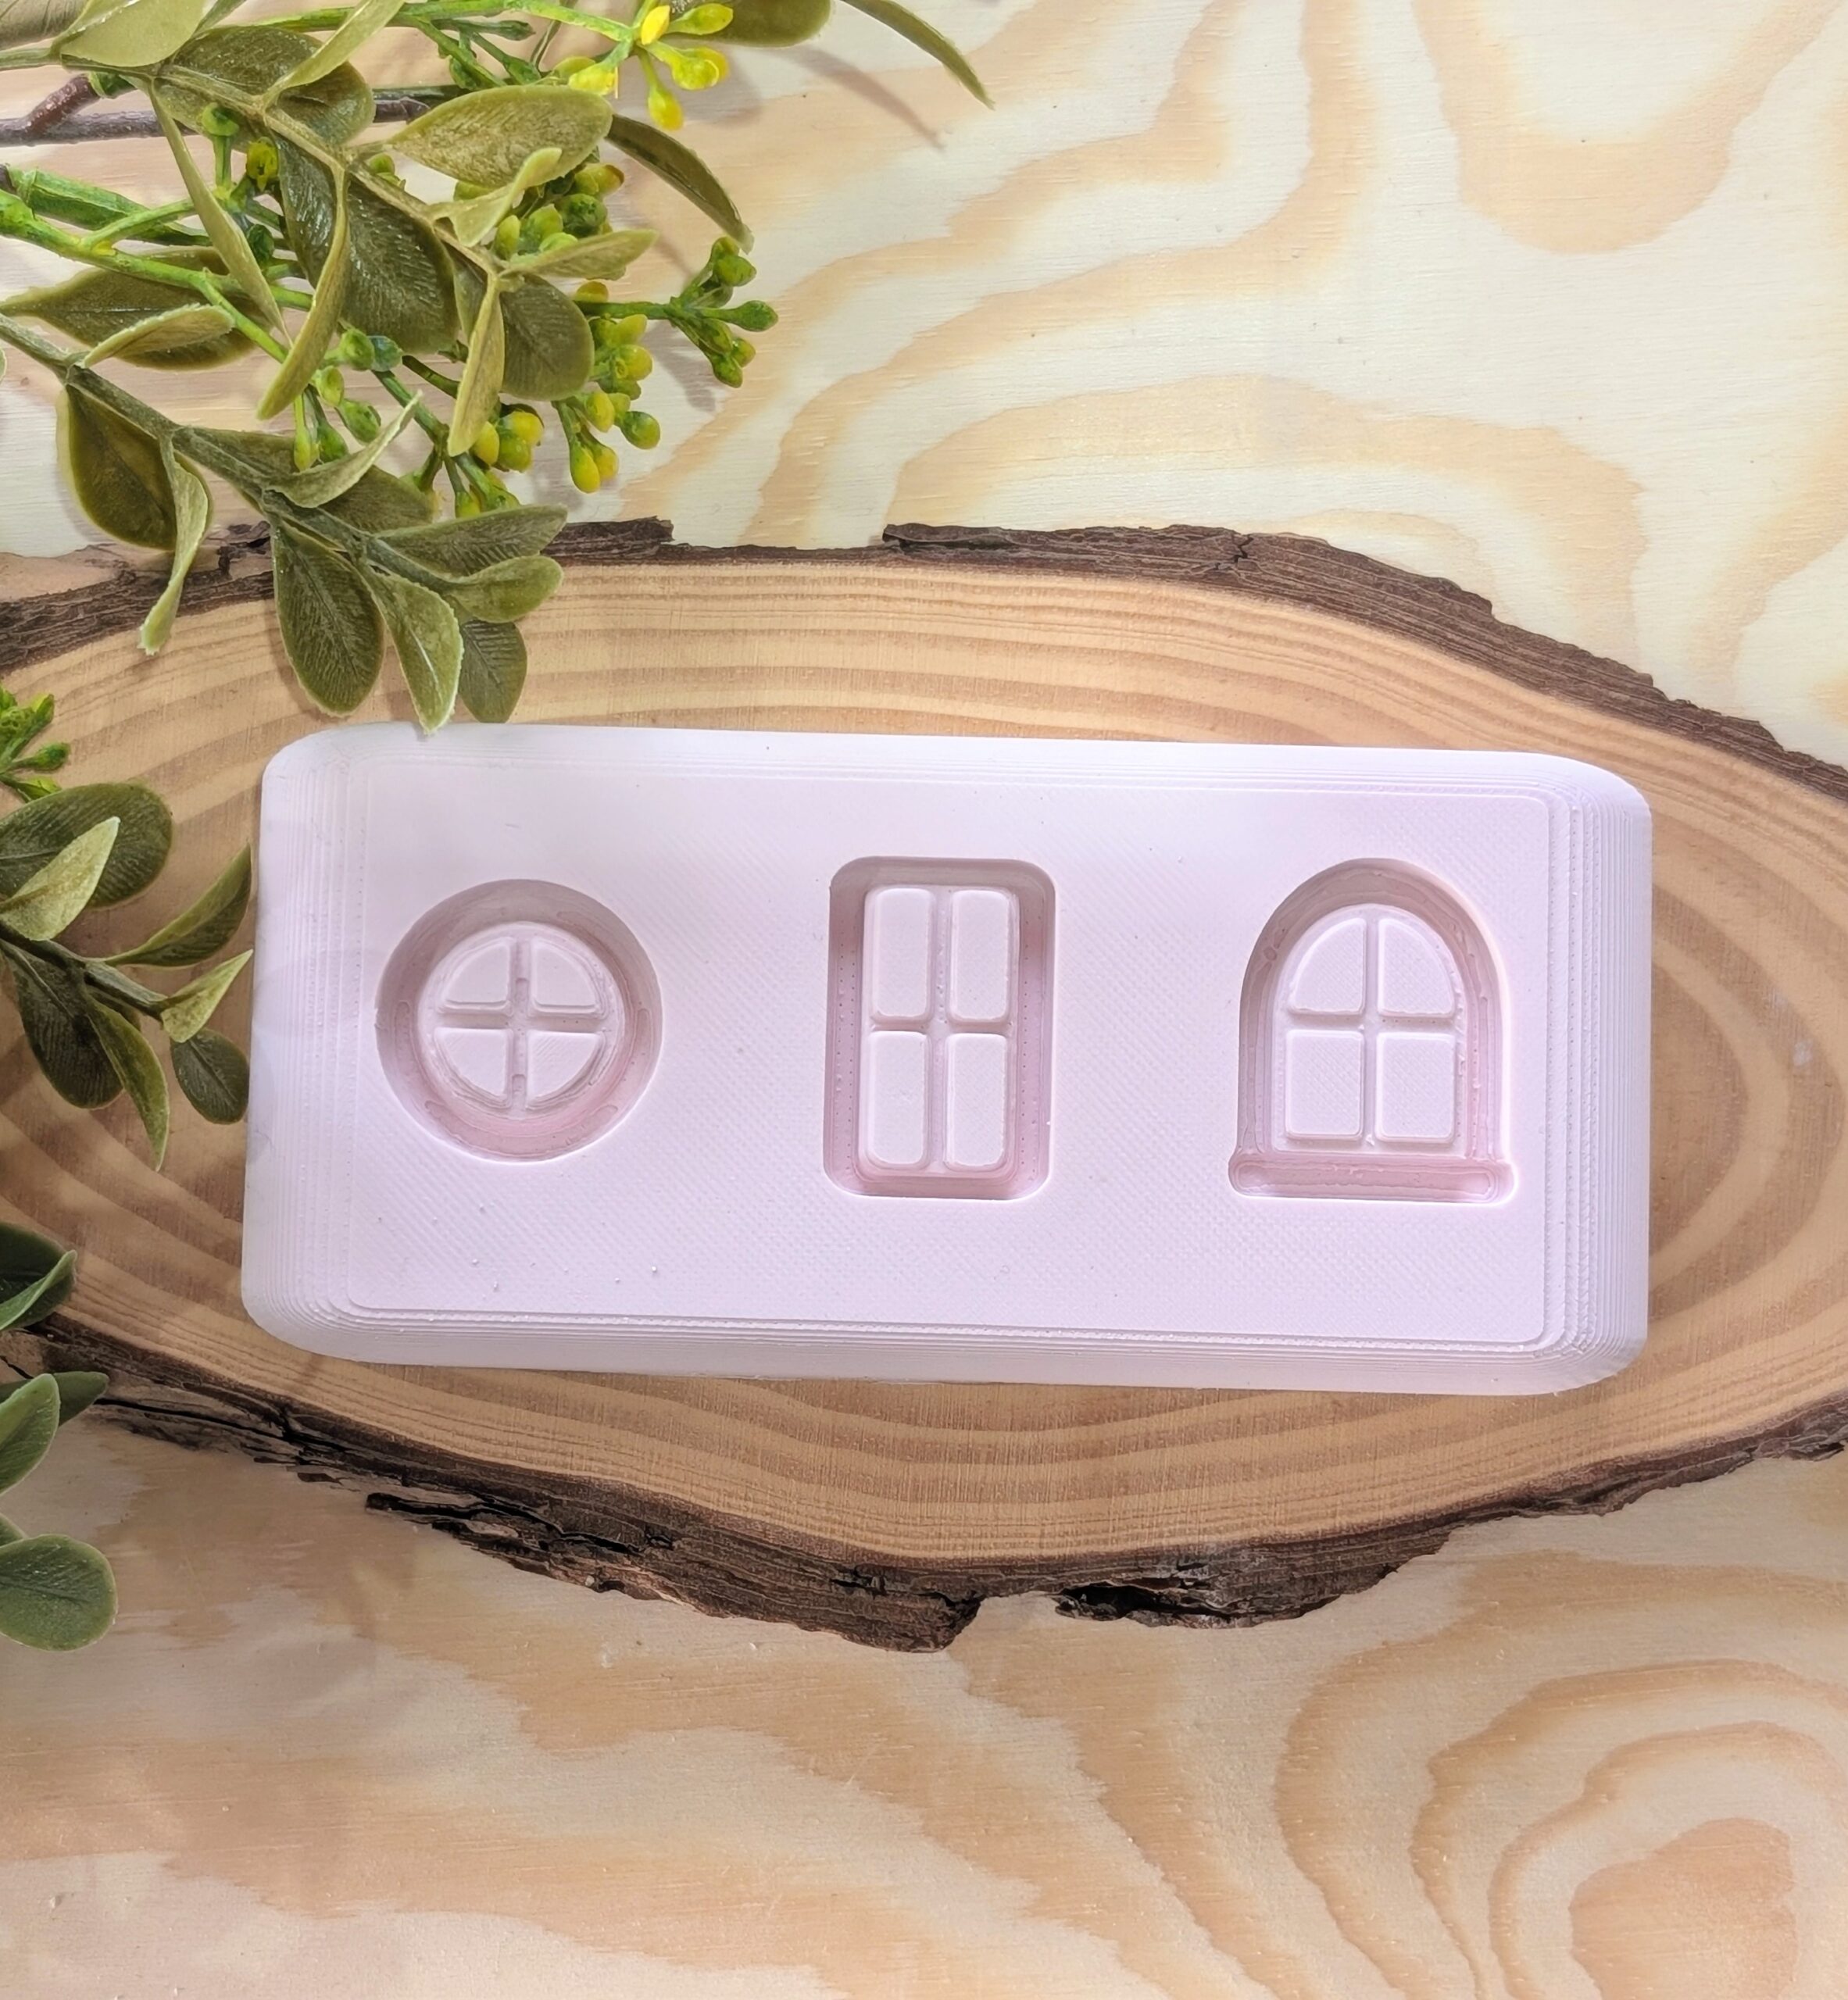
- + Window Silicone Moulds – this option includes the Village House Cutter Set and 4 Window Silicone Moulds
- + Window Stamps and Silicone Moulds – this option includes the Village House Cutter Set, 14 Window Stamps and 4 Window Silicone Moulds
This cutter is printed in PLA filament. This item is not food safe. The photo of the bisque item is for inspiration only, this listing is for the 3D printed cutter for you to make the bisque pieces yourself. The colour of your cutters may vary at any time and may be different from that shown in the photo.
Description
This listing is for an item(s) that is printed with PLA filament using a 3D printer. The photos alongside the main photo will show you bisque fired earthenware clay pieces made with the cutters / stamps and also some painted pieces for inspiration. You will also find extra inspiration in our gallery.
This item is perfect for making your own bisque to sell in your PYOP studio, for use within a pottery studio, or for your own handicrafts…. the only limit is your imagination!
The colour of your cutters and stamps may vary from those shown in the photograph.
After use, rinse in cool water (never use hot water and do not soak) and dry immediately. Store in a cool, dry place.
Instructions to make a village house…
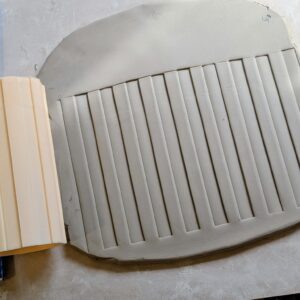
- Roll out your clay to 7mm thick and add any texture or design you’d like
- Use the cutters to cut out 1 front piece, 1 back piece, 2 walls, 1 base, 2 roof pieces and a door
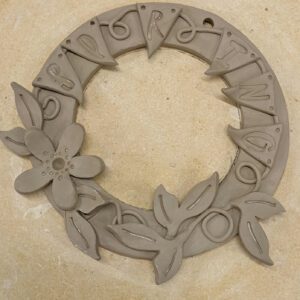
- Score the edges on the back of the front, back, walls and base, where the pieces will join
- Paint slip onto the scored areas and begin joining the walls of your house together, standing them up against the base. Smooth sausages of clay inside the house to secure the joins
- Repeat this process to join your front and back pieces to the walls.
- Use your finger or a flat clay tool to blend all the seams on the outside of your beach hut too
- Score and slip along the points of the front and back pieces
- Cut off one long edge of each roof piece, at a 45 degree angle so that when the roof pieces meet, they join smoothly together
- Gently place one roof piece onto the hut and remove again … the slip will have left a mark, showing you where you need to score on your roof piece
- Score and slip your first roof piece in place – secure with a sausage of clay from inside
- Score the angled top edge of the first roof piece
- Repeat to add and secure the second roof piece. Blend with a flat clay tool or your finger, where the 2 roof pieces meet at the apex of the house
- Use a damp paintbrush to smooth out all the seams and edges
- This is your basic house done, now decorate as you wish! Attach a door and any other accessories you wish! Just remember to score and slip anything you add. Enjoy!
Additional information
| Weight | 0.1 kg |
|---|---|
| Shipping Information | |
| Bundle | Just House Cutters, + Window Stamps, + Window Silicone Moulds, + Window Stamps and Silicone Moulds |
You may also like…
-
Stripes Textured Rolling Pin (12.5cm/5inches or 25cm/10inches)
Price range: £15.50 through £29.50 Select options This product has multiple variants. The options may be chosen on the product page -
Tiny Bunting Cutter
£2.00 Add to basket -
Fairy Windows (For Fairy Houses) Cutter And Stamp Set
£7.50 Add to basket
Related products
-
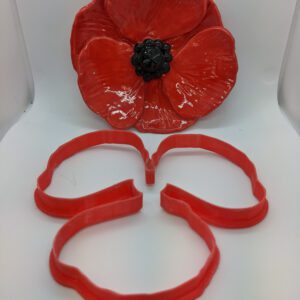
Poppy Cutter (Various Sizes Available)
Price range: £2.50 through £8.50 Select options This product has multiple variants. The options may be chosen on the product page -

Penguin With Ear Muffs Cutter And Stamp Set (Various Sizes Available)
Price range: £4.00 through £10.50 Select options This product has multiple variants. The options may be chosen on the product page -

Penguin With Bobble Hat Cutter And Stamp Set (Various Sizes Available)
Price range: £4.00 through £10.50 Select options This product has multiple variants. The options may be chosen on the product page -

Unicorn Cutter (Various Sizes Available)
Price range: £2.00 through £10.00 Select options This product has multiple variants. The options may be chosen on the product page
Reviews
There are no reviews yet.